 Save to Pinterest
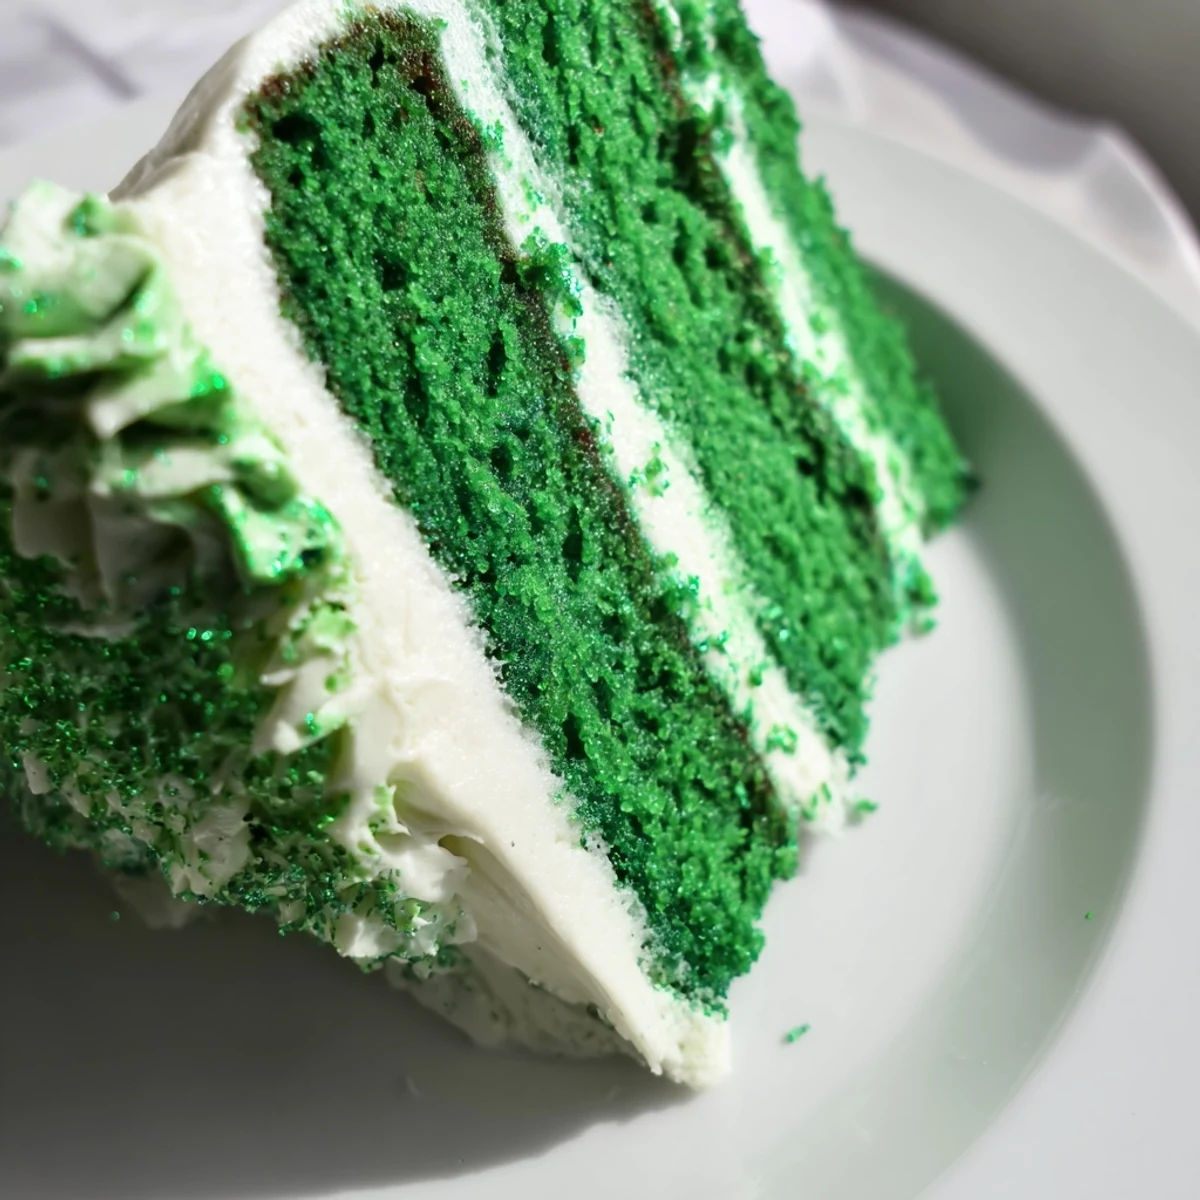
 This luscious green velvet cake offers a festive variation on a classic favorite. Featuring a tender crumb enhanced by buttermilk and a hint of cocoa, it's beautifully tinted with green food coloring for a vibrant look. The creamy vanilla frosting adds richness and balance, creating an indulgent treat. Ideal for holiday gatherings or any special occasion, this cake delivers both moist texture and eye-catching presentation.
Prepare by combining dry ingredients like flour, sugar, cocoa, baking powder, and soda before mixing wet ingredients including buttermilk, eggs, oil, vanilla, vinegar, and green color. Baking yields a delicate crumb that pairs perfectly with the smooth cream cheese frosting. Customize the shade by adjusting the green color intensity and consider decorating with sprinkles or edible glitter for added flair.
My youngest daughter insisted we needed something more exciting than soda bread for our St. Patricks Day gathering last year. She spotted green velvet cake online and begged me to attempt it, though I admit I was skeptical about how such a vibrant color would actually taste. The first batch came out a shocking shade of neon that made everyone laugh, but one bite convinced me this wasnt just a gimmick. Now its become the most requested dessert in our house, turning March into a monthlong celebration.
Last year I brought this to a neighborhood potluck and watched my friend Maudes eyes widen as I set it down. She whispered she thought green food coloring meant artificial taste, but after scraping her plate clean, she asked for the recipe before even leaving the party. Something about that unexpected color makes people feel like kids again, leaning in closer and taking pictures before anyone even takes a bite.
Ingredients
- 2 ½ cups all-purpose flour: The foundation that gives this cake structure while staying incredibly tender
- 1 ½ cups granulated sugar: Sweetens perfectly without overpowering the subtle tang from buttermilk
- 1 tsp baking powder and ½ tsp baking soda: Work together for that signature velvet rise
- 1 tsp salt: Balances sweetness and enhances all the flavors
- 1 tbsp unsweetened cocoa powder: The secret ingredient that adds complexity without making this taste like chocolate cake
- 1 cup buttermilk: Creates tenderness and tanginess that makes velvet cake so distinctive
- ½ cup vegetable oil: Keeps the cake moist for days better than butter would
- 2 large eggs: Provide structure and richness
- 2 tsp vanilla extract: Pure vanilla makes all the difference here
- 1 tsp white vinegar: Reacts with buttermilk for extra tenderness
- 1 tbsp green food coloring: Gel coloring gives the most vibrant hue without adding liquid
- 8 oz cream cheese: Make sure its completely softened for silky smooth frosting
- ½ cup unsalted butter: Room temperature butter blends seamlessly with cream cheese
- 3 ½ cups powdered sugar: Sifting prevents lumps and creates that cloud like texture
- 1 ½ tsp vanilla extract: Deepens the frosting flavor beautifully
- Pinch of salt: Cuts the sweetness just right
Instructions
- Get your oven and pans ready:
- Preheat to 350°F and generously grease two 9 inch round pans, then dust with flour and line bottoms with parchment paper for easy release
- Whisk the dry ingredients:
- In a large bowl, combine flour, sugar, baking powder, baking soda, salt, and cocoa powder until everything is evenly distributed
- Mix the wet ingredients:
- In a separate bowl, whisk buttermilk, oil, eggs, vanilla, vinegar, and green food coloring until the mixture is smooth and uniformly colored
- Combine wet and dry:
- Pour wet ingredients into dry and mix gently until just combined, being careful not to overmix which can make the cake tough
- Divide and bake:
- Split batter evenly between prepared pans and bake for 28 to 32 minutes until a toothpick inserted in the center comes out clean
- Cool completely:
- Let cakes rest in pans for 10 minutes, then turn out onto wire racks to cool entirely before frosting
- Make the frosting:
- Beat softened cream cheese and butter until creamy, then gradually add sifted powdered sugar, vanilla, and salt, beating until fluffy and spreadable
- Frost and decorate:
- Place one layer on your serving plate, spread with frosting, top with second cake, then frost top and sides before adding sprinkles or edible glitter
 Save to Pinterest
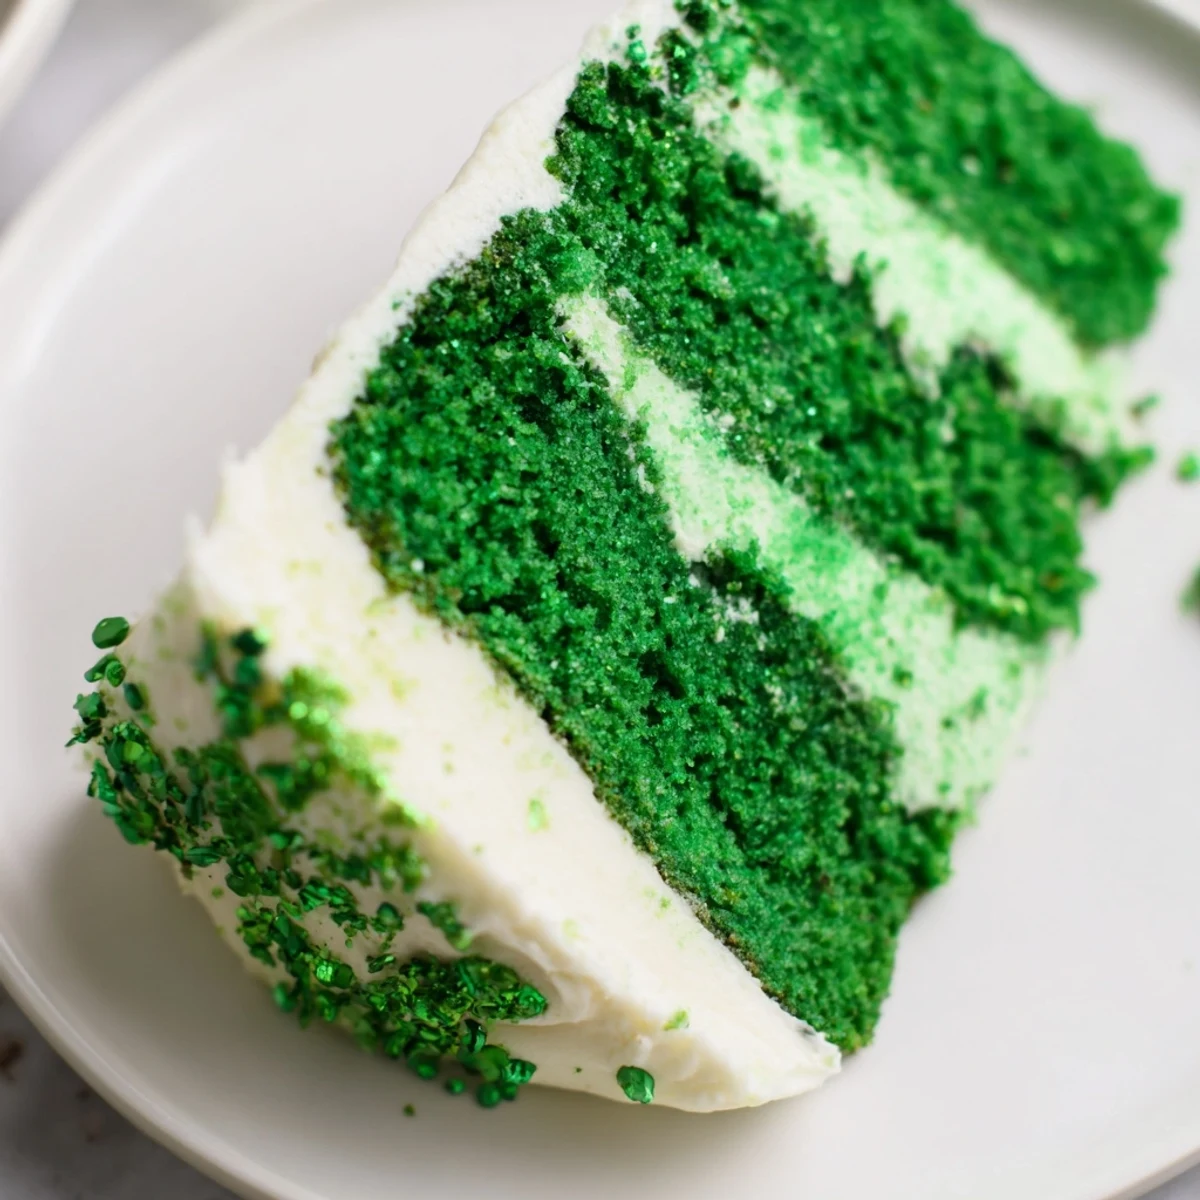
 This cake has become my go to for bringing people together, turning ordinary Tuesday dinners into mini celebrations. Last week my neighbor texted asking if I had any green cake left because her granddaughter had been talking about it for days. Thats the magic of baking something so unexpected and wonderful, it creates memories that stick around long longer than the crumbs.
Getting The Perfect Green Shade
Ive learned that gel food coloring gives the most vibrant color without adding extra liquid to the batter. Start with less than you think you need, you can always add more, but you cannot take it back once that batter turns into an unappetizing swamp hue. The batter will look slightly darker than the finished cake, so trust the process.
Making This Ahead
The unfrosted cake layers wrap beautifully and freeze for up to a month, which has saved me more times than I can count. I actually prefer baking the layers a day ahead, they become slightly easier to handle and less crumby when frosting. Let them thaw completely on the counter before frosting, otherwise condensation will make your frosting slide right off.
Serving Suggestions
A slice of this cake alongside a cup of Irish coffee feels absolutely perfect on a chilly March evening. The slight bitterness from coffee balances the sweet creamy frosting in the most delightful way.
- Top with chocolate shamrock coins for extra festivity
- Serve with whipped cream on the side for those who want extra indulgence
- Pair with vanilla ice cream for a dessert that feels like a celebration
 Save to Pinterest
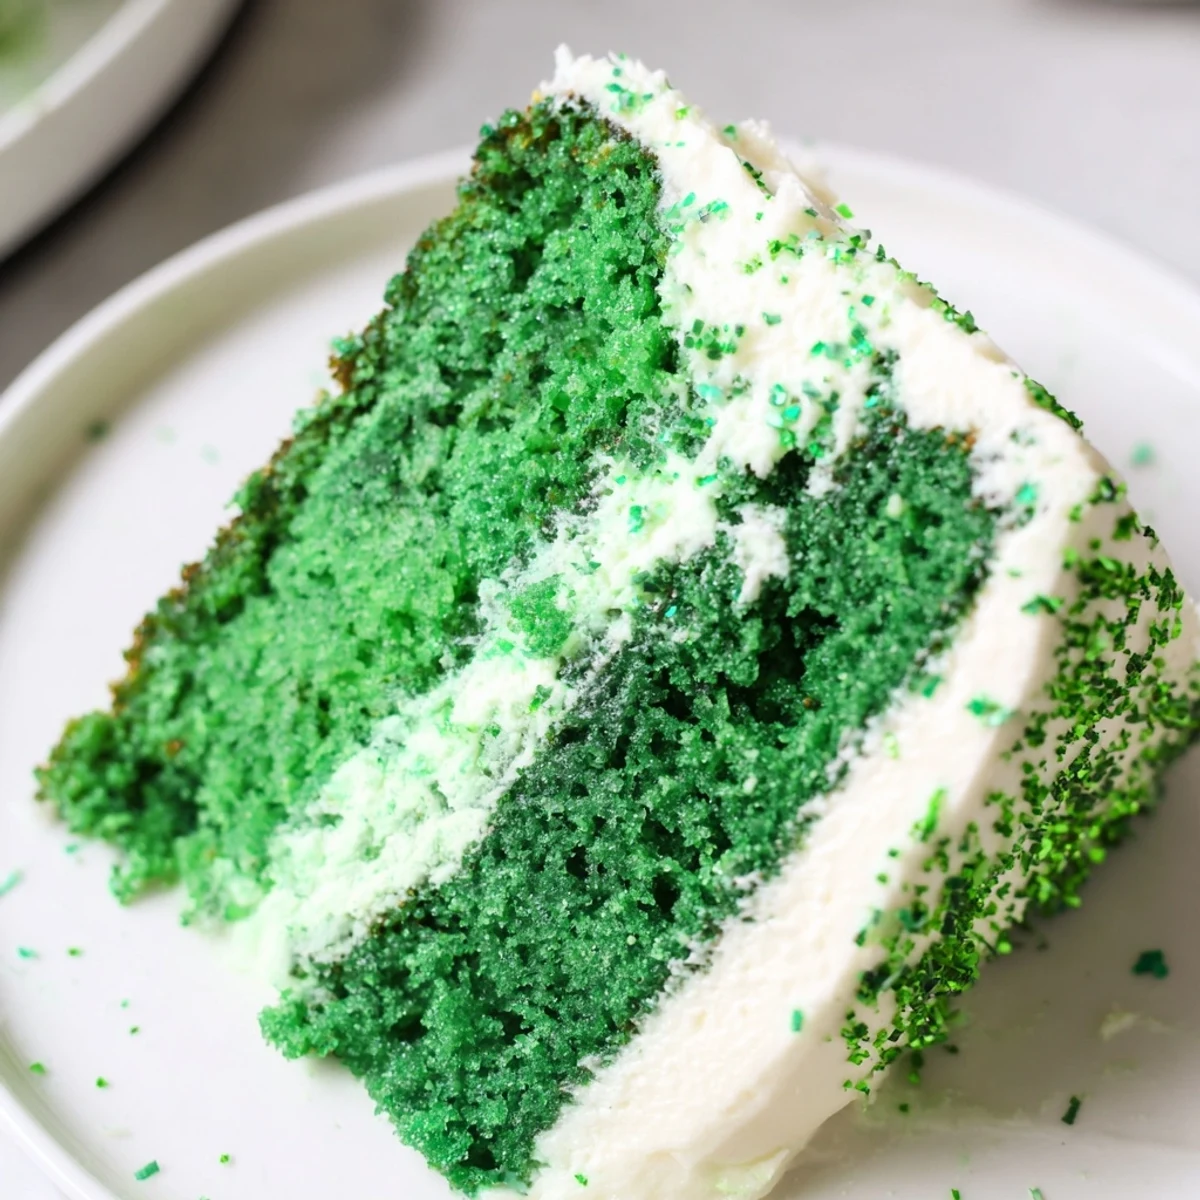
 Whether youre Irish by heritage or Irish by spirit on March 17th, this cake brings joy to everyone who tries it. Happy baking, and may your St. Patricks Day be filled with laughter and seconds.
Recipe FAQs
- → How do I achieve the vibrant green color?
-
Use gel green food coloring for a bright, even hue and add more gradually to deepen the shade if desired.
- → Can I make this cake as cupcakes?
-
Yes, bake the batter in cupcake liners for 18–20 minutes to enjoy single servings perfect for gatherings.
- → What gives the cake its tender texture?
-
The combination of buttermilk and vegetable oil helps keep the crumb moist and soft throughout.
- → What is the best way to frost the cake?
-
Beat the cream cheese and butter until smooth, then gradually add powdered sugar and vanilla to achieve a fluffy consistency before spreading evenly.
- → How can I store leftovers?
-
Keep the cake covered in the refrigerator in an airtight container for up to 3 days to maintain freshness.
- → Are there any common allergens in this cake?
-
This cake contains wheat, eggs, dairy, and should be avoided by those with related allergies.
