 Save to Pinterest
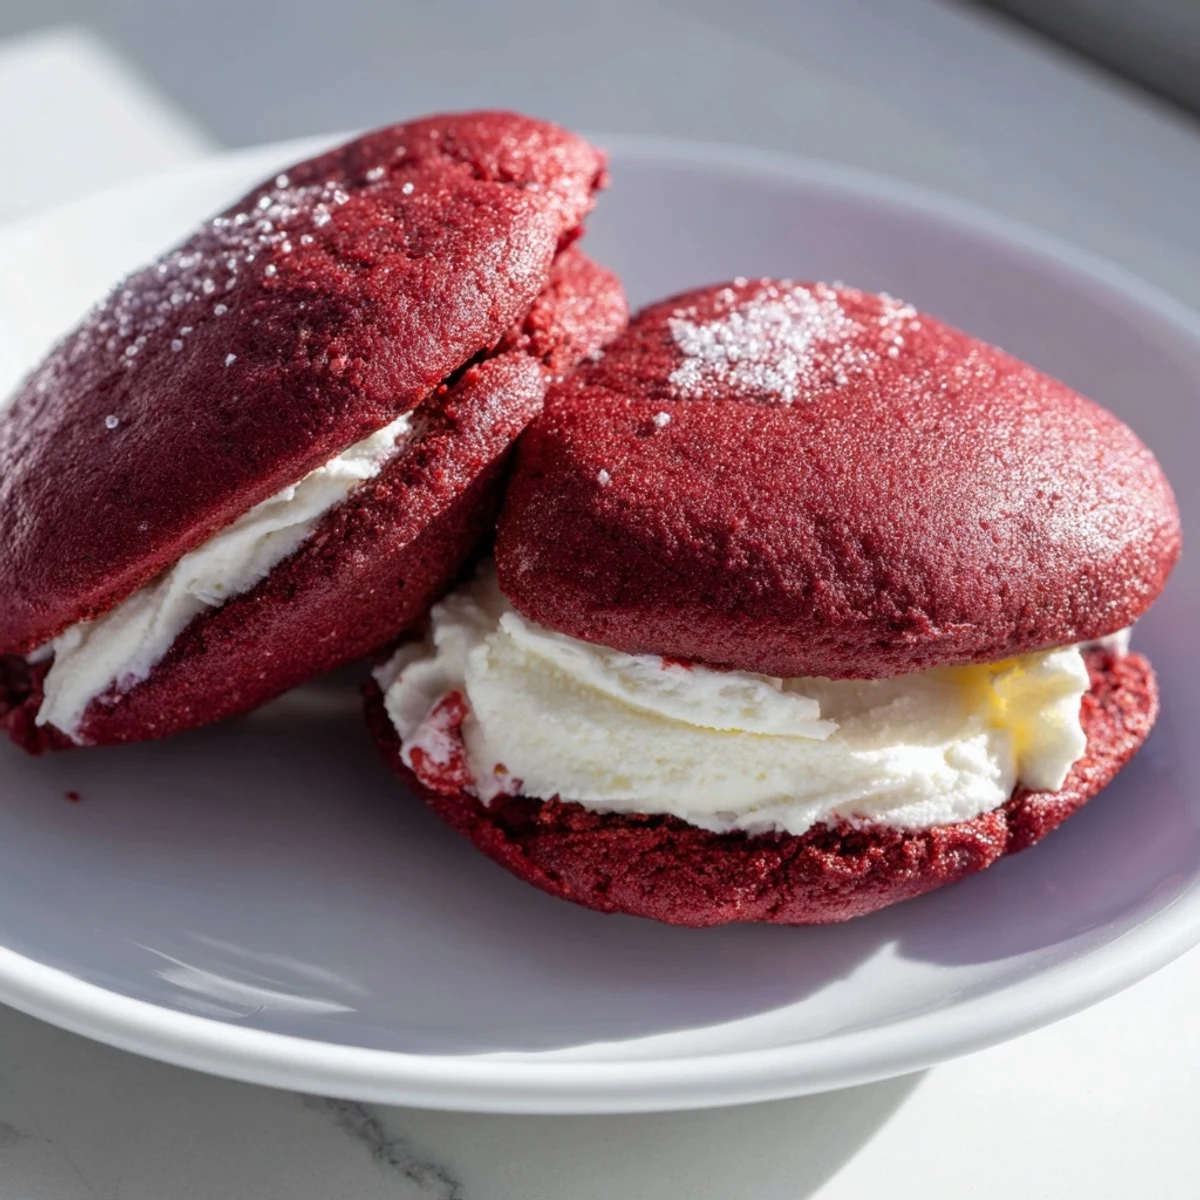
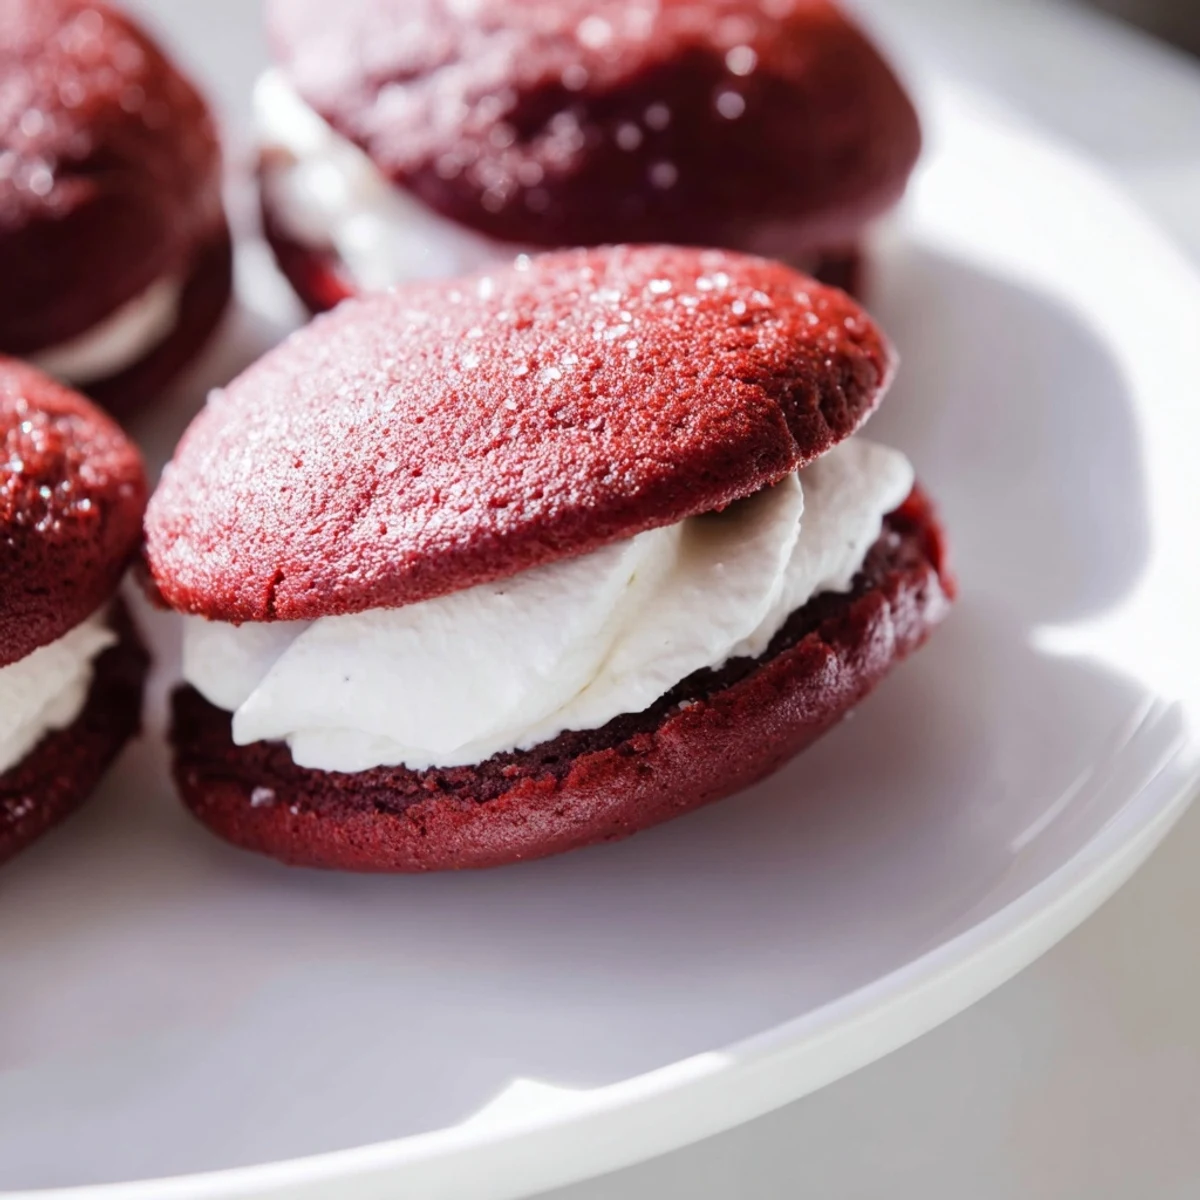
 Enjoy soft, cake-like red velvet cookies paired with a fluffy marshmallow cream filling. These whoopie pies offer a perfect balance of rich cocoa flavor, vibrant red hues, and sweet, creamy filling. Baking involves mixing dry ingredients with buttermilk and red food coloring for tender cookies, baked until lightly sprung. The marshmallow filling blends butter, powdered sugar, marshmallow creme, and vanilla for a smooth texture. Assembled sandwiches provide a lovely treat ideal for dessert or special occasions, delicious alongside coffee or milk.
The first time I attempted red velvet whoopie pies, I ended up with bright red countertops and a phone call from my mother asking if everything was alright in my kitchen. That afternoon taught me that food coloring has a personality of its own, especially when you are enthusiastic with the measurements. These cakey sandwich cookies have since become my go-to for bringing something cheerful to winter gatherings, when everyone needs a little extra color in their life.
I brought a batch to my friend Sarahs birthday potluck last February, and her eight year old daughter stared at them with wide eyes before whispering, are those really red cookies? The grownups were just as delighted, and within minutes the plate was empty except for a few crumbs. Someone asked for the recipe, and another person claimed they were the best dessert they had tasted in years.
Ingredients
- All-purpose flour (2 cups): The foundation of these cakey cookies, giving them structure while still staying tender.
- Unsweetened cocoa powder (2 tbsp): Just enough to deepen the flavor without overpowering the delicate red velvet taste.
- Baking soda (1/2 tsp): Helps the cookies puff up into perfect little rounds that hold their shape.
- Salt (1/4 tsp): A pinch that balances the sweetness and brings out the cocoa notes.
- Unsalted butter (1/2 cup for cookies, 1/2 cup for filling): Must be softened to room temperature, otherwise you will fight with your mixer and end up with uneven distribution.
- Granulated sugar (1 cup): Sweetens and helps create that light, cakey texture we love in whoopie pies.
- Large egg (1): Binds everything together and adds richness to the cookie base.
- Vanilla extract (1 tsp for cookies, 1 tsp for filling): Use the good stuff here since it appears in both components.
- Buttermilk (1/2 cup): The secret ingredient for tenderness and that subtle tang that makes red velvet special.
- Red food coloring (1 tbsp): Gel coloring works better than liquid for achieving that vibrant red without thinning your batter.
- Powdered sugar (1 1/2 cups): Sift it first or you will find tiny sugar lumps in your silky filling.
- Marshmallow creme (1 cup): The star of the filling, creating that dreamy, fluffy texture that makes these irresistible.
Instructions
- Preheat your oven and prepare baking sheets:
- Set your oven to 350°F (175°C) and line two baking sheets with parchment paper. This preparation step matters because once your batter is mixed, you want to get these into the oven quickly.
- Whisk the dry ingredients together:
- In a medium bowl, combine the flour, cocoa powder, baking soda, and salt. Whisk them well so you do not have to worry about cocoa lumps later.
- Cream the butter and sugar:
- Beat the butter and sugar together until the mixture looks pale and fluffy, which usually takes about 3 minutes of serious mixing. This step creates air pockets that make the cookies light rather than dense.
- Add the egg and vanilla:
- Mix in the egg and vanilla extract until everything is well combined, scraping down the sides of the bowl to catch any escaped butter.
- Blend in buttermilk and food coloring:
- Pour in the buttermilk and red food coloring, mixing until your batter turns that signature red color. The batter will look quite liquid at this stage, which is completely normal.
- Combine wet and dry ingredients:
- Gradually add the flour mixture to your red batter, stirring just until the flour disappears. Overmixing here will make your cookies tough, so stop as soon as everything is incorporated.
- Scoop the batter:
- Drop rounded tablespoons of batter onto your prepared baking sheets, leaving about 2 inches between each mound. They will spread as they bake, so give them room to breathe.
- Bake until set:
- Bake for 10 to 12 minutes, until the tops are set and spring back when you touch them lightly. Let them cool on the baking sheets for 5 minutes before moving them to a wire rack.
- Prepare the marshmallow filling:
- Beat the butter until smooth, then add the powdered sugar and mix until fluffy. Fold in the marshmallow creme, vanilla, and pinch of salt until everything is smooth and creamy.
- Assemble the whoopie pies:
- Spread or pipe the filling onto the flat side of half the cookies, then top with the remaining cookies to create sandwiches. Press gently so the filling reaches the edges but does not squish out.
 Save to Pinterest
 My sister texted me the day after I made these for her family, demanding to know when I was coming over to bake them again. Her husband had taken the last one to work, and apparently the entire office was now asking about the mysterious red sandwich cookies. There is something deeply satisfying about making a treat that travels so well and brings joy wherever it goes.
Making Ahead and Storage
You can bake the cookies a day ahead and store them in an airtight container at room temperature. The filling also keeps well in the refrigerator for up to three days, but let it come to room temperature before spreading for the smoothest texture. Assemble the whoopie pies the same day you plan to serve them for the best contrast between soft cookies and fluffy filling.
Perfecting the Red Color
Gel food coloring provides the most vibrant red without thinning your batter like liquid coloring can. Add it gradually and remember that the color will deepen slightly as the cookies bake. If you are concerned about artificial coloring, beet juice powder works as a natural alternative, though it will produce a more subtle crimson shade.
Serving Suggestions
These whoopie pies make an impressive addition to any dessert table, especially during holidays when their red color stands out beautifully. They pair wonderfully with cold milk, hot coffee, or even a glass of dessert wine if you want to get fancy. Consider cutting a few in half to show off the filling and red interior on a platter.
- Plate them on a vintage cake stand for an eye catching presentation at parties.
- Wrap individual whoopie pies in clear bags tied with twine for charming party favors.
- Serve slightly chilled on warm days for a refreshing cold dessert experience.
 Save to Pinterest
 Every time I make these, I am reminded that the best desserts are the ones meant to be shared with hands stretched across the table, laughter filling the room, and red velvet crumbs on napkins. Happy baking.
Recipe FAQs
- → What gives red velvet its distinctive color?
-
The vibrant red hue comes from red food coloring added to the batter, enhancing the cocoa flavor and appearance.
- → How do I achieve a fluffy marshmallow filling?
-
Beat unsalted butter until smooth, then mix in powdered sugar and marshmallow creme gradually, ensuring a light and creamy texture.
- → Can these whoopie pies be stored at room temperature?
-
Yes, they can be stored in an airtight container at room temperature for up to 2 days, or refrigerated for longer freshness.
- → What causes the cookies to be soft and cake-like?
-
The use of buttermilk and careful mixing of dry ingredients with wet ingredients contributes to the tender, cake-like texture.
- → Are there ways to modify the filling for added flavor?
-
Adding softened cream cheese to the marshmallow filling provides a tangier taste, balancing the sweetness.
