 Save to Pinterest
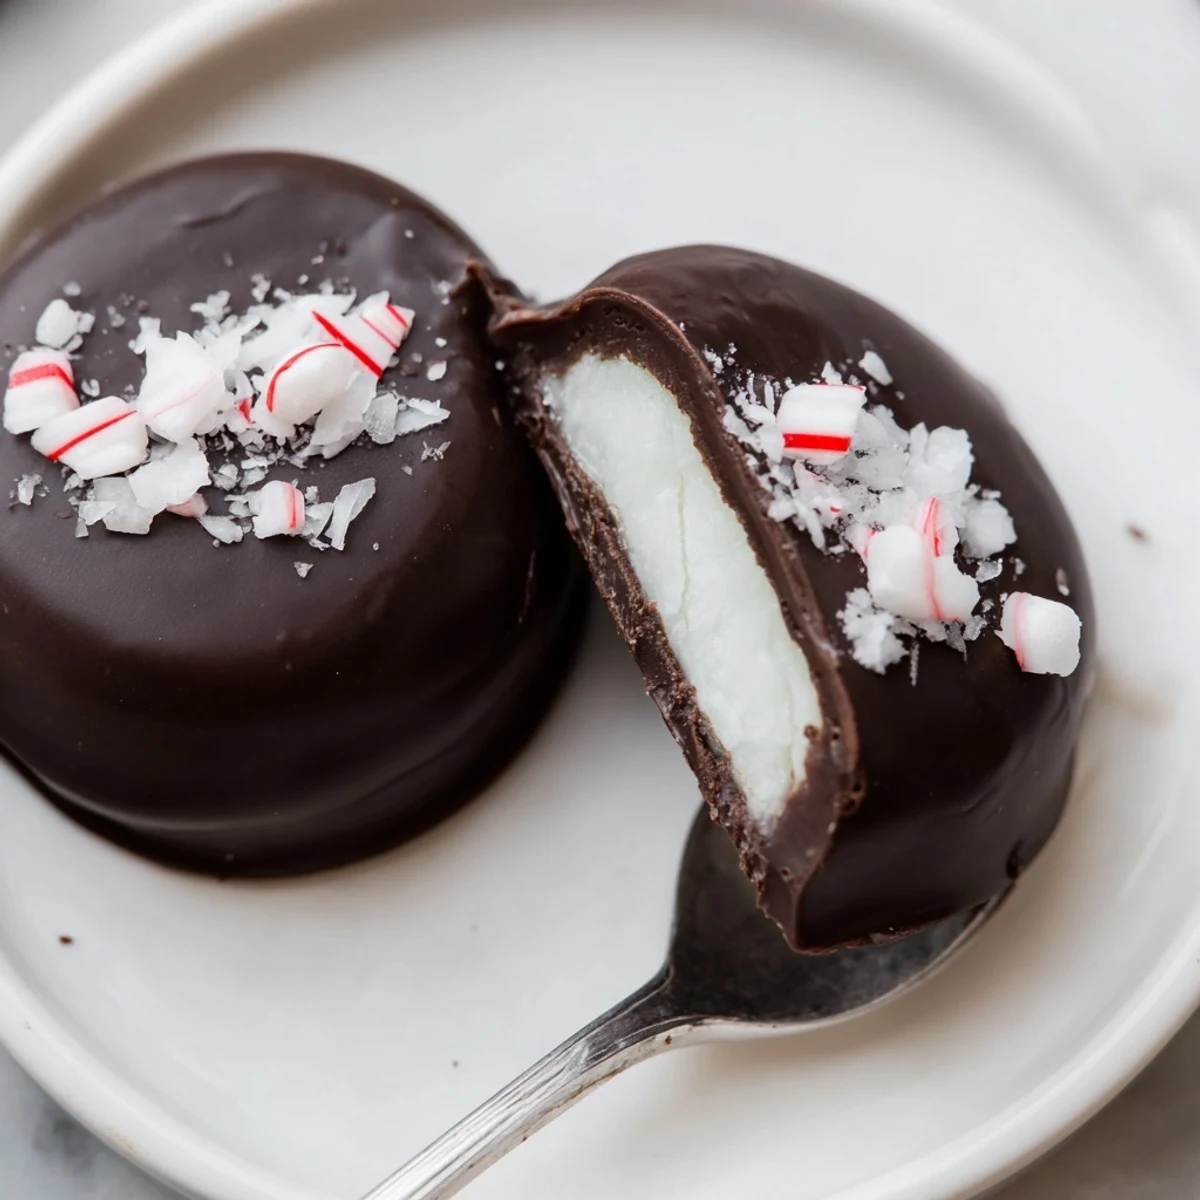
 Make the mint centers by beating sifted powdered sugar with softened butter, peppermint extract and a touch of cream until smooth and pliable. Shape into small discs, freeze 20–30 minutes to firm, then dip in melted dark chocolate smoothed with a little coconut oil. Return to parchment, garnish if desired, and chill until set. Store chilled in an airtight container up to two weeks.
The first thing that hits you is the scent—cocoa mingling with that unmistakable zing of peppermint, turning an ordinary kitchen evening into something a bit magical. I wasn’t even planning to make sweets that day but stumbled on a forgotten bottle of peppermint extract; curiosity (and a craving for something refreshing) led me here. Rolling the smooth filling and dipping each disc became oddly meditative, with chocolate smudges proof of my impatience. There’s something quietly thrilling about pulling these glossy, finished patties from the fridge, knowing you made them from scratch.
Last winter, my neighbor poked her head in as I was fiddling with melted chocolate, and within minutes, we were both competing to see who could dip the cleanest patty. Laughter filled my very tiny kitchen, and when the first batch set, we couldn’t even wait for tea—we just ate them, still cool, right off the pan. That afternoon ruined all store-bought peppermint patties for us. Now, I always make an extra dozen for surprise drop-ins (and impatient samplers).
Ingredients
- Powdered sugar: Makes the filling smooth and sweet; sift it first to avoid lumps, trust me on this.
- Unsalted butter: Softened butter helps create a creamy texture in the mint center—cold butter just won’t blend in as easily.
- Peppermint extract: Go for pure extract for that bright, clean flavor; a little goes a surprisingly long way.
- Heavy cream: Just enough to make the filling pliable and rich; if it’s too thick, add a splash more, but don’t overdo it.
- Salt: A pinch brings all the sweet and minty notes into balance—don’t skip it!
- Dark chocolate (60–70% cocoa): The real star for coating; choose a good one, since the flavor shines through.
- Coconut oil (optional): If your chocolate ever looks too thick or dull, a bit of oil makes it silky for dipping.
Instructions
- Make the peppermint dough:
- In a mixing bowl, beat powdered sugar, butter, peppermint extract, cream, and salt together until the mixture comes together into a smooth, pliable dough. Add more powdered sugar if it feels too sticky to work with your hands.
- Shape the patties:
- Scoop small dollops (about 2 teaspoons) and roll gently into balls before pressing them into 1/4-inch discs on a parchment-lined baking sheet.
- Chill the filling:
- Freeze the shaped discs for 20 to 30 minutes so they firm up enough to dip without falling apart.
- Melt the chocolate:
- Set a heatproof bowl over simmering water and melt the chocolate (with coconut oil if using), stirring until gleaming and smooth.
- Dip each patty:
- Using a fork, gently lower each chilled disc into the chocolate, turning to coat, then lift out and let excess drip off before returning it to the tray.
- Set the patties:
- Pop the chocolate-covered rounds in the fridge for at least 15 minutes until they’re glossy and firm to the touch.
 Save to Pinterest
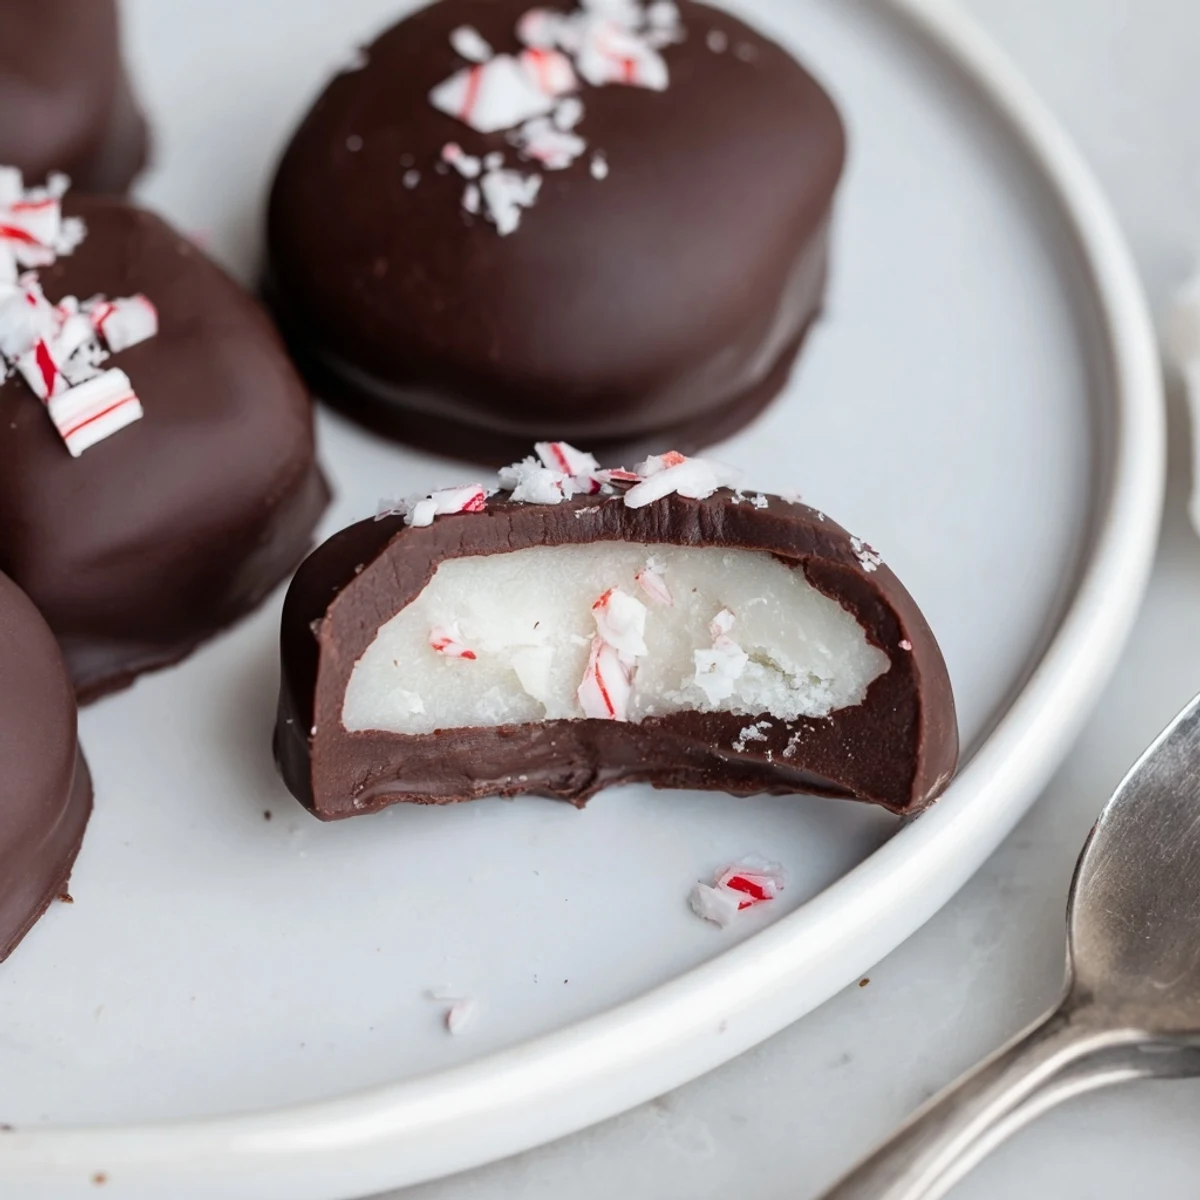
 The first time a friend bit into one of these patties, her eyes went wide with delight—like she’d just tasted winter on her tongue. Suddenly, what began as a whim became my ultimate dessert trade secret, shared in good company over crumb-streaked plates and lingering conversations.
How to Avoid Sticky Situations
The filling can get clingy on your hands if your kitchen’s warm or you skip the chilling. I’ve found using slightly damp hands for shaping and working quickly makes the job easier and neater. If things get too warm, just pop everything back in the fridge for a few minutes and carry on.
Creative Twists With Toppings
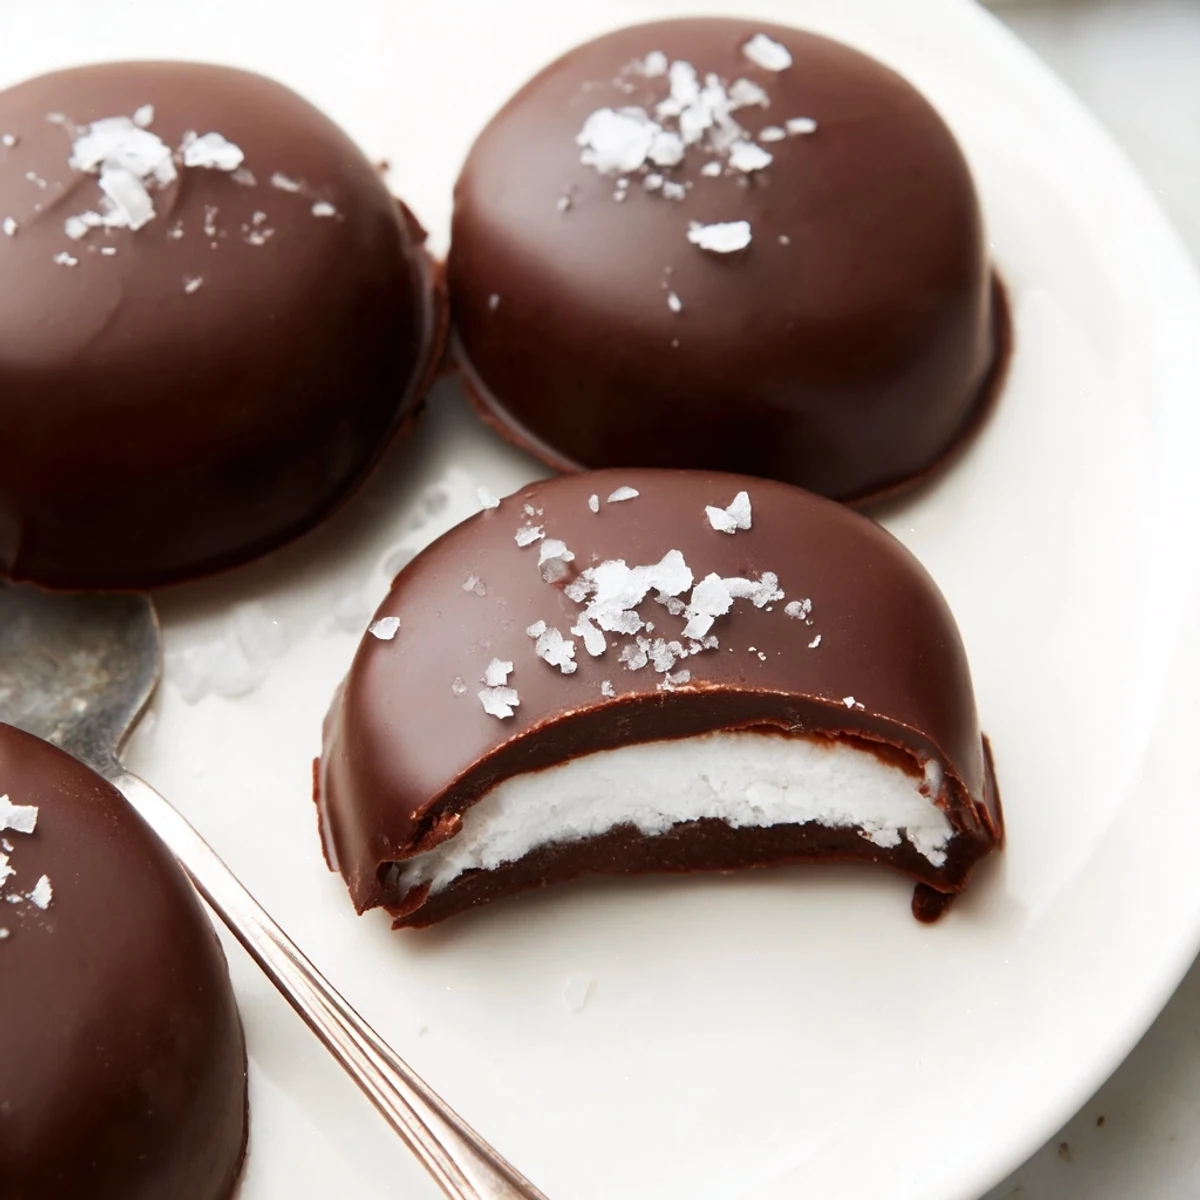
One holiday I crushed peppermints for sprinkling, and instantly the patties looked ready for a party (plus, the crunch was fun). Flaky sea salt, colored sugar, or even a drizzle of white chocolate can give these little treats a makeover. Play with your favorites—there’s not really a wrong answer.
Storing and Sharing Your Patties
Leftovers store beautifully in an airtight container in the fridge, their flavor deepening after a day or two. They make thoughtful gifts—wrap them up in wax paper or a pretty box for maximum smiles. And when temptation strikes, you’ll always have something sweet standing by.
- Layer with parchment if stacking to keep them looking perfect.
- Let patties sit at room temp for five minutes before serving for best texture.
- Double the batch—these tend to disappear fast.
 Save to Pinterest
 Honestly, making these peppermints is almost as satisfying as eating them. Share them, gift them, or tuck a stash in your freezer for those days you just need a cool, chocolatey pick-me-up.
Recipe FAQs
- → How long should the mint discs be frozen before dipping?
-
Freeze discs for 20–30 minutes until firm but not rock-hard; this helps them hold shape when dipped and prevents excess chocolate from soaking in.
- → What's the best way to melt the dark chocolate?
-
Melt chocolate gently over a simmering water bath, stirring until smooth. Adding a teaspoon of coconut oil can improve flow and give a shinier finish.
- → Can I make the centers dairy-free?
-
Yes. Substitute dairy-free butter and use coconut cream or another plant-based cream to achieve a similar pliable texture for the mint centers.
- → How do I avoid cracks in the chocolate coating?
-
Ensure chocolate is fully melted and fluid when dipping, tap off excess, and chill gently. Sudden large temperature changes can cause cracking, so cool steadily in the refrigerator.
- → How should I store the finished patties?
-
Keep patties in a single layer or separated by parchment in an airtight container in the refrigerator; they stay best for up to two weeks.
- → Any ideas for festive finishing touches?
-
Sprinkle crushed peppermint candy, finely grated zest, or a few flakes of sea salt on the coating before it sets for color and texture contrast.
