 Save to Pinterest
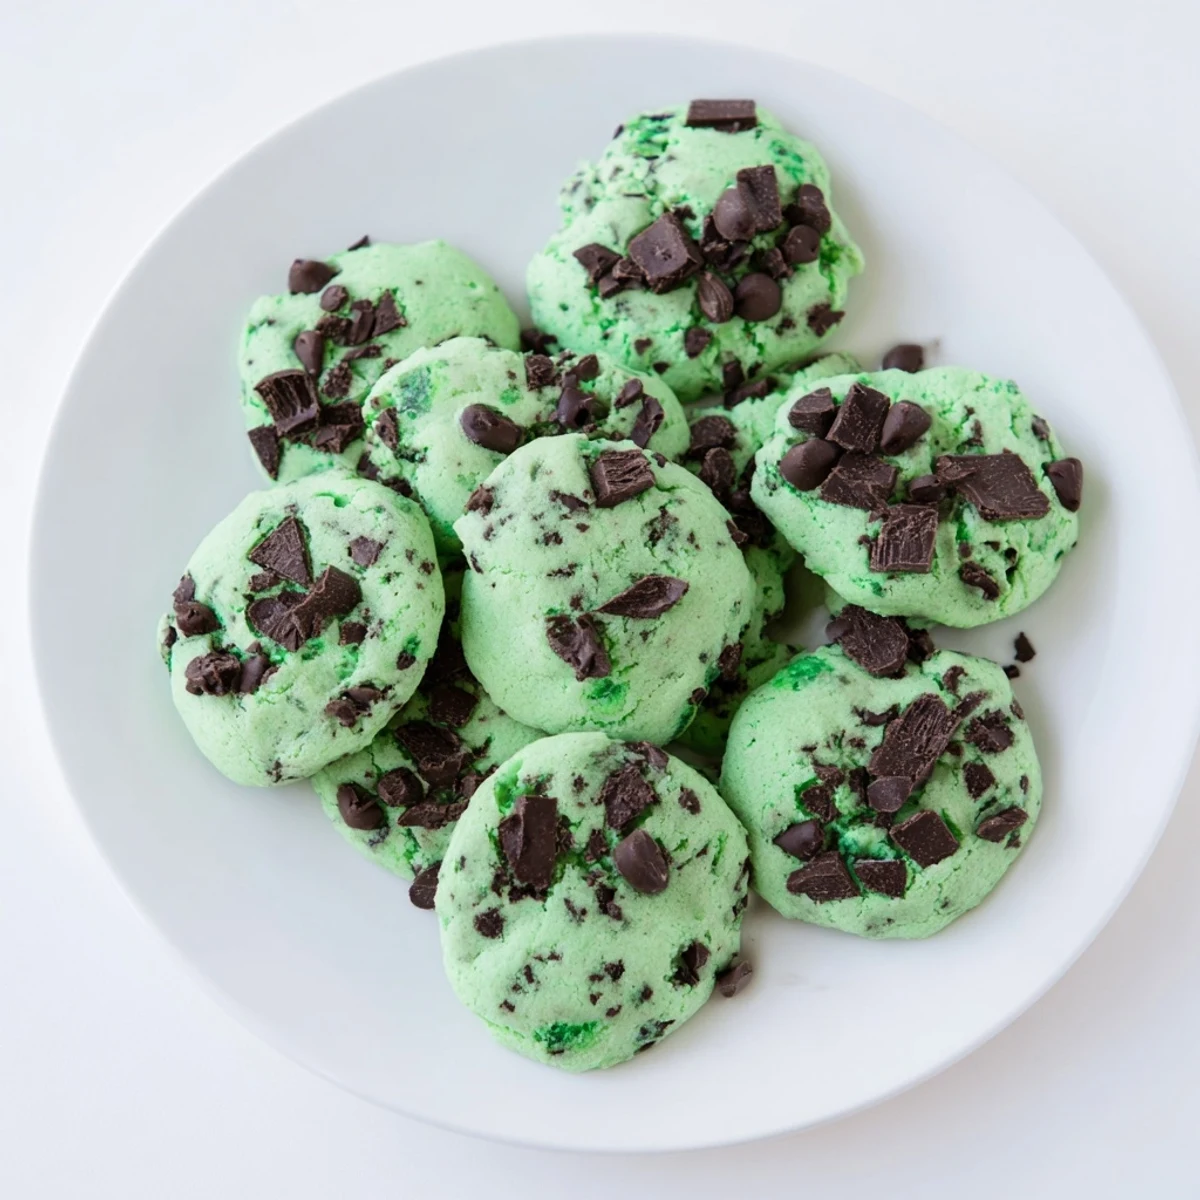
 These soft, chewy cookies showcase a vibrant green color thanks to gel food coloring, complemented by a refreshing peppermint touch. The dough blends melted butter with granulated and brown sugar, eggs, and extracts, then folds in semisweet and optional dark chocolate chips. After baking until edges are set but centers remain tender, the treats cool on racks to maintain their texture. Perfect for mint enthusiasts, they store well at room temperature for several days and can be adapted with gluten-free flour blends.
The first time I made these mint chip cookies, my kitchen assistant (aka my six-year-old niece) gasped when the dough turned bright green. She looked at me like I'd performed actual magic, and honestly, the way that vibrant color pops against the dark chocolate chips is pretty enchanting.
I brought a batch to a friend's St. Patricks Day party years ago, and people kept asking where I bought them. Watching skeptics turn into believers after one bite—especially the ones who claimed they didn't like mint desserts—is still one of my favorite kitchen memories.
Ingredients
- All-purpose flour: The foundation that gives these cookies their perfect chewy structure
- Baking soda: Essential for that lovely rise and spread in the oven
- Salt: A crucial pinch that intensifies the chocolate and mint flavors
- Unsalted butter: Softened to room temperature for creaming into that perfect fluffy base
- Granulated and brown sugar: The dynamic duo creating crisp edges and soft centers
- Eggs: Room temperature eggs incorporate better for consistent texture
- Peppermint extract: This is the star—dont be tempted to add more or it becomes overwhelming
- Vanilla extract: Rounds out the sharpness of the peppermint beautifully
- Green gel food coloring: Gel coloring gives you that vibrant grassy shade without thinning your dough
- Semisweet chocolate chips: The classic partner that balances mints coolness
- Chopped dark chocolate: Optional but those melty pockets add sophisticated richness
Instructions
- Preheat your oven:
- Get your oven to 350°F (180°C) and line two baking sheets with parchment paper—the cleanup saved here is worth it alone.
- Whisk the dry team:
- In a medium bowl, combine flour, baking soda, and salt until evenly blended.
- Cream the butter and sugars:
- Beat softened butter with both sugars until light and fluffy, about 2–3 minutes—this step creates those irresistible cookie textures.
- Add the eggs and flavor:
- Beat in eggs one at a time, then mix in peppermint extract, vanilla, and enough green gel coloring to achieve your desired shade.
- Combine it all:
- Gradually mix in the dry ingredients on low speed just until combined—overmixing makes tough cookies.
- Fold in the chocolate:
- Gently stir in both chocolate chips until distributed throughout that gorgeous green dough.
- Scoop and space:
- Drop tablespoon-sized portions onto prepared sheets, leaving about 2 inches between each for spreading.
- Bake to perfection:
- Bake for 9–11 minutes until edges are set but centers still look slightly underbaked.
- Cool completely:
- Let them rest on the baking sheets for 5 minutes before moving to a wire rack—this patience pays off in texture.
 Save to Pinterest
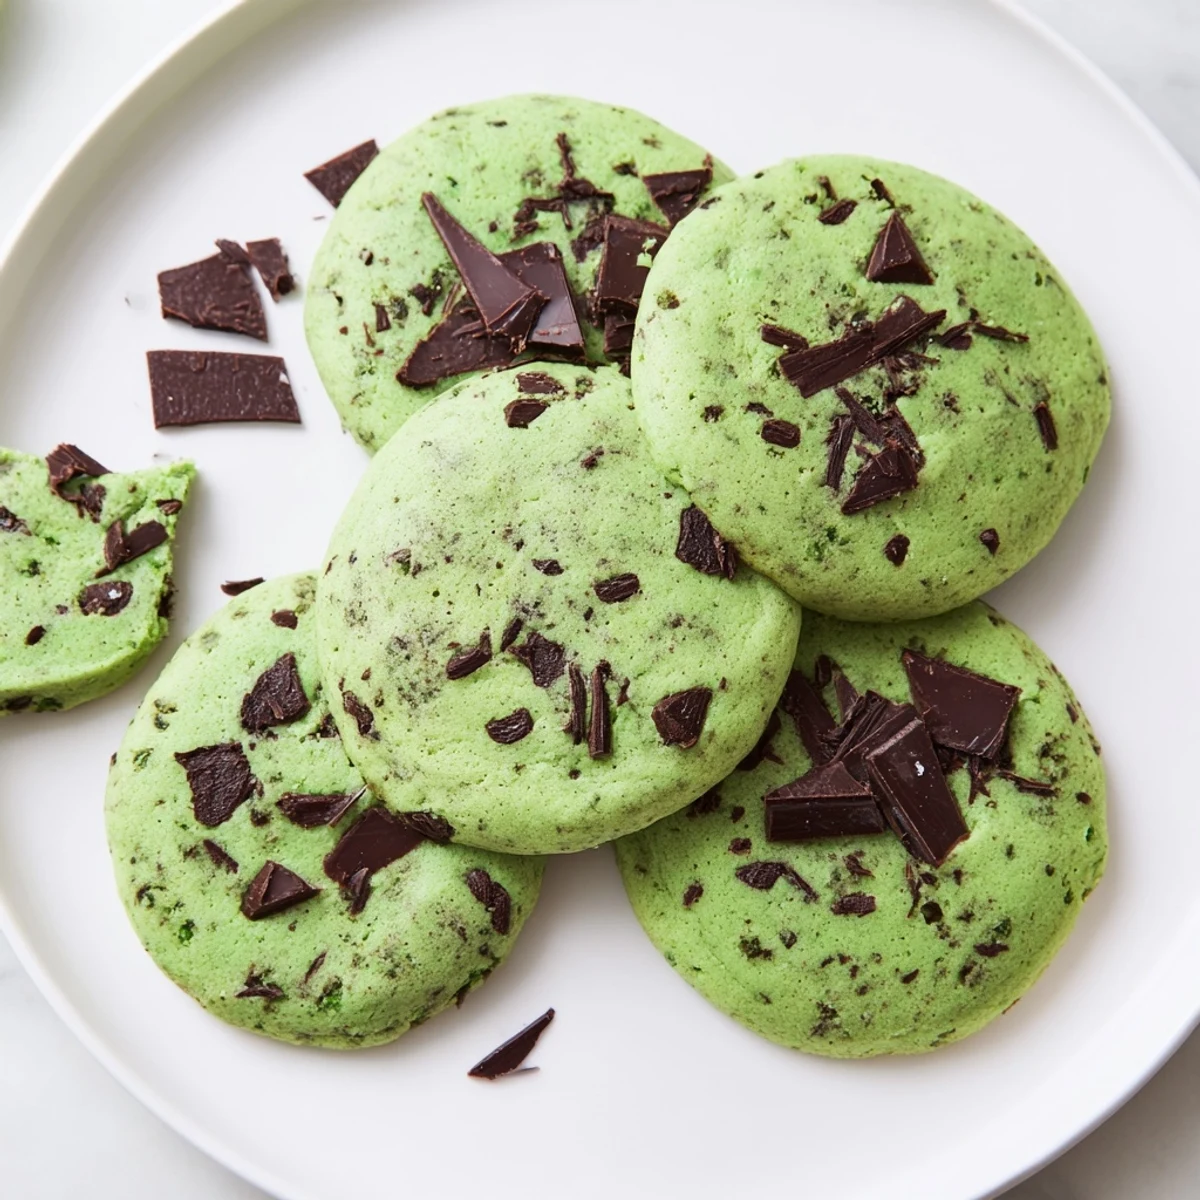
 My neighbor now requests these for every neighborhood gathering, and Ive learned to double the recipe because the first batch always disappears before I even finish cooling the second one. Something about that green dough makes people unreasonably happy.
Getting That Perfect Green
Start with less food coloring than you think you need—you can always add more. I once went too heavy on the green and ended up with cookies that looked like something from a cartoon instead of something you'd actually want to eat. A natural grassy shade reads much more appetizing than neon.
The Mint Balance
Peppermint extract is powerful stuff, and it's tempting to keep adding more. Resist that urge. The flavor intensifies slightly during baking, so what seems mild in raw dough becomes perfect in the finished cookie. Too much mint and they taste like toothpaste—nobody wants that surprise.
Storage Secrets
These actually improve after the first day as the flavors meld together. Store them in an airtight container with a piece of bread to maintain that fresh-baked softness. The bread trick changed my cookie game completely.
- Freeze unbaked dough balls for fresh cookies anytime
- Room temperature storage keeps them perfectly soft for up to five days
- These freeze beautifully baked too if you somehow have leftovers
 Save to Pinterest
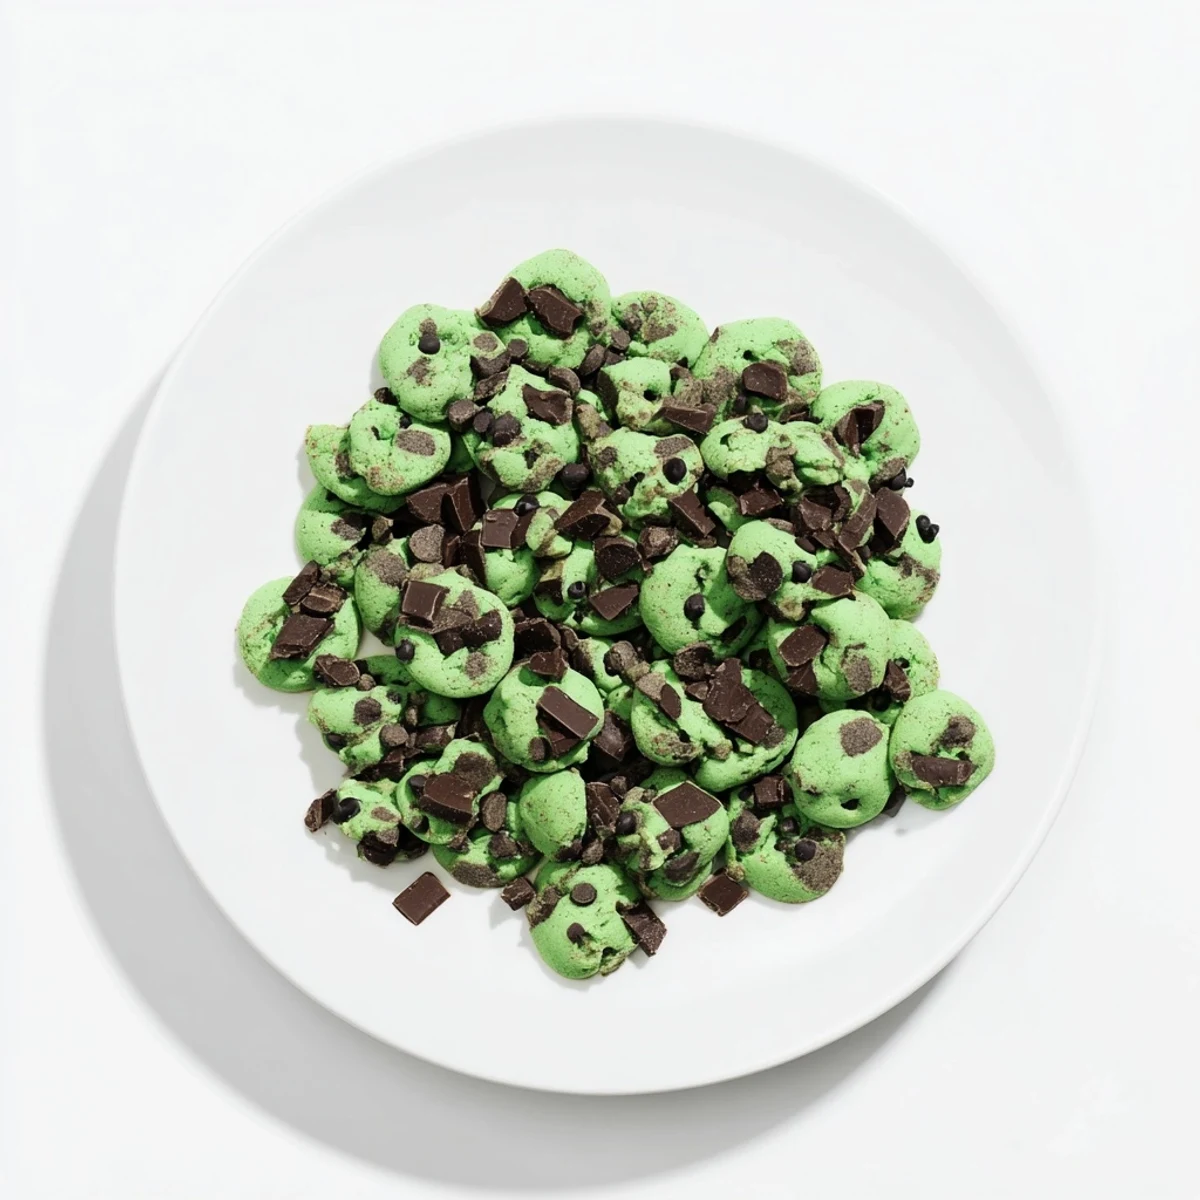
 Every time I pull that first sheet of green-studded cookies from the oven, I remember why this recipe earned permanent rotation in my baking rotation. Sometimes the most unexpected combinations become the ones you cant imagine living without.
Recipe FAQs
- → What gives these cookies their green color?
-
Gel food coloring is used to achieve the vibrant green hue without affecting the dough's texture.
- → How can I enhance the mint flavor in these cookies?
-
Adding more peppermint extract or folding in chopped chocolate mint candies boosts the minty notes.
- → Can I make a gluten-free version?
-
Yes, substituting the all-purpose flour with a 1:1 gluten-free flour blend works well.
- → What texture do these cookies have after baking?
-
The edges are set and slightly crisp while the centers remain soft and chewy once cooled.
- → How should I store these cookies for freshness?
-
Keep them in an airtight container at room temperature for up to five days to maintain freshness.
