 Save to Pinterest
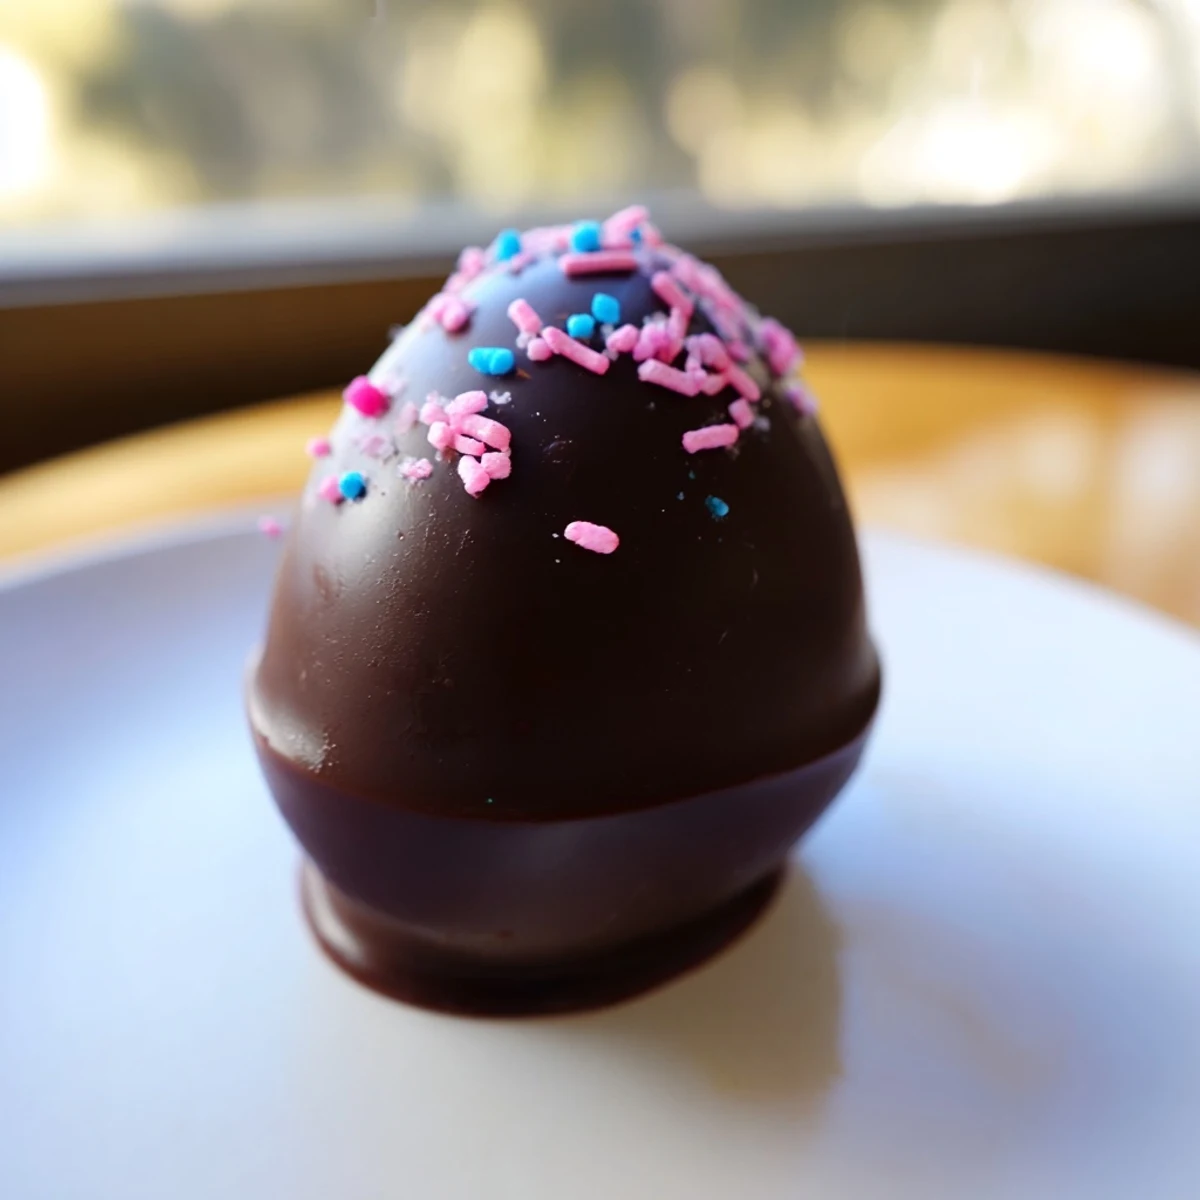
 Create irresistible Easter egg-shaped treats combining crushed Oreos and velvety cream cheese, dipped in melted chocolate. These no-bake delights come together in just 25 minutes of active preparation, making them perfect for busy holiday schedules. The process is simple: pulse cookies into fine crumbs, blend with softened cream cheese until smooth, shape into festive eggs, then coat with your choice of semi-sweet or white chocolate. Decorate with colorful sprinkles, edible glitter, or drizzled candy melts for a personalized touch. Kids love helping with the decoration step, making this a wonderful family activity.
Last spring my kitchen became a temporary art studio when I decided these egg-shaped treats would make perfect edible gifts for my book club. I ended up with chocolate smudges on my apron and sprinkles in places they should never be, but watching the faces when I brought out the platter was absolutely worth the mess.
My seven-year-old niece took the decorating station so seriously that each egg emerged with its own personality. Some got rainbow showers of sprinkles while others received careful polka dots in pastel colors. They were almost too cute to eat, almost.
Ingredients
- 36 Oreo cookies: The chocolate ones give that classic look but Golden Oreos create such a pretty spring vibe too
- 8 oz cream cheese softened: Room temperature is crucial here or you will fight lumps in your dough
- 12 oz semi-sweet or white chocolate: White chocolate looks gorgeous with pastel sprinkles for Easter
- Colored candy melts or sprinkles: This is where the magic happens and kids can absolutely take over
Instructions
- Prep your workspace:
- Line a baking sheet with parchment paper now so you are not scrambling when your hands are covered in chocolate mixture.
- Make the cookie dough:
- Pulse those Oreos in a food processor until they resemble fine sand then add the cream cheese and blend until everything comes together into a smooth pliable dough.
- Shape your eggs:
- Scoop tablespoon portions and gently roll them into egg shapes placing each one on your prepared sheet as you go.
- Chill time:
- Pop the whole tray in the freezer for 30 minutes because firm eggs dip so much more gracefully than soft ones.
- Melt the chocolate:
- Heat your chocolate in 20 second bursts in the microwave stirring between each interval until it is silky smooth.
- The dipping moment:
- Use a fork to lower each chilled egg into the chocolate letting any excess drip away before returning it to the parchment.
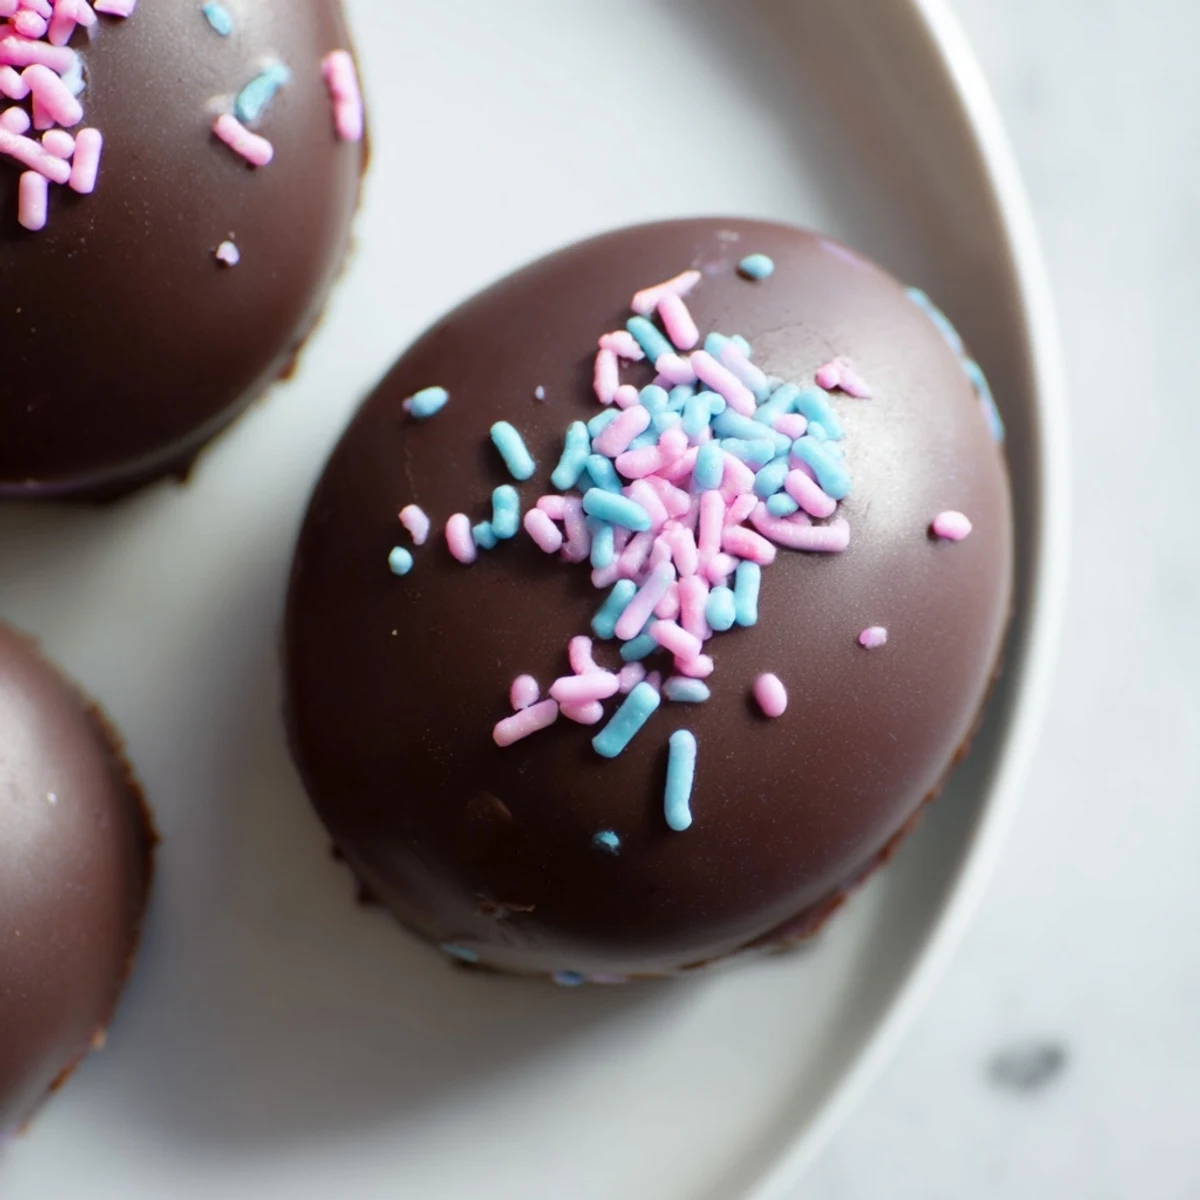
- Decorate while wet:
- Add your sprinkles or drizzles immediately because once that chocolate sets nothing will stick.
- Final set:
- Give them at least 15 minutes in the refrigerator to firm up completely before serving or packaging.
 Save to Pinterest
 My friend Sarah texted me at midnight the night after I gave her a batch demanding the recipe because her husband had eaten three in one sitting and was now guarding the container.
Getting That Perfect Egg Shape
The trick is working with slightly warmed hands and a light touch. If the dough feels too cold and crackles while shaping let it sit on the counter for a few minutes until it becomes more pliable.
Chocolate Coating Secrets
Tempering chocolate might sound intimidating but for these treats the microwave method works beautifully. The key is not overheating because seized chocolate is a heartbreak nobody needs in their life.
Storage & Gifting Ideas
These gems keep perfectly in the refrigerator for up to a week though they rarely last that long in my house. Layer them between wax paper in an airtight container to prevent sticking.
- Package in clear cellophane bags tied with pastel ribbons for adorable party favors
- Nestle them in cupcake liners for a pretty presentation on dessert platters
- Consider making a double batch because they disappear faster than expected
 Save to Pinterest
 These little bites of joy have become my spring signature and I hope they bring as much delight to your table as they have to mine.
Recipe FAQs
- → How long do these chocolate-coated treats stay fresh?
-
Store in an airtight container in the refrigerator for up to one week. The chocolate coating stays fresh and the creamy center maintains its texture perfectly when chilled.
- → Can I make these ahead of time for Easter gatherings?
-
Absolutely. Prepare and shape the Oreo mixture up to two days before your event, keep them frozen, then dip in chocolate and decorate the day of serving for optimal freshness and appearance.
- → What type of chocolate works best for coating?
-
Semi-sweet chocolate chips or chopped baking chocolate provide classic flavor, while white chocolate offers a beautiful contrast. Candy melts also work well and come in vibrant spring colors perfect for Easter decorating.
- → Can I use different cookies instead of Oreos?
-
Golden Oreos create a lighter, vanilla-based version. Other sandwich cookies like vanilla wafers or even girl scout cookies can be substituted, though texture may vary slightly.
- → Why do the shaped eggs need freezing before dipping?
-
Freezing for 30 minutes firms up the creamy mixture, preventing them from falling apart when dipped in warm melted chocolate. Cold eggs also help the chocolate coating set faster and more evenly.
- → What's the best way to melt chocolate for dipping?
-
Melt in 20-second intervals in the microwave, stirring thoroughly between each interval. This method prevents scorching and ensures silky, smooth chocolate perfect for coating.
