 Save to Pinterest
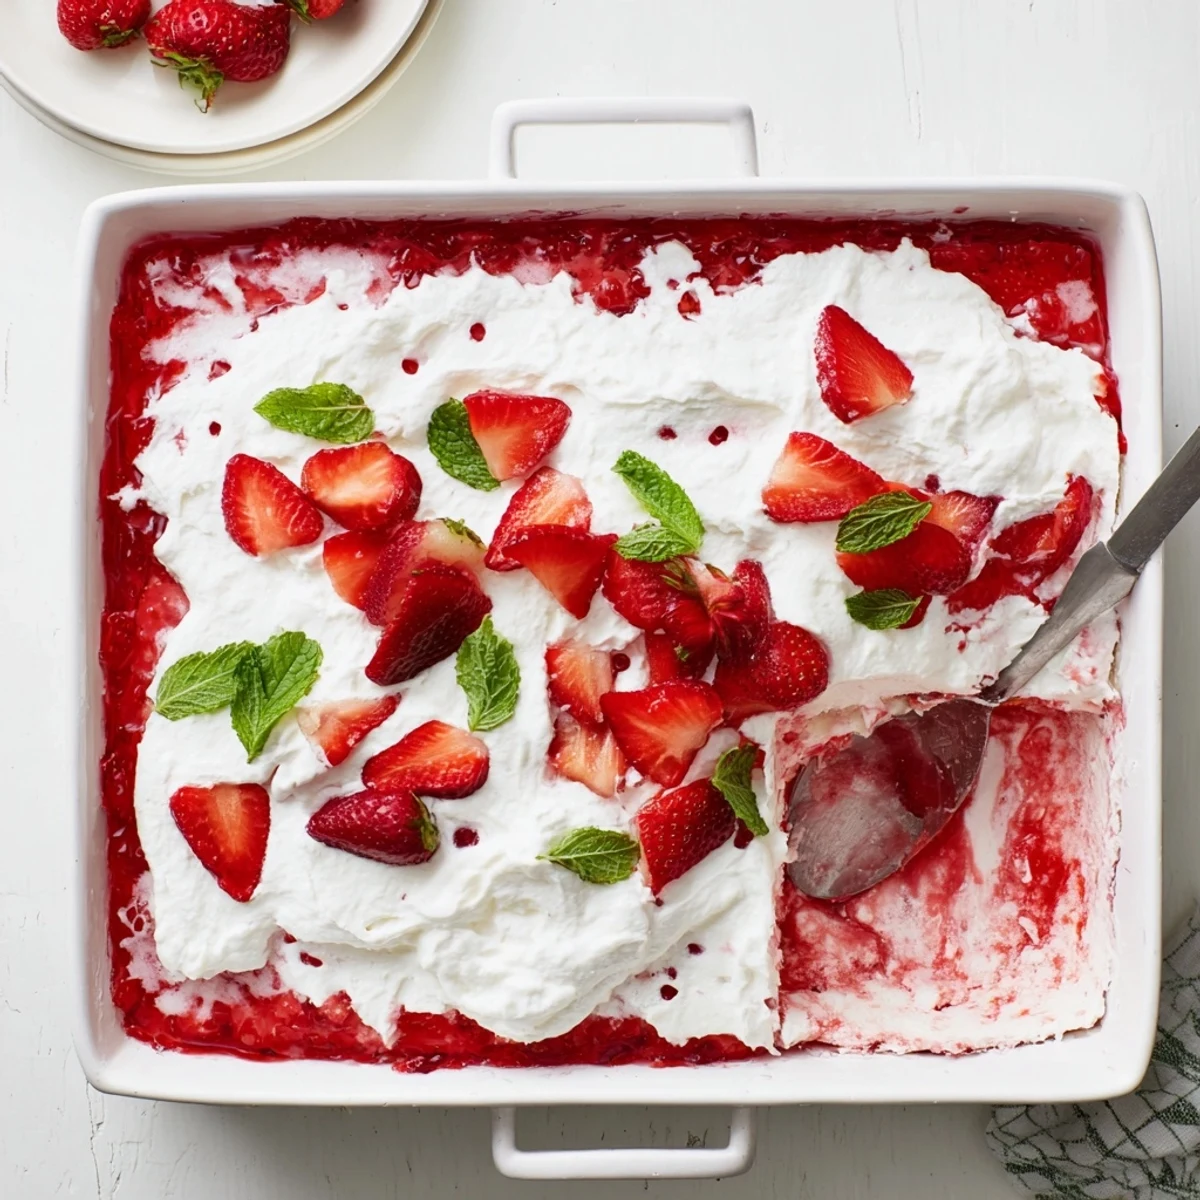
 This delightful layered dessert combines the comfort of moist yellow cake with the refreshing zing of strawberry gelatin. After baking the cake, poke holes throughout and pour prepared strawberry gelatin over the surface, allowing it to seep into every crevice. Chill until set, then crown with clouds of whipped topping and fresh strawberry slices. The result is a vibrant, crowd-pleasing sweet treat that's perfect for potlucks, picnics, and seasonal celebrations.
Last July, my sister showed up at my door with a flat of strawberries and a nostalgia for the gelatin cakes our grandmother used to make. We spent the afternoon experimenting, poking holes in warm cake and watching red liquid disappear into the crumb. The whole kitchen smelled like sugar and summer. Now I make it whenever I need something that feels like a celebration without the fuss.
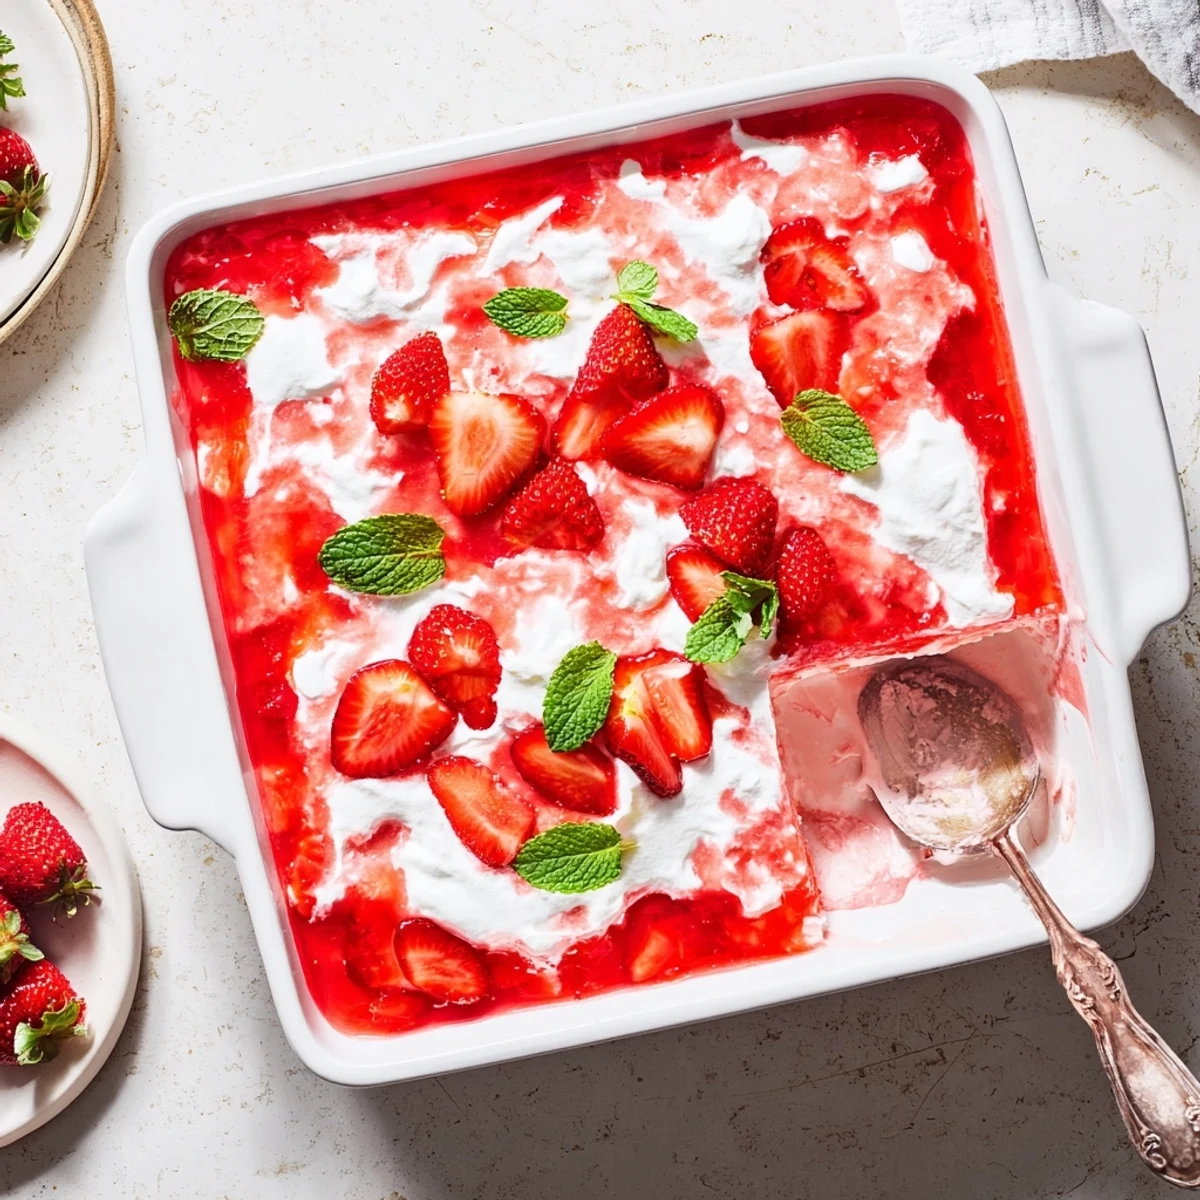
I brought this to a Memorial Day picnic once and watched three different people ask for the recipe between bites. Something about the layers just makes people happy. The pink slices against the white whipped topping look so pretty sitting on a dessert table.
Ingredients
- Cake mix: Boxed mix works perfectly here, but homemade yellow cake is just as good
- Strawberry gelatin: The classic flavor that makes this taste like childhood
- Boiling and cold water: Essential for properly dissolving and setting the gelatin
- Fresh strawberries: Slice them thin so they layer beautifully on top
- Whipped topping: Light and creamy, the perfect contrast to the bright gelatin
- Mint leaves: Optional but they make everything look restaurant quality
Instructions
- Bake your base:
- Preheat oven to 175°C (350°F) and grease a 9x13-inch baking dish. Prepare the cake mix according to package directions and bake until golden. Let it cool for about 20 minutes.
- Create those magic holes:
- Take a fork or wooden spoon handle and poke holes all over the cooled cake, pushing down almost to the bottom. These little wells will catch the gelatin.
- Make the gelatin:
- Whisk the strawberry gelatin into one cup of boiling water until completely dissolved. Stir in half a cup of cold water.
- Pour and soak:
- Slowly pour the liquid gelatin evenly over the cake. Watch it disappear into all those holes you made.
- Let it set:
- Refrigerate for at least two hours until the gelatin is completely firm and the cake is cold throughout.
- Add the finishing touches:
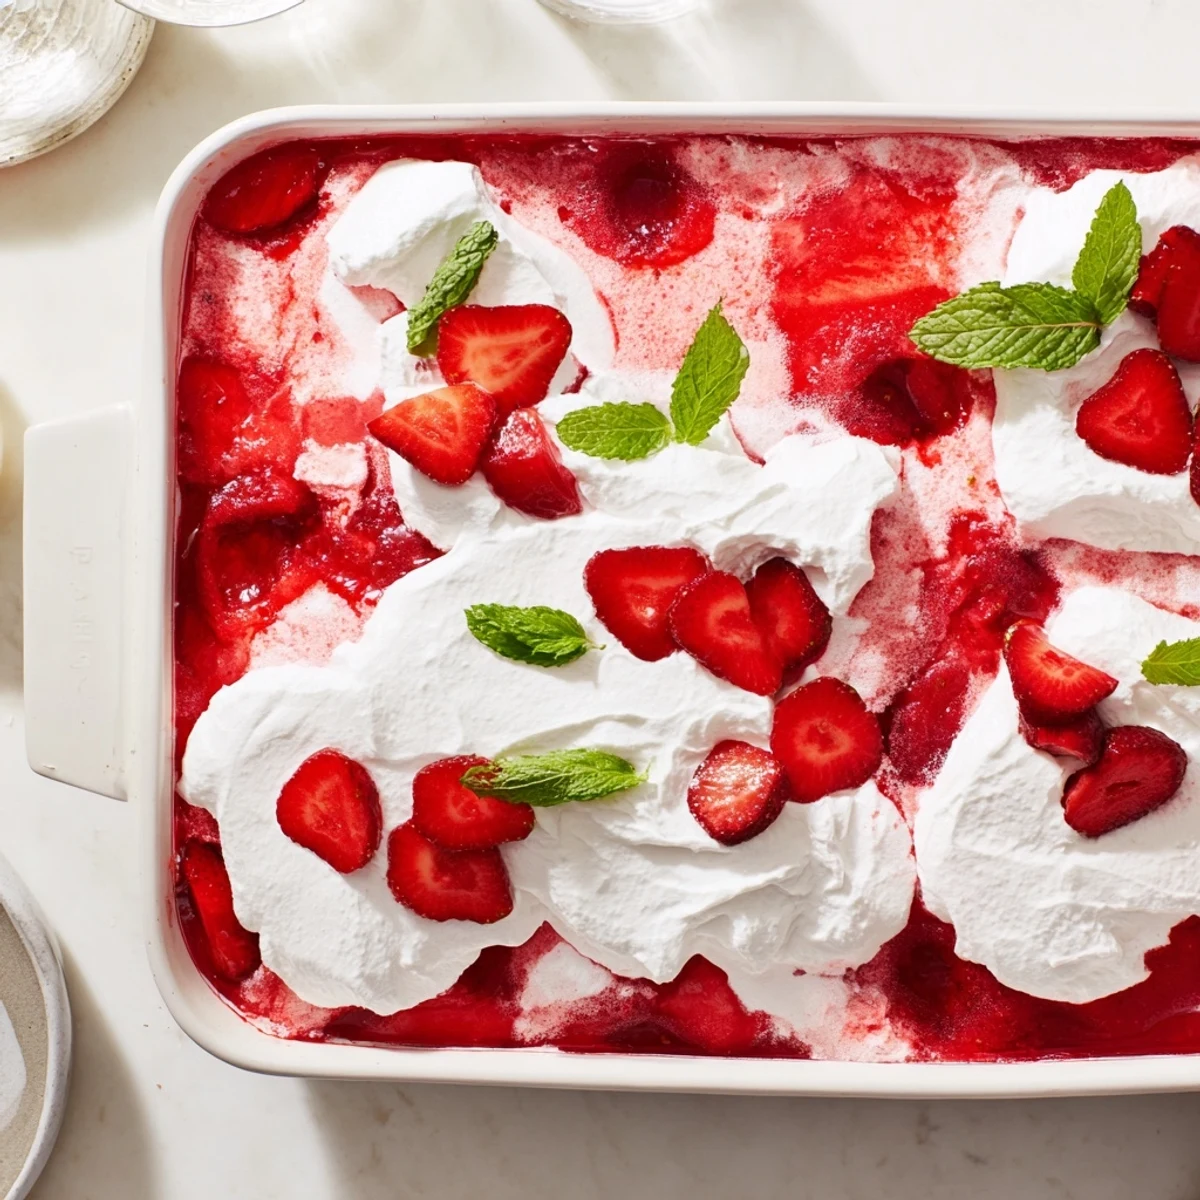
- Spread the whipped topping over the chilled cake. Arrange sliced strawberries on top and tuck in some mint leaves if you are feeling fancy.
 Save to Pinterest
 My daughter now requests this for her birthday instead of regular cake. There is something about squishing the layers with your fork that kids find absolutely delightful. It has become our spring tradition.
Making It Your Own
Sugar free gelatin works just as well if you are watching your sugar intake. I have also swapped in orange gelatin with mandarin oranges for a breakfast version that feels almost virtuous.
Getting The Layers Right
Sometimes I add a layer of vanilla pudding between the gelatin soaked cake and whipped topping. It adds such a nice creamy middle. Just make sure the gelatin is fully set first.
Party Perfect Presentations
For the Fourth of July, try layering blueberries between the strawberries. You can also use different shaped pans like a springform for a fancier look.
- Cut squares with a wet knife for clean edges
- Top each serving with a whole strawberry for impact
- Keep refrigerated until the very last minute
 Save to Pinterest
 Every time I serve this, someone reminisces about their grandmother making something similar. Food memories are powerful that way.
Recipe FAQs
- → How long should I chill the cake before serving?
-
Refrigerate the cake for at least 2 hours after pouring the gelatin to ensure it sets completely. This allows the flavors to meld and the texture to firm up properly before adding the whipped topping.
- → Can I use fresh strawberries instead of gelatin mix?
-
For the jiggly layer, you'll need the gelatin mix to achieve the right consistency. However, you can enhance the strawberry flavor by folding fresh diced berries into the dissolved gelatin before pouring, or use them as a topping.
- → What variations work well with this dessert?
-
Try different gelatin flavors like raspberry, cherry, or lime. For added richness, spread a layer of vanilla pudding between the cake and whipped topping. You can also use sugar-free gelatin for a lighter option.
- → Can I make this ahead of time?
-
Absolutely! This dessert actually benefits from sitting overnight. The gelatin fully sets and the cake becomes more moist. Add the whipped topping just before serving for the freshest appearance.
- → What size pan works best?
-
A 9x13-inch baking dish is ideal for this dessert. The shallow depth allows the gelatin to distribute evenly, and the surface area provides plenty of room for the topping and garnishes.
