 Save to Pinterest
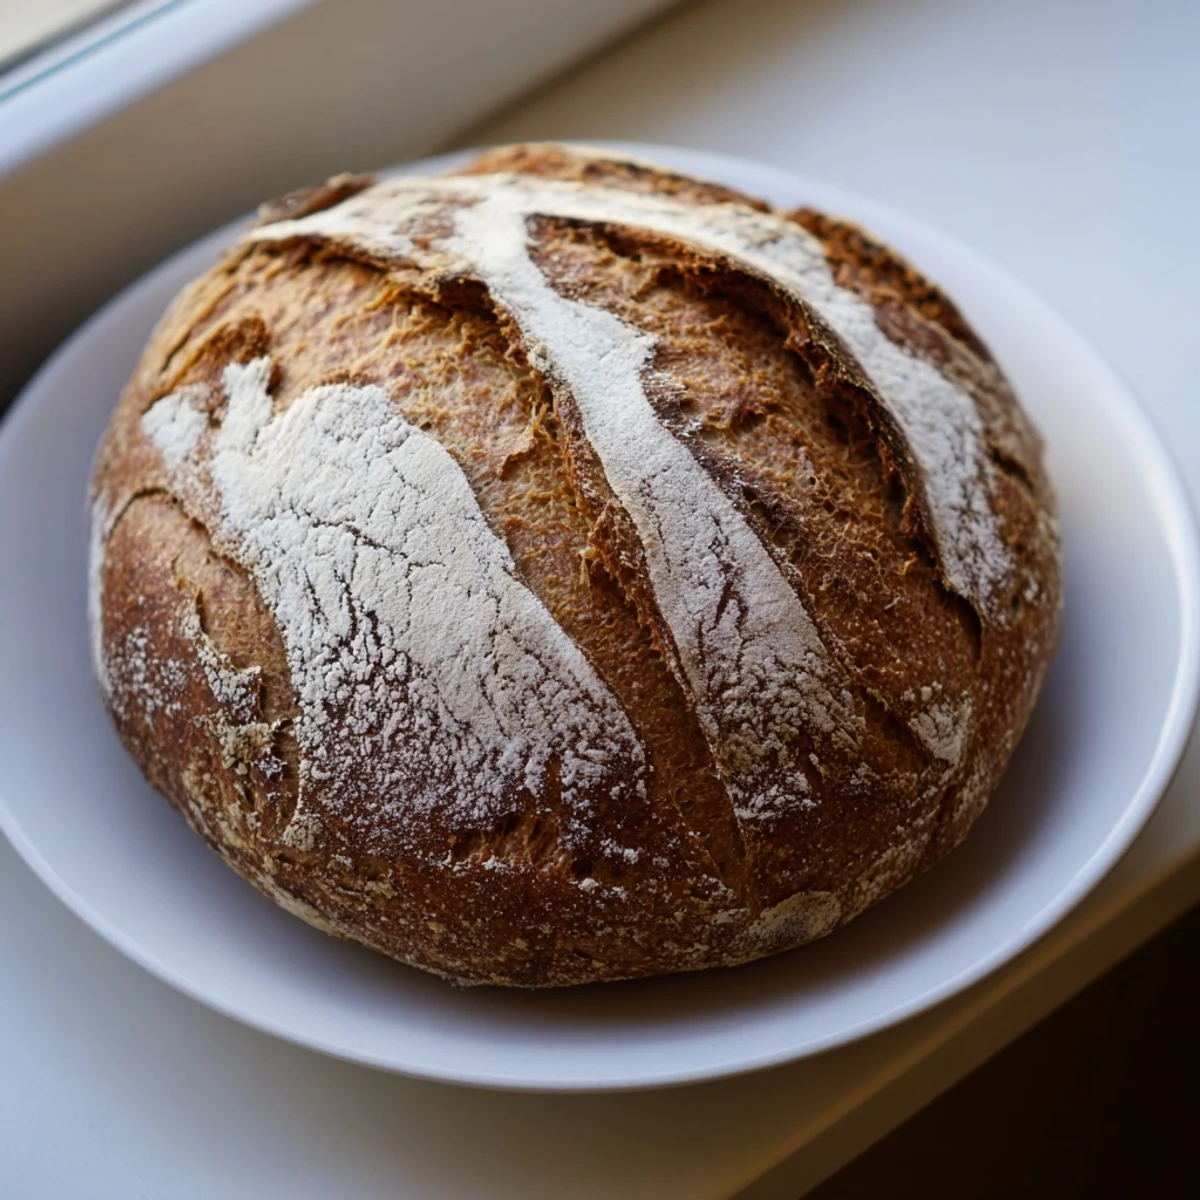
 Craft an authentic sourdough loaf using wild yeast starter and patient fermentation. This traditional method produces exceptional depth of flavor with a characteristic tangy aroma. The lengthy proofing process develops complex notes while creating the signature crackling crust and open, airy crumb structure. Perfect for beginners seeking artisan results.
The smell of sourdough baking reminds me of rainy Sunday mornings when the whole house would fill with that unmistakable tangy warmth. I started my first starter three years ago during a particularly gray February, feeding it religiously every morning like a tiny pet. Now that bubbly jar lives on my counter, a living thing that transforms flour and water into something magical.
My friend Sarah came over during my first successful bake, and we stood by the oven watching the loaf rise through the Dutch oven glass like nervous parents. We sliced into it too early, burning our fingers on steam, but the first taste made all those failed attempts worth it. Now she demands a loaf every time she visits.
Ingredients
- Bread flour: Higher protein content gives you that professional bakery structure and chew
- Water: Room temperature is crucial, and I use filtered water to keep my starter happy
- Active sourdough starter: Should be bubbly and doubled in size, fed 4 to 8 hours before using
- Fine sea salt: Enhances flavor and strengthens the gluten structure
Instructions
- Mix and rest:
- Combine flour and water in a large bowl until shaggy. Cover and let it hang out for 1 hour, which lets the flour hydrate properly.
- Add starter and salt:
- Drop in your bubbly starter and salt. Mix until everything comes together into a rough, sticky dough.
- Stretch and fold:
- Every 30 minutes for 2 hours, grab one side of the dough and pull it up, then fold it over the center. Rotate the bowl and repeat 4 times per set.
- Let it rise:
- Cover the bowl and leave it at room temperature for 4 to 6 hours. The dough should look puffy and almost doubled.
- Shape your loaf:
- Turn dough onto a lightly floured surface. Gently fold the edges toward the center to create tension, then flip and shape into a tight round or oval.
- Cold proof:
- Place your shaped loaf seam side up in a floured proofing basket. Cover and refrigerate overnight for 8 to 12 hours.
- Preheat everything:
- Put your Dutch oven in the oven and crank it to 450°F. Let it heat for at least 30 minutes while you prepare your dough.
- Score and bake:
- Invert dough onto parchment, score the top with a sharp blade, then transfer into your hot Dutch oven. Bake covered for 20 minutes.
- Finish with crust:
- Remove the lid and bake another 20 minutes until deep golden brown. The crust should sound hollow when you tap the bottom.
 Save to Pinterest
 Last winter I made this bread during a snowstorm when we were stuck inside for three days. The house smelled incredible, and we ate slice after slice with melting butter, watching the snow pile up outside. That is when I realized sourdough is not just bread, it is a way to slow down time.
Understanding Your Starter
A healthy starter should be bubbly and smell pleasantly tangy, not sour or unpleasant. Feed it at room temperature until it reliably doubles in size within 4 to 8 hours. If you keep yours in the fridge, take it out and feed it twice before baking to wake it up properly.
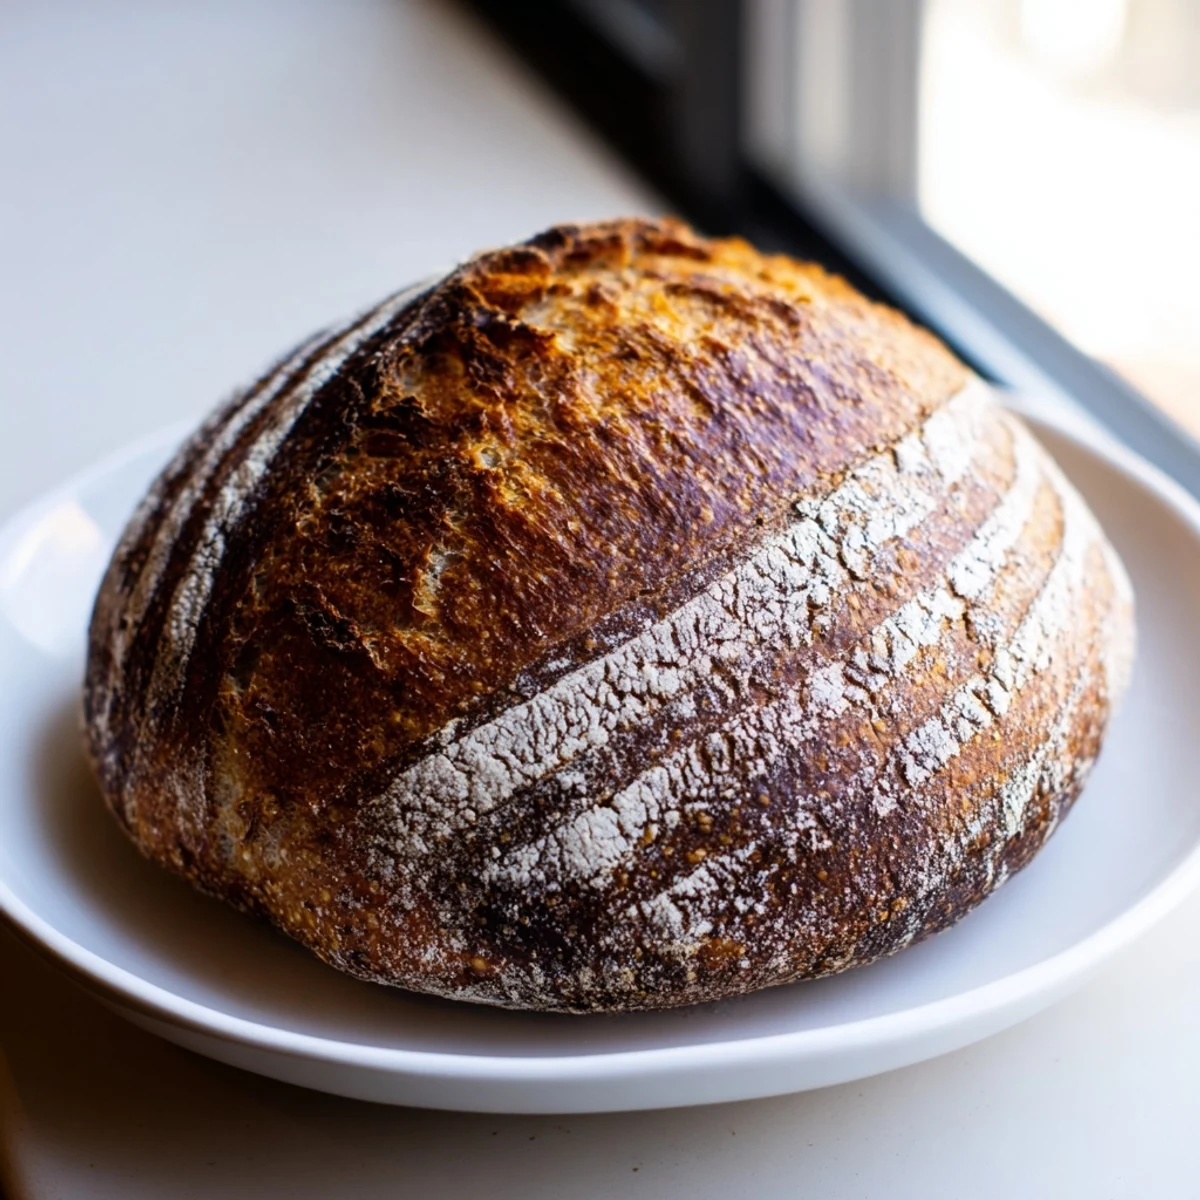
The Secret to Crispy Crust
The Dutch oven creates steam, which keeps the crust soft initially, allowing the bread to expand fully. Removing the lid for the final 20 minutes lets that steam escape and the crust crisp up and develop that gorgeous golden color. The contrast between crackly crust and soft interior is what makes sourdough irresistible.
Customization Ideas
Once you have the basic method down, start experimenting with additions. Fold in roasted garlic, rosemary, or chopped olives after the first rise. Try replacing 20% of the bread flour with rye or whole wheat for deeper flavor and darker color.
- Add ½ cup toasted walnuts and dried cranberries for a holiday twist
- Mix in shredded sharp cheddar and jalapeños during the final fold
- Sprinkle the bottom of your proofing basket with sesame seeds for a seeded crust
 Save to Pinterest
 There is something profoundly satisfying about creating bread from just flour, water, and salt. Your first few loaves might look rustic, but they will still taste better than anything from the store. Keep baking, keep learning, and enjoy every slice.
Recipe FAQs
- → What makes sourdough different from regular bread?
-
Wild yeast fermentation creates distinctive tangy flavors and naturally extends shelf life. The longer proofing breaks down gluten, improving digestibility while developing complex taste profiles.
- → How long does the starter need to be active?
-
Your starter should bubble vigorously and double within 4-6 hours of feeding. Feed it daily for a week before baking to ensure peak yeast activity for optimal rise and flavor development.
- → Can I skip the cold fermentation step?
-
Cold proofing enhances flavor depth and creates easier handling. While you can proof at room temperature, refrigerating overnight develops superior taste and improves scoring results.
- → Why is autolyse important?
-
Resting flour and water hydrates gluten strands naturally, making dough easier to handle. This simple step strengthens structure without excessive kneading, improving final texture.
- → What if I don't have a Dutch oven?
-
Create steam by placing a metal pan on the bottom oven rack while preheating. Add ice cubes when baking, or use a baking stone with an overturned bowl to trap moisture.
