 Save to Pinterest
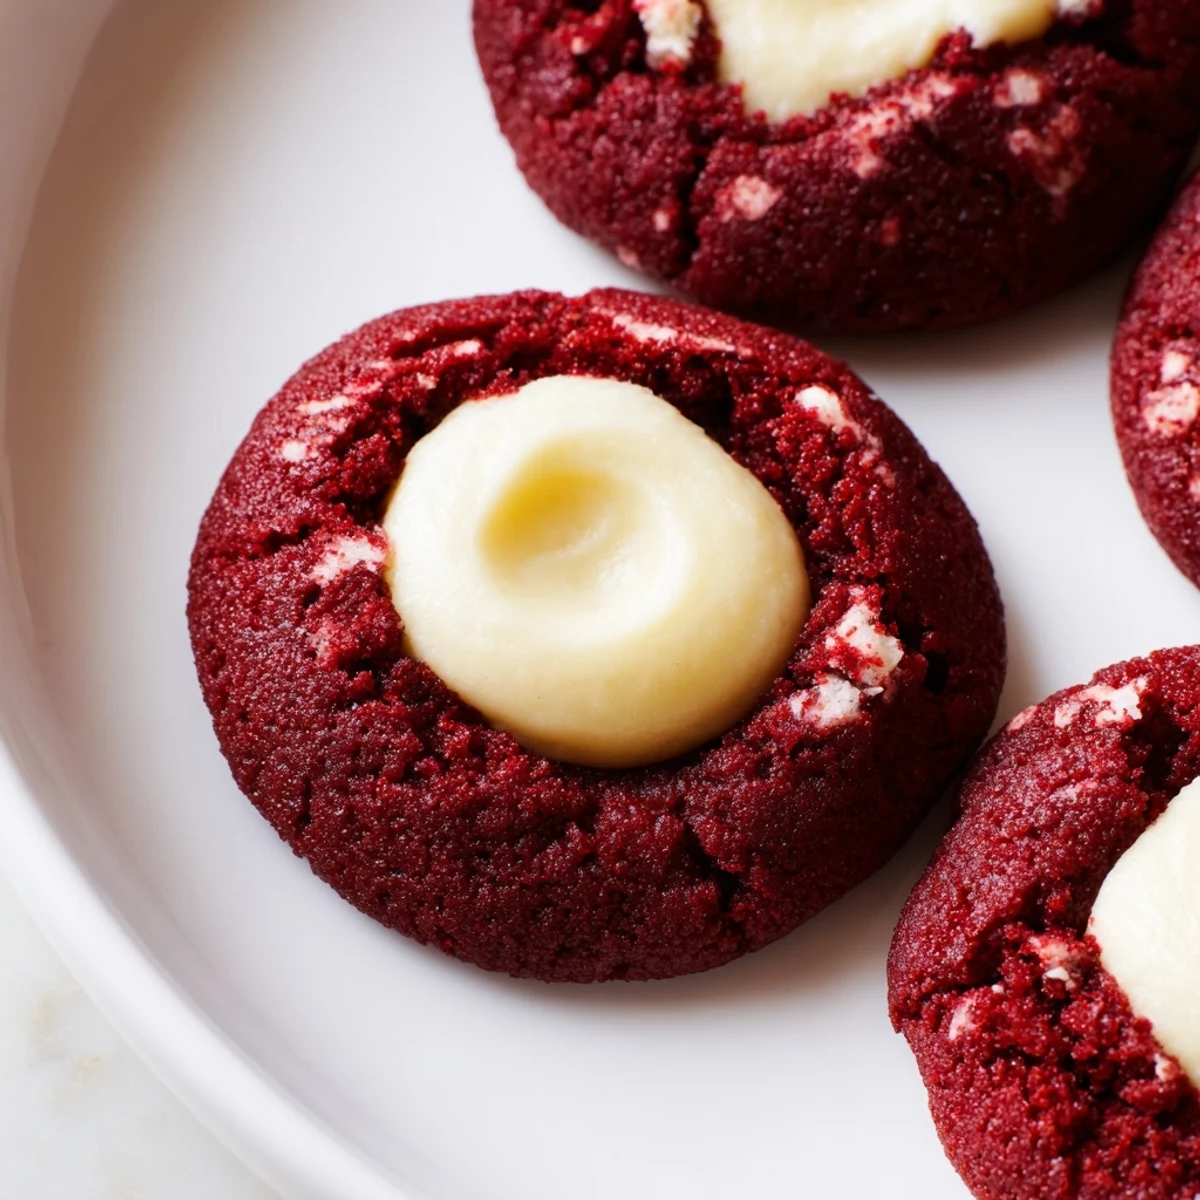
 These rich red velvet thumbprint cookies feature a cocoa-enhanced dough with a tender, melt-in-your-mouth texture. Each cookie is hand-pressed and filled with a smooth cream cheese center that creates the perfect balance of tangy sweetness. The striking crimson color makes them ideal for holidays, Valentine's Day, or special occasions. Ready in just over 30 minutes, these elegant treats deliver bakery-quality results with simple ingredients and straightforward technique.
The first time I made red velvet anything, I accidentally dyed my entire kitchen counter pink. I was trying to impress my new coworkers with something festive for our holiday potluck, and somewhere between measuring and mixing, that vibrant red food coloring found its way everywhere. But when I bit into that first soft, chocolatey cookie with its creamy center, I knew the mess was worth it.
My roommate walked in while I was pressing the thumbprints into the dough balls and immediately started eating them raw, filling and all. Afterward, she sat on the counter watching the oven like a hawk, asking every three minutes if they were done yet. That batch disappeared within an hour, and she still asks me to make them whenever she has had a rough day at work.
Ingredients
- All-purpose flour: The structure that holds these tender cookies together, do not pack it down when measuring
- Unsweetened cocoa powder: Deep chocolate flavor without sweetness, sift it if there are lumps
- Baking soda: Helps the cookies puff slightly while keeping that soft velvet texture
- Salt: A tiny pinch balances the sugar and enhances the cocoa
- Unsalted butter: Softened to room temperature so it creams properly with the sugar
- Granulated sugar: Sweetens the dough and creates that delicate crinkly top as they bake
- Egg yolk: Adds richness without making the cookie too cakey
- Whole milk: Just enough moisture to bring the dough together smoothly
- Vanilla extract: Pure vanilla makes everything taste better, do not skimp here
- Red food coloring: Gel coloring works best and keeps the dough from getting too sticky
- Cream cheese: Must be completely soft or you will get lumpy filling
- Powdered sugar: Sweetens the cream cheese filling without graininess
Instructions
- Prep your baking space:
- Preheat oven to 350°F and line two baking sheets with parchment paper so nothing sticks.
- Whisk the dry ingredients:
- In a medium bowl, combine flour, cocoa powder, baking soda, and salt until evenly mixed.
- Cream the butter and sugar:
- Beat softened butter and granulated sugar in a large bowl for about 2 minutes until light and fluffy.
- Add the wet ingredients:
- Mix in egg yolk, milk, vanilla extract, and red food coloring until everything is combined and uniformly red.
- Combine the dough:
- Gradually stir in the dry ingredients just until no flour streaks remain, do not overmix.
- Make the filling:
- Whisk softened cream cheese, powdered sugar, and vanilla extract in a small bowl until completely smooth.
- Shape the cookies:
- Roll dough into 1-inch balls and arrange on baking sheets 2 inches apart, they will spread slightly.
- Create the thumbprints:
- Press your thumb or a teaspoon gently into the center of each ball to make a deep well.
- Fill the centers:
- Spoon about half a teaspoon of cream cheese filling into each indentation, mounding slightly.
- Bake to perfection:
- Bake for 11 to 13 minutes until edges are set but centers still look slightly soft.
- Cool completely:
- Let cookies rest on the baking sheet for 5 minutes before moving to a wire rack.
 Save to Pinterest
 My sister calls these her happy cookies because she swears the combination of red velvet and cream cheese fixes any bad mood. I started making them for her birthday every year, and now the tradition has spread to the whole family expecting them at every gathering.
Making Them Ahead
You can roll the dough balls and freeze them on a baking sheet before transferring to a bag. Bake from frozen adding an extra minute or two, then fill while warm so the cream cheese melts into the centers perfectly.
Filling Variations
White chocolate ganache makes these even more decadent, or try peanut butter filling for a fun twist. I have even used lemon curd in spring and it was surprisingly delicious with the chocolate base.
Storage Secrets
These cookies actually taste better after chilling in the refrigerator overnight because the flavors meld together beautifully. Keep them in an airtight container and they will last up to four days, though they rarely last that long in my house.
- Bring cookies to room temperature before serving for the softest texture
- Place parchment paper between layers if you stack them to prevent sticking
- The filling firms up when cold which makes them easier to transport
 Save to Pinterest
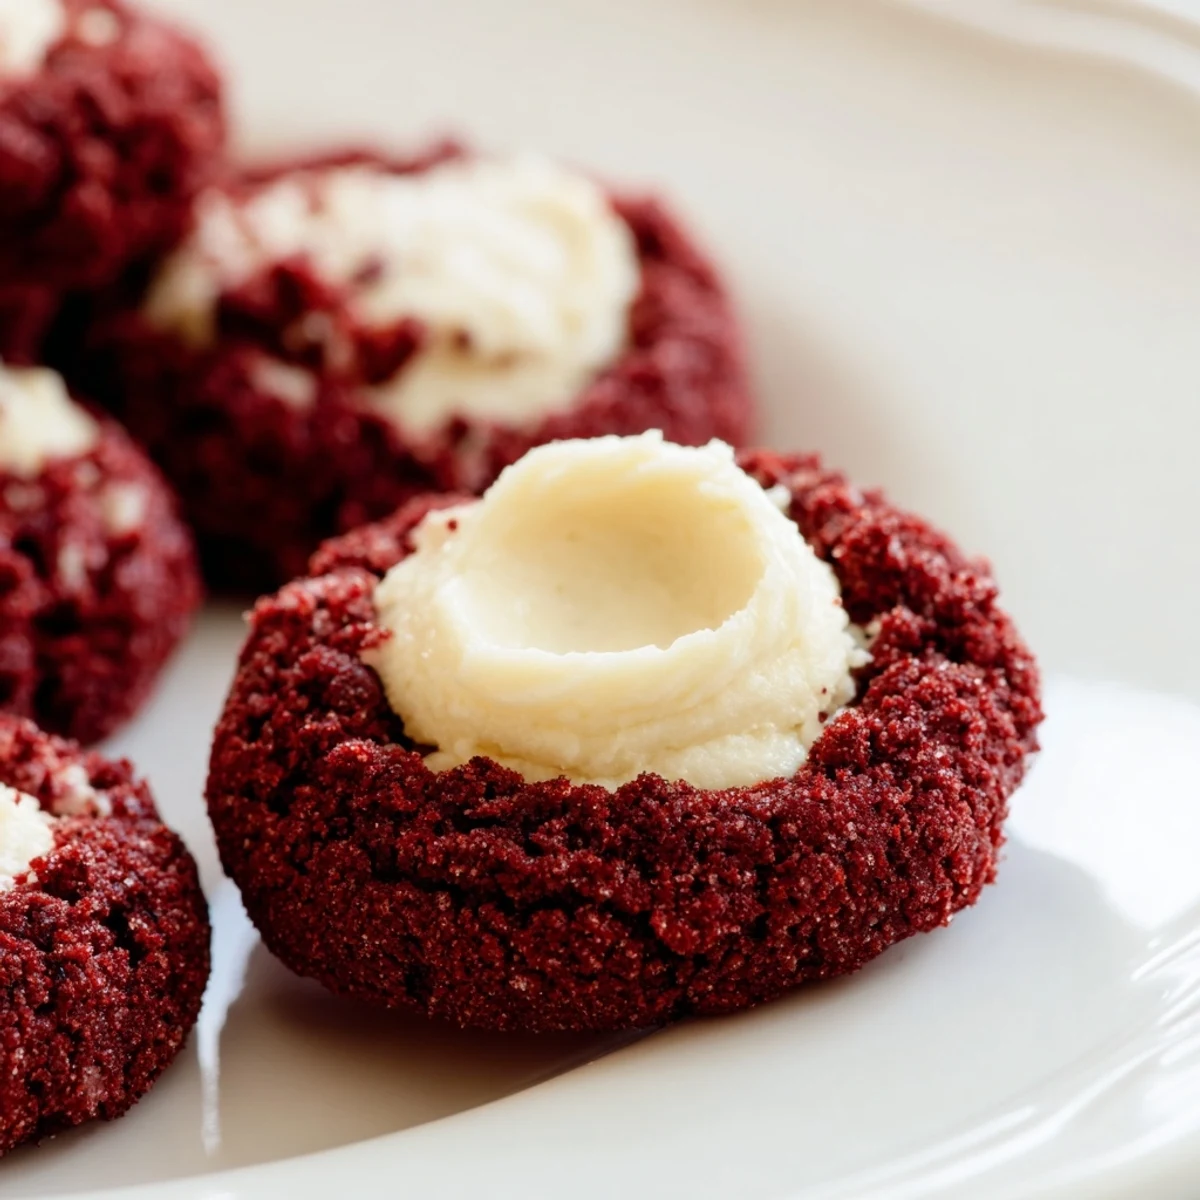
 There is something magical about biting into that soft red velvet exterior and hitting the cool creamy center. Hope these bring as much joy to your kitchen as they have to mine.
Recipe FAQs
- → Why are my cookies spreading too much?
-
If your cookies spread excessively, the dough may have been too warm. Chill the dough for 15-20 minutes before baking. Also ensure you're measuring flour correctly—too little flour causes spreading.
- → Can I make the dough ahead of time?
-
Yes, the dough can be prepared and refrigerated for up to 2 days before baking. Let it soften slightly at room temperature for 10 minutes before shaping and filling.
- → What's the best way to get vibrant red color?
-
Use gel food coloring instead of liquid for deeper red tones without altering the dough consistency. Start with 1/2 teaspoon and add more if needed.
- → Can I freeze these cookies?
-
Freeze unfilled dough balls for up to 3 months. Bake from frozen, adding 1-2 minutes to the time. Filled cookies freeze well for up to 1 month in an airtight container.
- → What other fillings work well?
-
Beyond cream cheese, try white chocolate ganache, Nutella, raspberry jam, or lemon curd. Each creates a unique flavor profile that complements the cocoa-red velvet base.
