 Save to Pinterest
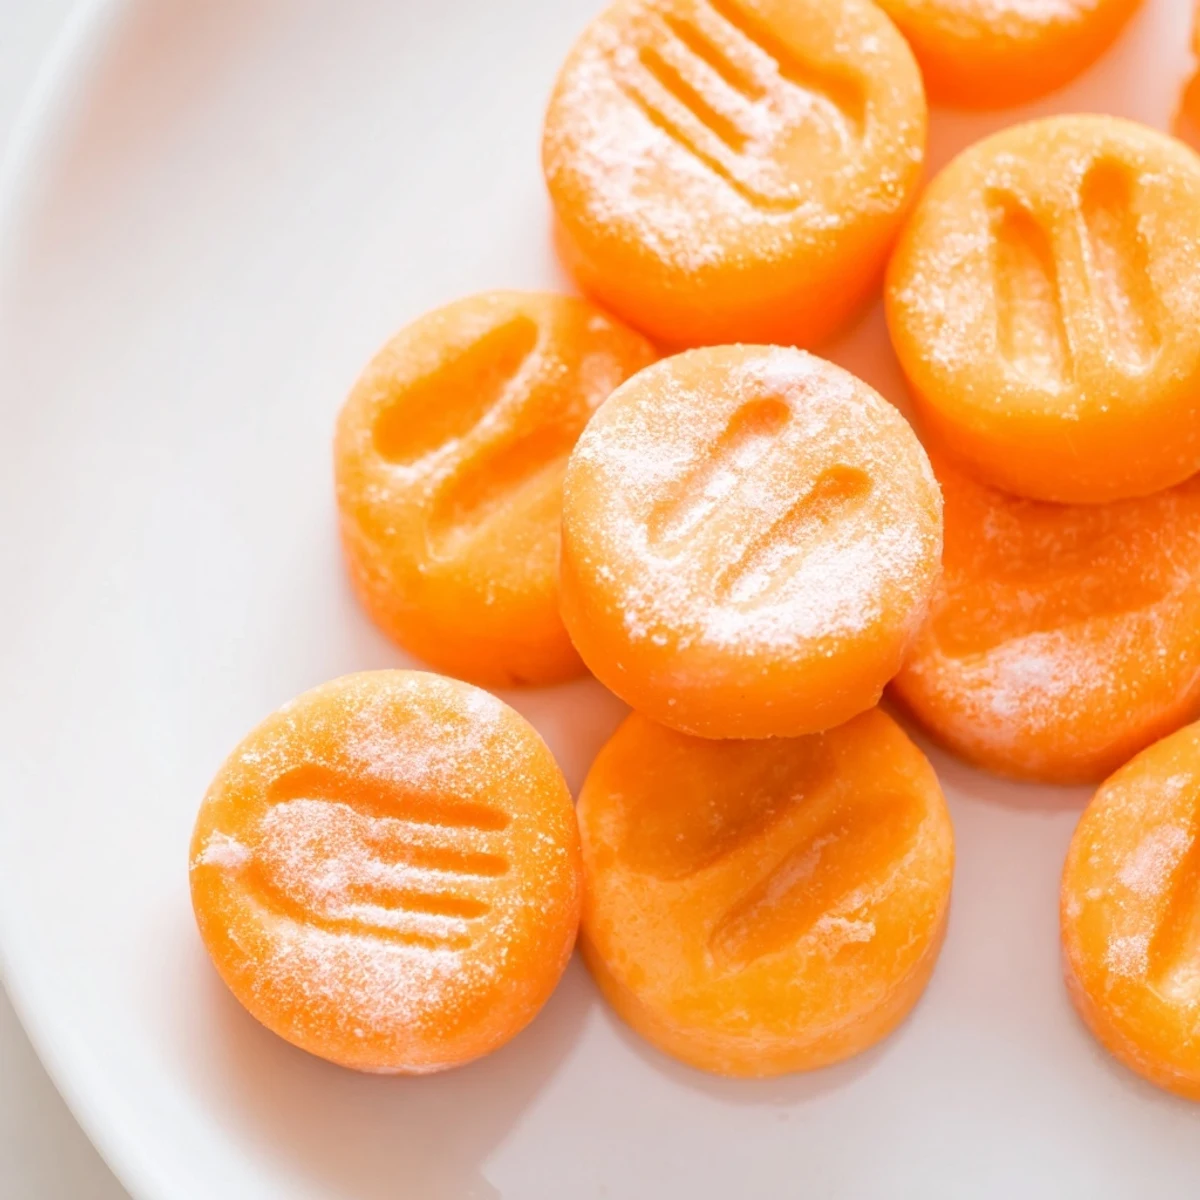
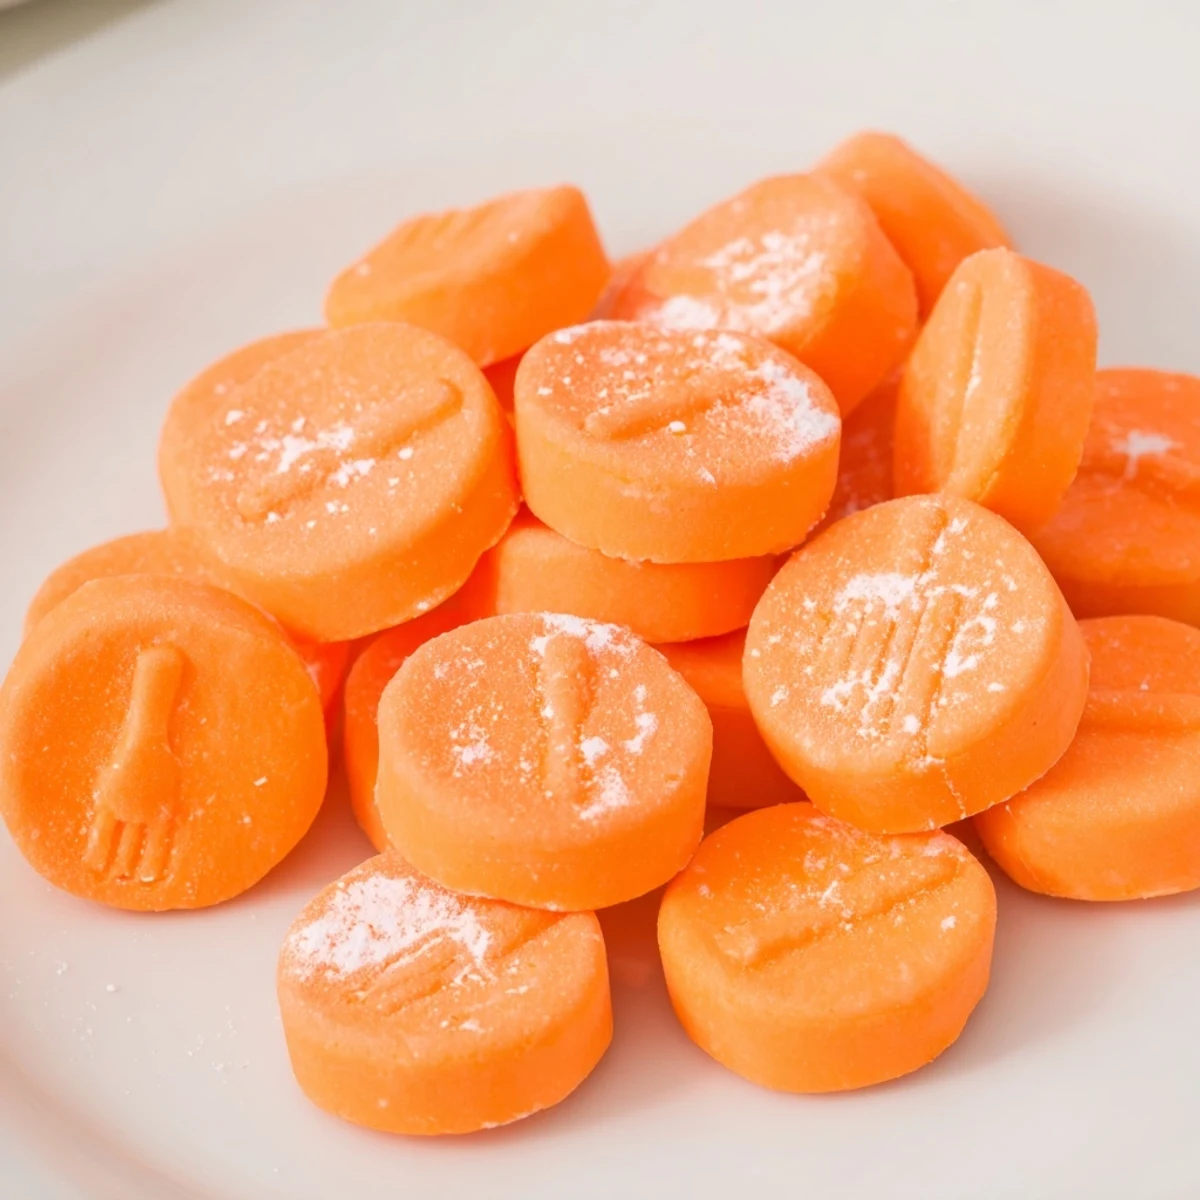
 These delightful orange mints combine softened cream cheese and butter with vibrant orange extract for a smooth, creamy confection that literally melts in your mouth. The dough comes together quickly with just a few basic ingredients—no baking required. Simply mix, shape into small rounds, chill until firm, and enjoy.
What makes these mints special is their incredibly soft texture and refreshing citrus flavor. They're perfect for wedding favors, holiday gift trays, or as a sweet addition to any celebration. The bright orange color adds a festive touch to your dessert table, and you can easily customize the shade to match your event theme.
These mints keep beautifully in the refrigerator for up to a week, or freeze them for longer storage. For an elegant presentation, press a decorative pattern onto each mint with a fork or specialty stamp before chilling.
The first time I made these orange cream cheese mints was for a friend's baby shower, and I was completely unprepared for how quickly they'd vanish. I had planned to make them the day before, but life got in the way and I found myself at 11 PM the night before, cream cheese softening on the counter while I wondered why I always procrastinate. Now they're my go-to when I need something impressive that doesn't require turning on the oven or standing over a hot stove.
My grandmother used to keep a crystal dish of these on her entry table during holidays, and I always thought she must have spent hours perfecting them. Years later I asked for her recipe, expecting some complicated technique, and she laughed while pulling out a block of cream cheese. There's something magical about transforming such simple ingredients into something that feels like a special occasion.
Ingredients
- Cream Cheese: Use full-fat and let it truly soften to room temperature, otherwise you'll get tiny lumps that refuse to smooth out no matter how long you beat the mixture
- Unsalted Butter: Also softened—this helps create that silky texture that makes these mints melt on your tongue instead of feeling waxy
- Orange Extract: Start with half a teaspoon and taste as you go, because extracts vary wildly in strength and you can always add more but cant take it back
- Powdered Sugar: Sifting isn't optional here, because one clump of sugar will ruin the smooth texture and leave you with speckled mints
- Orange Food Coloring: Gel coloring works better than liquid since it wont throw off your dough consistency, but use whatever you have on hand
Instructions
- Beat the Base:
- In a medium bowl, beat together the softened cream cheese and butter until completely smooth and no lumps remain—this usually takes about 2 minutes with an electric mixer on medium speed.
- Add Flavor:
- Pour in the orange extract and add your food coloring drop by drop, mixing thoroughly after each addition so you can control exactly how orange they become.
- Build the Dough:
- Gradually beat in the powdered sugar, about half a cup at a time, letting each addition fully incorporate before adding more—you'll know it's ready when the dough pulls away from the sides of the bowl and feels like soft modeling clay.
- Shape the Mints:
- Dust your work surface generously with powdered sugar, then roll the dough into small balls about the size of a marble and flatten each one gently with a fork tines-side down.
- Set Them:
- Arrange the mints on a parchment-lined tray and let them chill uncovered for at least an hour, though overnight is even better if you can wait that long.
 Save to Pinterest
 Last Christmas I made six different batches in various colors and arranged them in a rainbow pattern on a vintage silver platter. My sister-in-law asked if I'd secretly hired a caterer, which might be the best compliment I've ever received about something that came together in less than an hour.
Getting the Shape Right
I used to try to make these perfectly round and smooth, like the ones you see in candy shops, but they always looked a bit sad and homemade. The trick I eventually learned is to not fight the fork marks—those little ridges actually catch the light beautifully and make them look intentionally rustic rather than imperfect. If you want something different, try pressing the dough into candy molds or rolling it into ropes and cutting small coins.
Flavor Variations
While orange is classic, this base recipe is incredibly adaptable. I've made mint cream cheese mints using peppermint extract and green coloring for Christmas, lemon ones for spring bridal showers, and even experimented with almond extract for a more sophisticated flavor profile. Just keep the total amount of extract the same so you don't throw off the liquid-to-dry ingredient ratio.
Storage & Make-Ahead Tips
These mints are actually better when made at least a day ahead because the flavors need time to meld and mature. I've kept them in the refrigerator for up to two weeks, though they rarely last that long in my house. For longer storage, freeze them in a single layer on a baking sheet before transferring to an airtight container—they'll keep for months and taste just as fresh when thawed.
- Layer mints between parchment paper when storing to prevent them from sticking together
- Bring frozen mints to room temperature in the container so condensation forms on the outside, not on the candy
- These travel surprisingly well if packed in a rigid container with plenty of padding
 Save to Pinterest
 There's something deeply satisfying about making your own candy, especially when it's this accessible and the results are so immediately rewarding. These mints have become my secret weapon for any gathering that needs a touch of homemade sweetness.
Recipe FAQs
- → How long do these mints need to chill?
-
The mints need to chill for at least 1 hour until firm. For best results, let them set in the refrigerator on a parchment-lined tray before serving or storing.
- → Can I make these mints ahead of time?
-
Absolutely! These mints store beautifully in an airtight container in the refrigerator for up to one week. You can also freeze them for up to two months, making them perfect for advance party prep.
- → What if I don't have orange extract?
-
You can substitute with lemon extract for a different citrus flavor, or use vanilla extract for classic cream cheese mints. For natural orange flavor, add freshly grated orange zest along with the extract.
- → Why is my dough too sticky or too dry?
-
The humidity in your kitchen affects how much powdered sugar you'll need. Start with 2 1/2 cups and add more gradually, up to 3 cups total, until the dough holds together without sticking to your hands.
- → Can I make different colors?
-
Yes! Use any food coloring you prefer to match your occasion. Pastel shades work beautifully for weddings and baby showers, while vibrant colors are great for holidays and birthdays.
- → Do these need to be kept refrigerated?
-
Yes, because they contain cream cheese and butter, these mints should be stored in the refrigerator. Serve them chilled or at room temperature—they're delicious either way.
