 Save to Pinterest
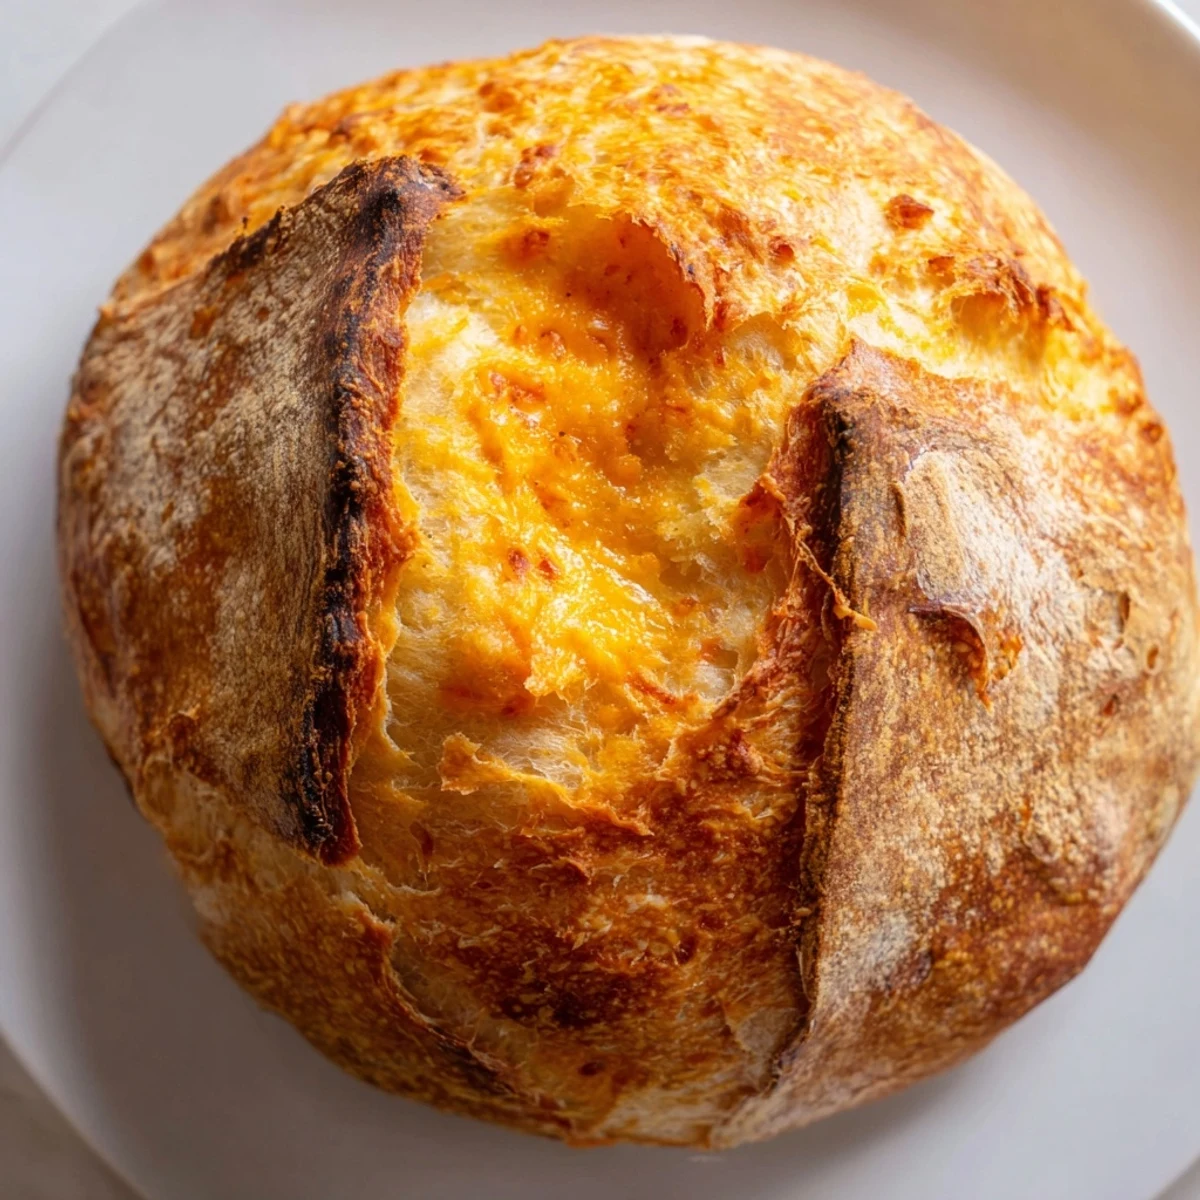
 Create a stunning golden loaf with minimal effort. This no-knead method yields a crisp crust and tender interior filled with sharp cheddar flavor. Simply mix flour, salt, yeast, and grated cheese with water, let rise for 3-4 hours, then bake in a preheated Dutch oven. The result is bakery-quality bread perfect for sandwiches, toast, or alongside your favorite soup. Customize with herbs or spices for variety.
The smell of sharp cheddar hitting a hot Dutch oven is something that stopped me in my tracks the first time I made this bread. I had doubts about a no knead recipe actually delivering that bakery style texture, but watching this dough bubble up on my counter with almost zero effort changed my entire perspective on home baking. Now it is the one bread recipe I actually make regularly instead of just pinning to a someday board.
My sister was visiting when I first pulled this loaf out of the oven, and we stood around the kitchen counter picking off warm pieces of crust until half the bread was gone before dinner even started. She is not usually a bread person, but something about the combination of that crackly exterior and the tender, cheese flecked interior won her over completely. Now she asks for it every time she visits, which is basically the highest compliment my cooking has ever received.
Ingredients
- 3 cups all purpose flour: The foundation that gives this bread its structure and hearty texture
- 1½ teaspoons salt: Balances and intensifies the cheddar flavor so every bite tastes complete
- ½ teaspoon instant yeast: Works quietly over hours to develop flavor without you having to do anything
- 1½ cups sharp cheddar cheese grated: Sharp cheese packs more flavor into every bite and melts beautifully throughout the crumb
- 1¼ cups lukewarm water: Creates that gloriously hydrated dough that bakes into an airy, tender loaf
Instructions
- Mix the dry base:
- Whisk together flour, salt, and instant yeast in a large bowl until they are one unified mixture.
- Add the cheese:
- Drop in the grated cheddar and toss everything together so the cheese gets coated in flour and does not clump together.
- Combine with water:
- Pour in the lukewarm water and stir with a wooden spoon until you have a shaggy, sticky dough that looks a bit messy.
- Let it rise:
- Cover the bowl tightly and leave it alone at room temperature for 3 to 4 hours until it has doubled in size with bubbles on the surface.
- Heat your pot:
- Preheat the oven to 450°F and put your Dutch oven inside to heat up for at least 30 minutes.
- Shape the loaf:
- Turn the dough onto a floured surface, gently form it into a round, and place it on parchment paper.
- Rest again:
- Let the shaped dough sit covered for 20 to 30 minutes while the oven finishes heating.
- Bake covered:
- Carefully lower the dough into the hot pot using the parchment, cover, and bake for 30 minutes.
- Finish uncovered:
- Remove the lid and bake another 10 to 15 minutes until deep golden and hollow when tapped.
- Cool completely:
- Let the loaf rest on a wire rack for at least 30 minutes before slicing into it.
 Save to Pinterest
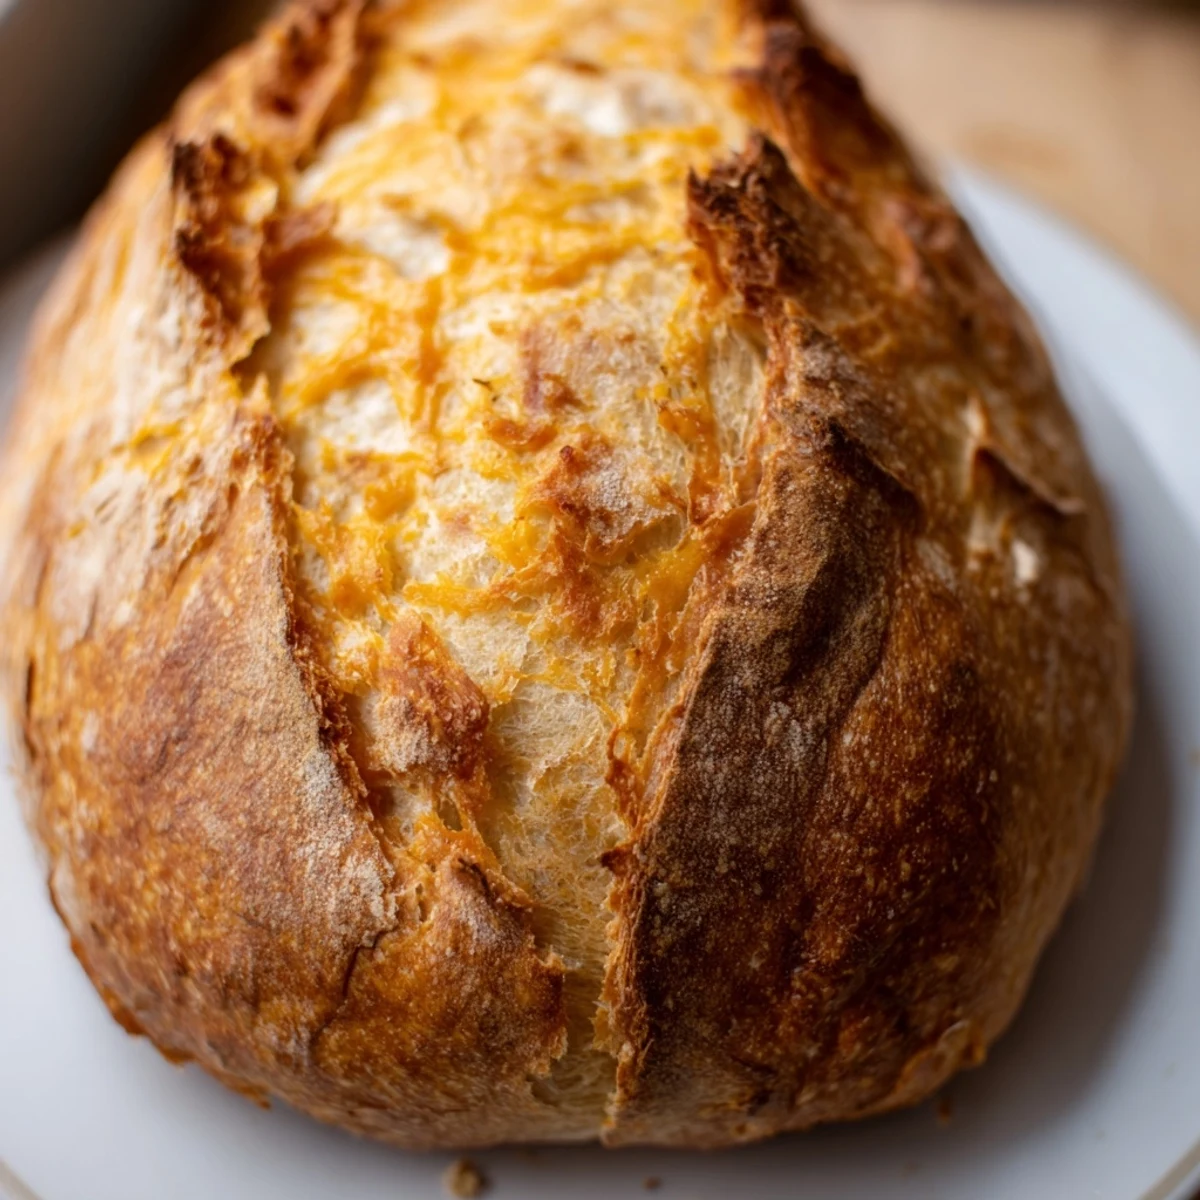
 This bread has become my go to when I need to bring something to a gathering because it looks impressive but required basically no active effort. There is something so satisfying about serving people something that tastes like it came from a professional bakery but secretly took ten minutes of hands on time. The way the cheese melts into little pockets throughout the loaf means every slice is slightly different, which keeps it interesting from the first piece to the last.
Choosing Your Cheese
Sharp cheddar is traditional for good reason because its strong flavor holds up through the baking process. I have experimented with extra sharp varieties and found they give an even more intense cheesy experience, though mild cheddar can taste a bit lost. The key is grating it yourself instead of buying pre shredded cheese, which has anti caking agents that prevent it from melting as smoothly.
Making It Your Own
Fresh herbs transform this bread into something completely different without changing the technique at all. Chives add a mild onion flavor that pairs beautifully with the cheddar, while rosemary brings a piney, aromatic quality that makes the house smell incredible. Sometimes I add a pinch of chili flakes to the flour mixture for a subtle warmth that builds slowly.
Storage and Freezing Tips
This bread is at its absolute best the day it is baked, when the crust is at its crispest and the cheese is still gooey. By day two, the crust softens considerably, though it still makes excellent toast or grilled cheese. For longer storage, slice the cooled loaf and freeze individual pieces in a freezer bag, then toast directly from frozen.
- Wrap any room temperature leftovers tightly to prevent the crust from drying out completely
- Sliced frozen pieces take about 2 to 3 minutes in the toaster to become perfectly crisp
- Never refrigerate this bread as it makes the crust tough and the crumb dry out faster
 Save to Pinterest
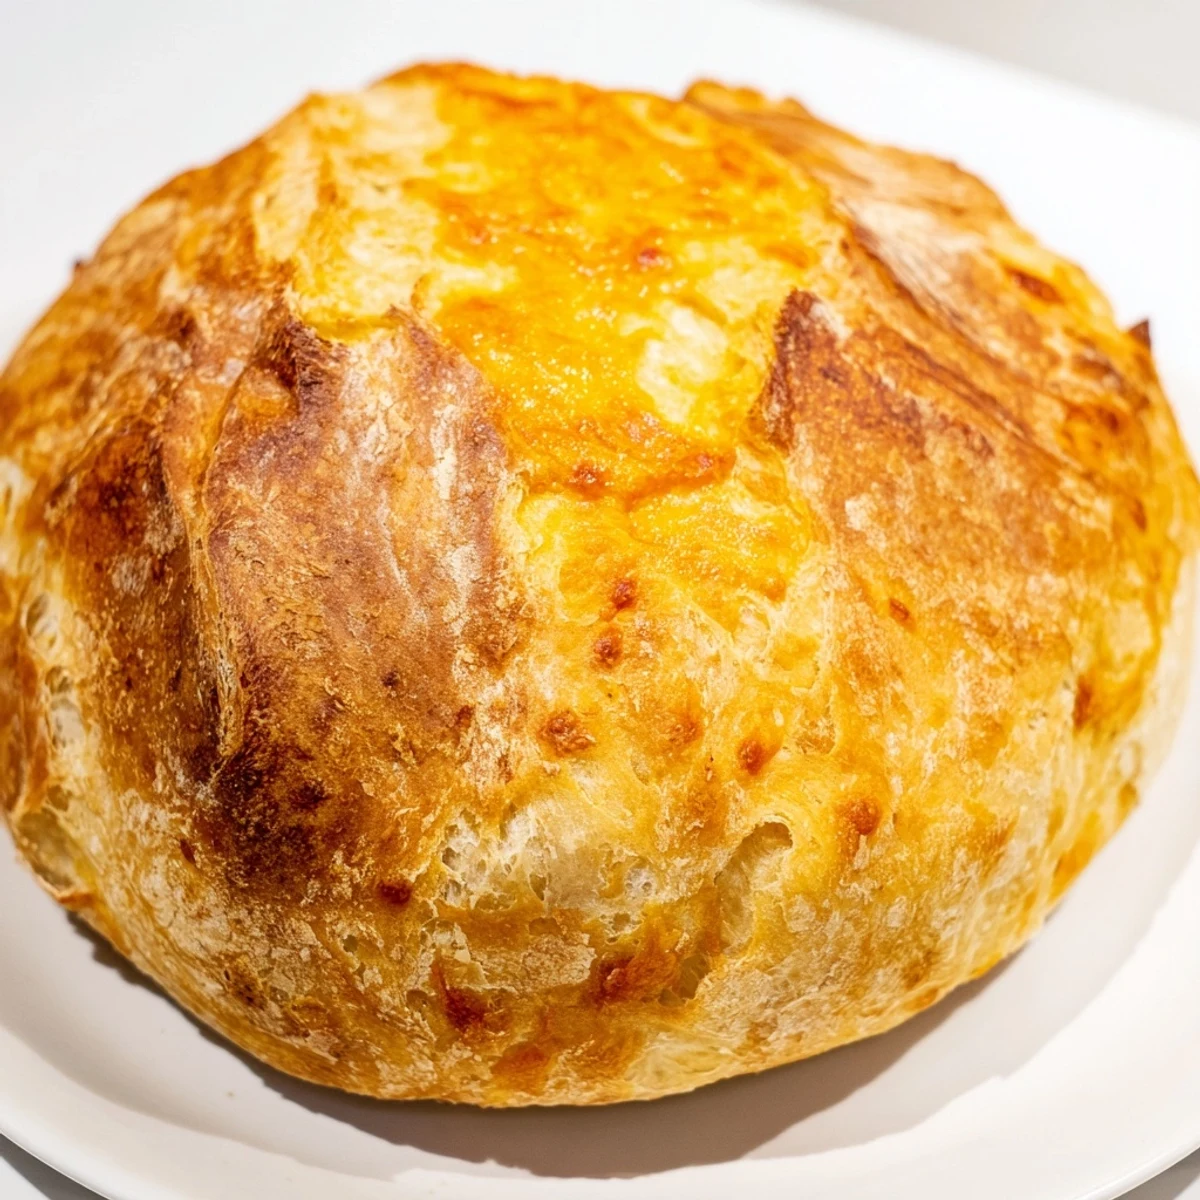
 There is a quiet magic in a recipe that rewards patience more than skill, and this bread delivers that in every golden, cheesy slice.
Recipe FAQs
- → Why bake this in a Dutch oven?
-
The Dutch oven creates a steamy environment that develops a crisp, golden crust while keeping the interior tender and moist. It mimics professional steam-injected ovens.
- → Can I use other cheeses?
-
Absolutely. Sharp cheddar provides the best flavor, but try gruyère, smoked gouda, or pepper jack for variety. Just keep the total amount the same.
- → Why does the dough need to rise so long?
-
Long fermentation develops flavor and creates bubbles for that signature airy crumb. It also breaks down gluten strands, eliminating the need for kneading.
- → How do I know when it's done baking?
-
The crust should be deep golden brown, and the loaf will sound hollow when tapped on the bottom. An instant thermometer inserted into the center should read 200°F.
- → Can I add mix-ins like herbs or spices?
-
Yes. Fresh herbs like rosemary, thyme, or chives work wonderfully. You can also add garlic powder, chili flakes, or even caramelized onions to the dough before rising.
