 Save to Pinterest
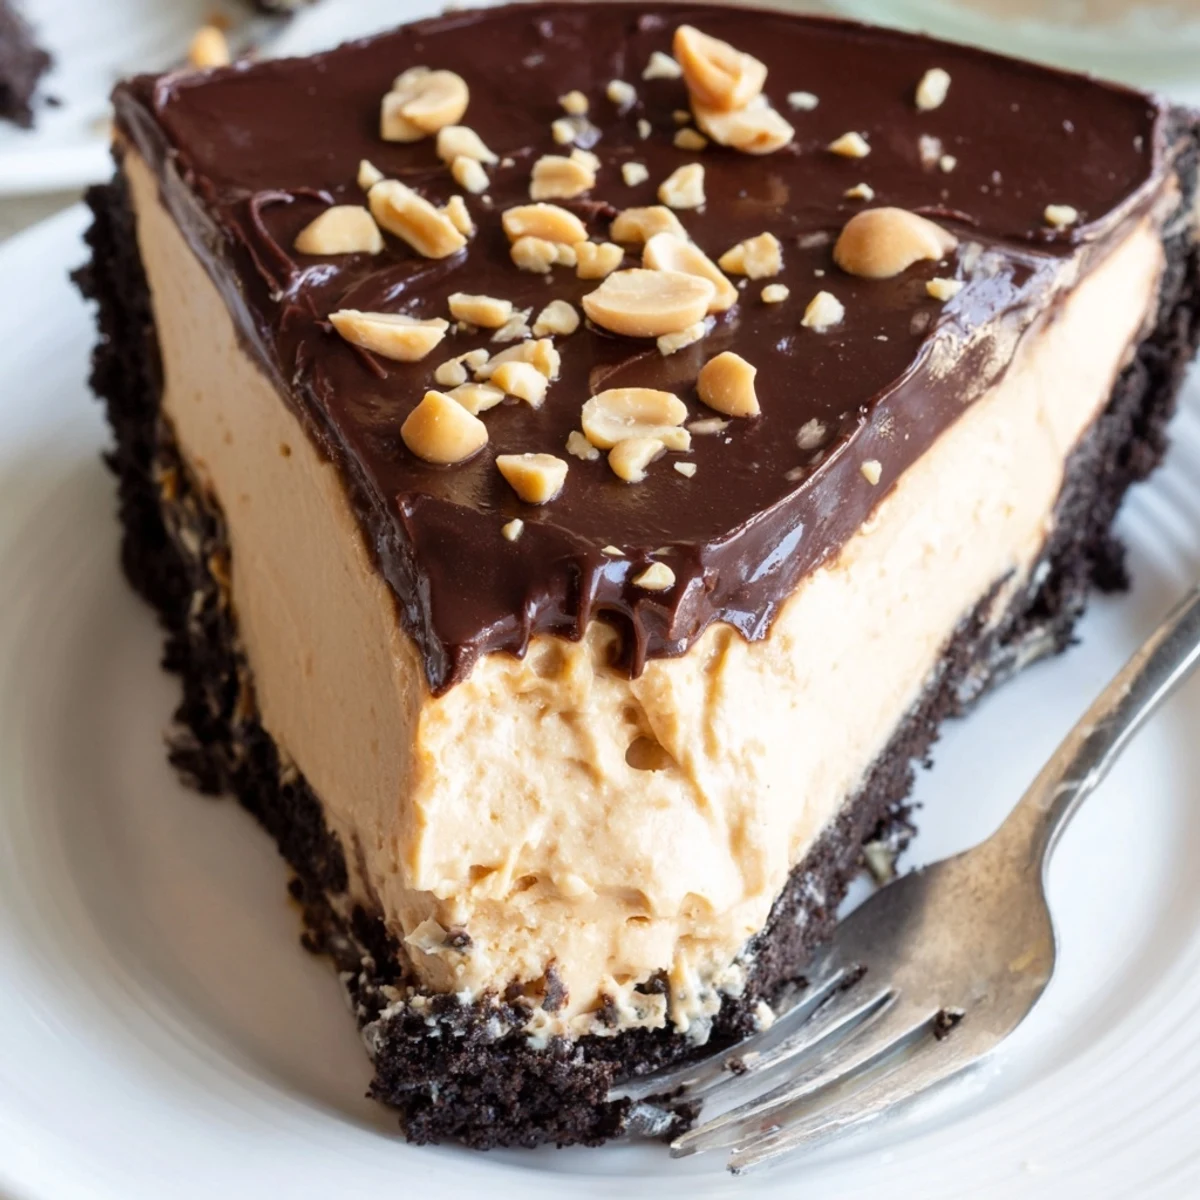
 This indulgent dessert combines velvety peanut butter filling with a crunchy chocolate cookie base. The filling blends creamy peanut butter with cream cheese, whipped heavy cream, and vanilla for an incredibly smooth texture. Press chocolate cookie crumbs mixed with melted butter into your pie dish, spread with the fluffy peanut butter mixture, and chill until set. For extra decadence, top with chocolate ganache and chopped peanuts. The entire process takes just 20 minutes of hands-on time, then let the refrigerator do the work.
My college roommate's grandmother used to send us care packages, and once she tucked in this no-bake peanut butter pie recipe on a stained index card. We stayed up until midnight making it in our tiny dorm kitchen, taking turns crushing cookies in a plastic bag because none of us owned a food processor. The whole floor smelled like chocolate and peanut butter, and people kept knocking on our door to investigate.
Last summer I made this for a backyard barbecue, and my friend's husband took one bite and announced he was retiring his famous brownies. Kids were sneaking seconds before dinner even happened, and the pie plate was scraped completely clean before the fireworks started.
Ingredients
- 200 g chocolate sandwich cookies: These create the most decadent chocolate crust, and I always include the creamy filling when crushing them
- 75 g unsalted butter, melted: Melt it slowly so it combines evenly with the crumbs for a crust that holds together perfectly
- 240 g creamy peanut butter: Use a commercial brand rather than natural for the smoothest filling texture
- 225 g cream cheese, softened: Leave it out for an hour beforehand to prevent any lumpy surprises in your filling
- 120 g powdered sugar: This sweetens while helping stabilize the whipped cream so the pie sets properly
- 240 ml heavy cream, cold: The colder the better for achieving those cloud-like stiff peaks
- 1 tsp pure vanilla extract: A little warmth to balance all that rich peanut butter
- 60 ml heavy cream for ganache: This creates the dreamiest chocolate layer on top
- 60 g semi-sweet chocolate chips: Milk chocolate works too if you prefer a sweeter topping
- 2 tbsp chopped salted peanuts: That little crunch against the smooth filling is everything
Instructions
- Build the chocolate crust:
- Crush those sandwich cookies until theyre fine and sandy, then stir in melted butter until every dark crumb is coated. Press the mixture firmly into your pie dish, using the bottom of a measuring cup to compact it into an even layer.
- Create the peanut butter base:
- Beat the peanut butter, cream cheese, and powdered sugar until you have a silky, lump-free mixture that falls off the beaters in ribbons.
- Whip the cream to clouds:
- In a separate bowl, whip the cold heavy cream with vanilla until those glorious stiff peaks form and stand tall without collapsing.
- Fold them together gently:
- Add a third of the whipped cream to the peanut butter mixture to lighten it, then gently fold in the rest until no white streaks remain.
- Fill and chill the pie:
- Spread that velvety filling into your waiting crust, smoothing the top with an offset spatula or the back of a spoon.
- Add the chocolate ganache:
- Heat the cream until steaming, pour over chocolate chips, and let them hang out for two minutes before stirring into glossy perfection.
- Finish and set:
- Spread the ganache over the peanut butter layer, sprinkle with chopped peanuts if using, then refrigerate for at least four hours until the pie is set.
 Save to Pinterest
 My sister requested this for her birthday instead of cake three years running. Watching my nephew's eyes light up when he took his first bite was better than any candle blown out in wishful thinking.
Making It Your Own
Swapping in crunchy peanut butter adds the most delightful texture throughout, though I recommend using a larger portion size since the bits settle to the bottom during chilling. A gluten-free cookie transforms this into something everyone at your table can enjoy without compromising that chocolate crust magic.
Serving Suggestions
This pie tastes infinitely better after a solid four-hour chill, and overnight is even better if you can plan ahead. I always run my knife under hot water between slices for the cleanest cuts through all those creamy layers.
Storage Make-Ahead Tips
The finished pie keeps beautifully in the refrigerator for up to four days, though the crust begins to soften slightly after day two. You can freeze the whole pie for up to two months, just wrap it tightly and thaw overnight in the fridge before serving.
- Press the crust into the dish the night before and keep it covered
- Whip the cream and assemble the filling the morning you plan to serve
- Add the chocolate ganache just before chilling for the prettiest presentation
 Save to Pinterest
 There is something deeply satisfying about a dessert that delivers this much happiness with so little effort.
Recipe FAQs
- → How long does the pie need to chill before serving?
-
The pie requires at least 4 hours in the refrigerator to fully set. For best results, chill overnight to ensure the filling firms up completely for clean slices.
- → Can I make this pie ahead of time?
-
Absolutely! This dessert actually improves with time. You can prepare it up to 2 days in advance and store it covered in the refrigerator. The flavors meld together beautifully as it sits.
- → What type of peanut butter works best?
-
Creamy commercial peanut butter provides the smoothest texture. Natural peanut butters can separate and affect consistency. For extra texture, swap in crunchy peanut butter if you prefer nutty bits throughout.
- → Can I freeze this pie?
-
Yes, this pie freezes exceptionally well. Wrap the fully chilled pie tightly in plastic wrap and foil, then freeze for up to 2 months. Thaw overnight in the refrigerator before serving.
- → What can I use instead of chocolate sandwich cookies?
-
Oreo-style cookies work perfectly. For alternatives, try graham crackers blended with a tablespoon of cocoa powder, chocolate graham crackers, or even chocolate wafer cookies for the crust.
- → How do I know when the whipped cream is ready?
-
Whip the cold heavy cream until stiff peaks form—when you lift the beaters, the cream should stand up straight without falling over. Over-whipping can turn it into butter, so stop as soon as peaks hold their shape.
