 Save to Pinterest
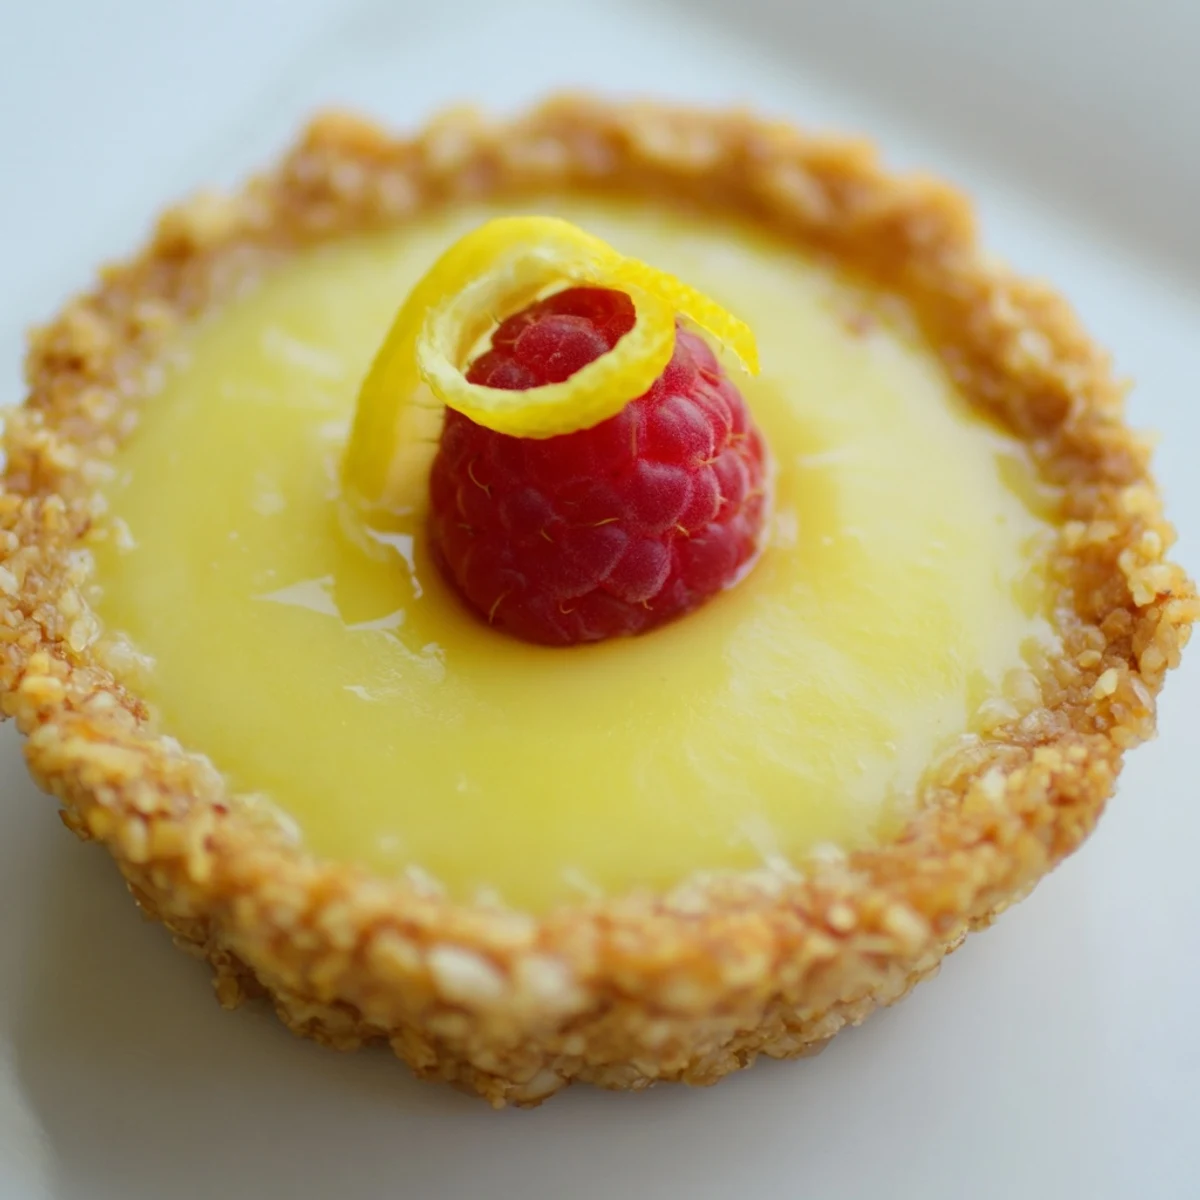
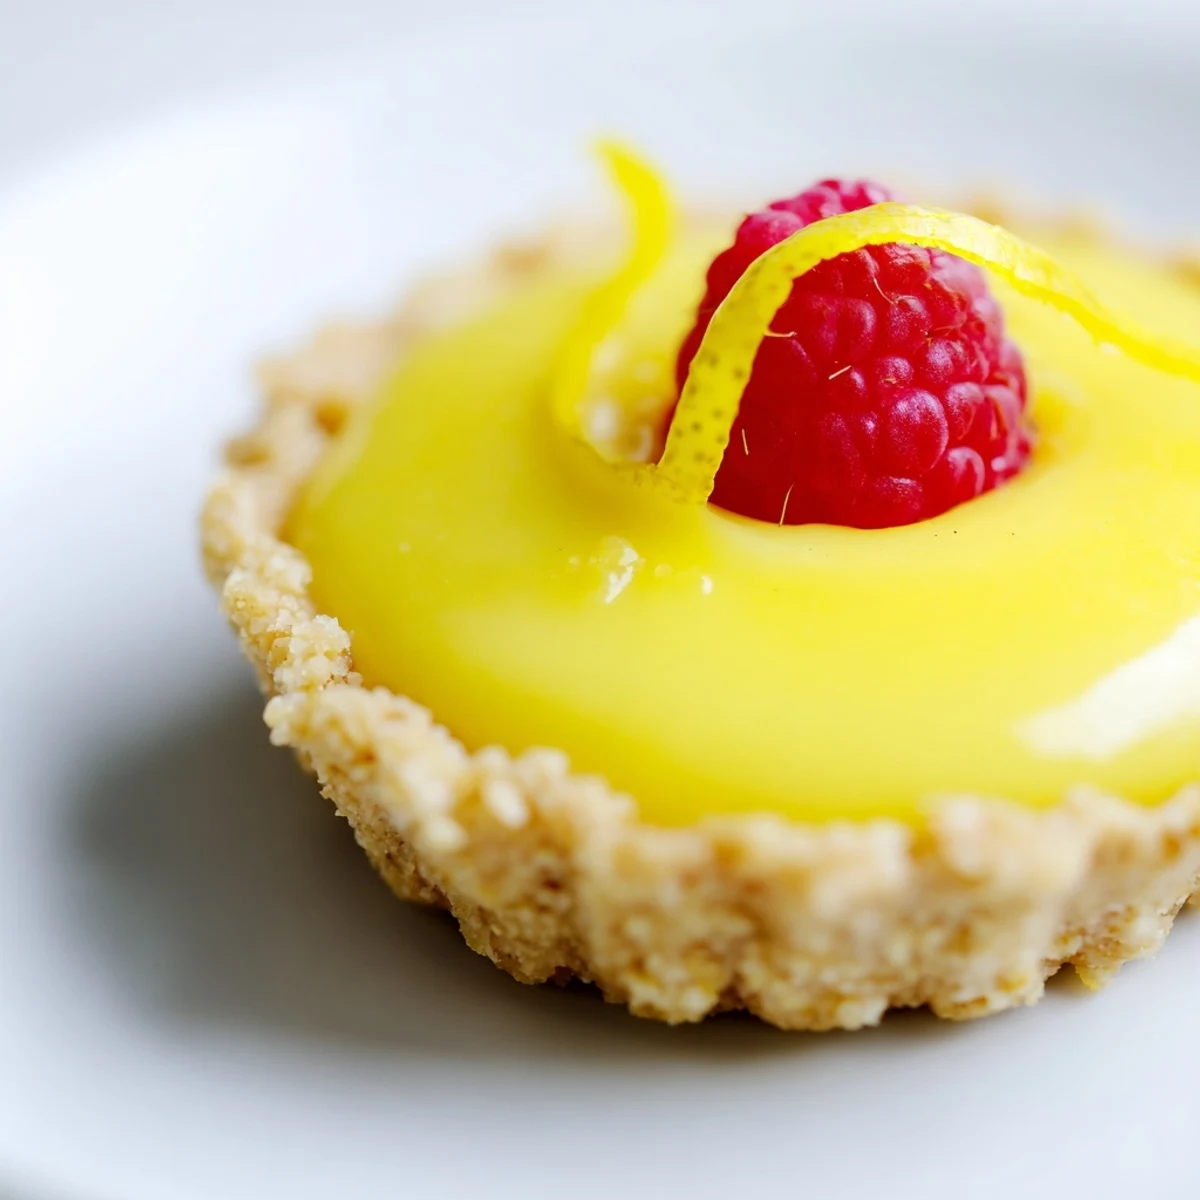
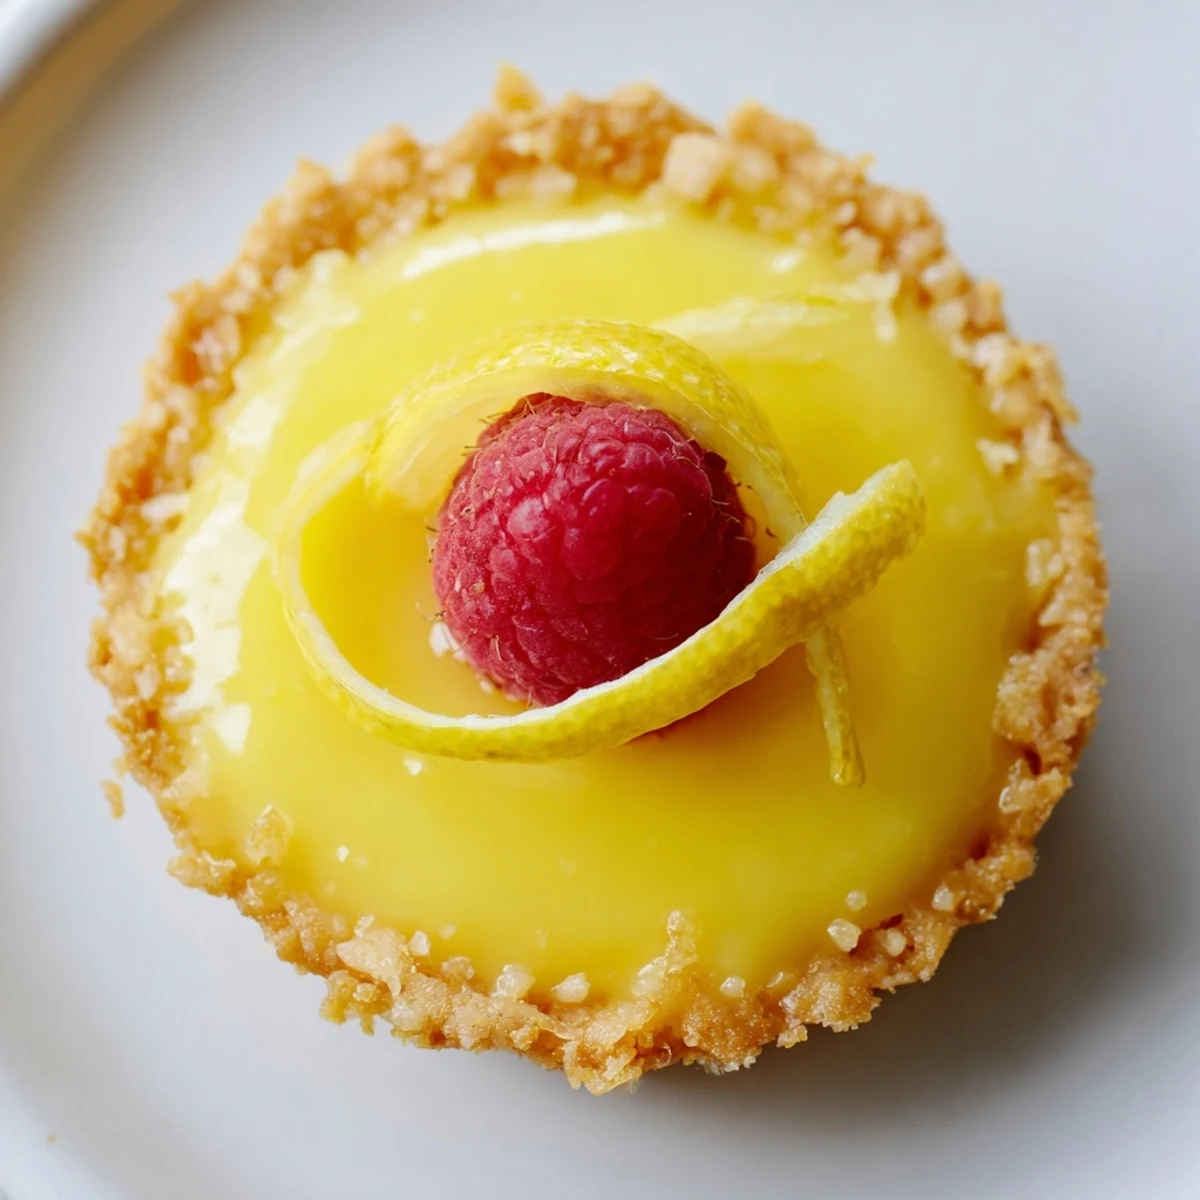
 These charming handheld desserts feature a buttery almond flour base supporting a velvety smooth lemon-coconut filling. The vibrant citrus curd achieves its luscious consistency through coconut milk and natural thickeners, while turmeric adds a golden hue. Preparation involves pressing the crumbly crust into mini pans, baking until golden, then simmering the filling until thickened. After assembly, chilling sets the custard into sliceable perfection. Garnish with seasonal berries or delicate lemon twists for an elegant presentation that balances tangy brightness with subtle sweetness.
The first time I brought these to a summer potluck, my friend Sarah swore there was cream in them. She's been vegan for years and couldn't believe how silky the filling turned out. Now she requests them for every gathering, and I've learned to always make a double batch.
Last spring, I made these for my mom's birthday dinner instead of a traditional cake. She kept saying "there's no way this is vegan" between bites, which is exactly the reaction I was hoping for. The almond crust gives them this sophisticated nuttiness that makes them feel special enough for celebrations but easy enough for a Tuesday night craving.
Ingredients
- Almond flour: Creates a naturally glutenfree crust that browns beautifully and holds its shape perfectly when pressed into tart pans
- Coconut oil: Solid at room temperature which helps the crust stay crisp, and adds the slightest tropical undertone that plays so nicely with bright lemon
- Maple syrup: My go to liquid sweetener for vegan baking because it dissolves seamlessly into both crust and filling
- Full fat coconut milk: The secret to that impossibly creamy texture, just make sure you're using the culinary kind in a carton not canned coconut cream
- Fresh lemon juice: Don't even think about bottled here, you need that bright acid to cut through the richness
- Cornstarch: The magic thickener that transforms the liquid filling into something you can slice cleanly
- Turmeric: Just a pinch gives you that gorgeous sunshine yellow without any artificial food coloring
Instructions
- Prepare your pans and heat:
- Preheat that oven to 175°C and give your mini tart pans a light coating of oil, or grab a muffin tin if that's what you have on hand.
- Make the crust:
- Mix the almond flour, melted coconut oil, maple syrup, and salt until you have a mixture that looks like wet sand and holds together when you pinch it.
- Press and dock:
- Press the dough firmly into each tart pan, going up the sides as evenly as possible, then prick the bottoms all over with a fork so they don't puff up.
- Bake the shells:
- Slide them into the oven for 10 to 12 minutes until they're just turning golden around the edges, then let them cool completely while you make the filling.
- Whisk the filling base:
- In your saucepan, whisk together the coconut milk, lemon juice, zest, maple syrup, cornstarch, turmeric, and salt until the cornstarch has completely disappeared.
- Cook until thickened:
- Set the pan over medium heat, whisking constantly and getting into the corners, until the mixture bubbles and thickens into something glossy, about 6 to 8 minutes.
- Fill and chill:
- Pour that gorgeous yellow filling into your cooled shells and refrigerate for at least an hour until they're completely set and firm to the touch.
- Garnish and serve:
- Top with whatever makes you happy, fresh berries, those delicate lemon curls, or even a few edible flowers if you're feeling fancy.
 Save to Pinterest
 My niece helped me make these last weekend and insisted on arranging the berries on top herself. She took so much care with each tiny tart, and honestly, they looked better than anything I've ever made. Sometimes the prettiest versions are the ones made with small, proud hands.
Making The Filling Foolproof
The key is whisking constantly once that pan hits the heat. I learned the hard way that walking away for even thirty seconds means a scorched bottom and lumpy filling. Set up your station before you turn on the burner, have everything measured and ready, and commit to standing there until it bubbles and thickens beautifully.
Crust Success
Press the dough into your pans while it's still warm from the coconut oil melting, otherwise it tends to crumble and resist shaping. If you're working in a warm kitchen and the mixture feels too soft, pop it in the fridge for five minutes before pressing, the firming up makes all the difference.
Getting Ahead Of Time
The tart shells can be baked a full day ahead and stored at room temperature, tightly wrapped to keep them crisp. The filling also keeps beautifully in the refrigerator for two days, just give it a good whisk before pouring. This has saved me more times than I can count when hosting.
- Press plastic wrap directly onto the surface of the filling if storing it separately to prevent a skin from forming
- Don't garnish until right before serving or the berries will weep and make everything soggy
- If your tarts have sat in the fridge for more than a day, a quick 10 minute warm up at room temperature brings back that perfect creamy texture
 Save to Pinterest
 There's something so satisfying about serving a dessert that looks impressive but comes together without any fuss. These little tarts have become my go to for every celebration, and watching people's faces light up at that first bright, creamy bite never gets old.
Recipe FAQs
- → How long do these need to chill before serving?
-
Refrigerate for at least one hour to allow the filling to set completely. For firmer texture, chill longer—up to four hours works well. The custard will hold its shape better when thoroughly cooled.
- → Can I make these ahead of time?
-
Yes, prepare up to two days in advance. Store in the refrigerator covered loosely. Add fresh garnishes like berries or zest just before serving for best appearance and texture.
- → What makes the filling set without eggs?
-
Cornstarch acts as the thickening agent when heated with coconut milk. Constant whisking prevents lumps while the starch gelatinizes. Turmeric provides natural yellow color reminiscent of traditional lemon curd.
- → Can I use regular milk instead of coconut?
-
Coconut milk provides richness and creaminess essential for the dairy-free version. Cashew cream or almond milk with added arrowroot may work, though texture will differ slightly.
- → How do I know when the filling is thick enough?
-
The mixture is ready when it bubbles and coats the back of a spoon. It should reach pudding-like consistency after 6–8 minutes of simmering. Remember it thickens further as it cools.
