 Save to Pinterest
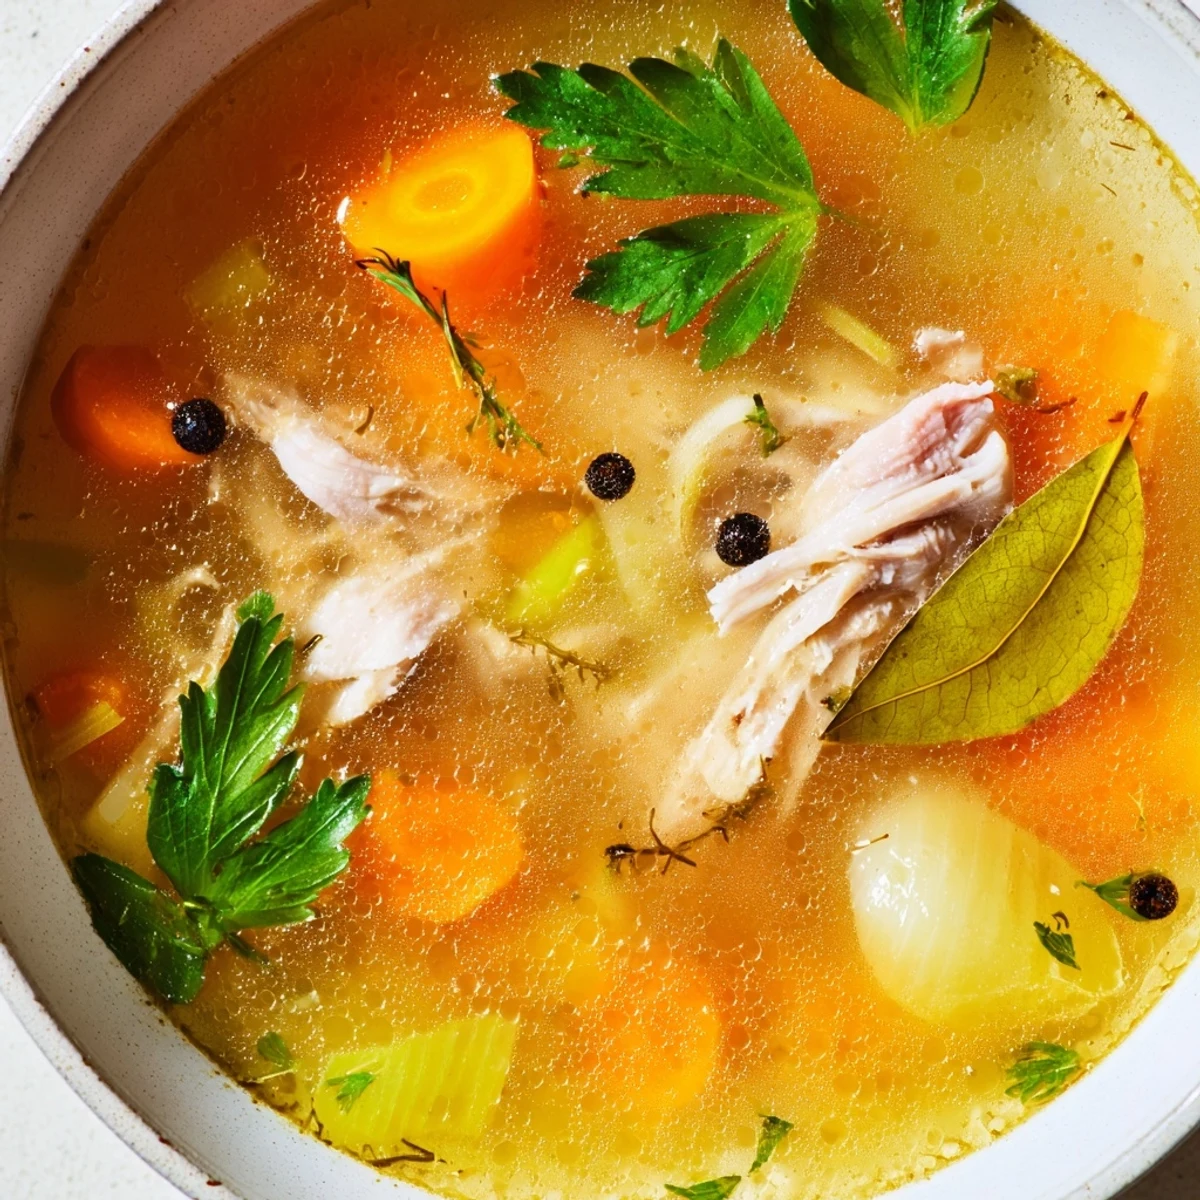
 This wholesome chicken broth delivers rich flavor and nutrients through an effortless slow-cooking process. Simply combine bones with vegetables, aromatics, and vinegar, then let your slow cooker work its magic over 12-18 hours. The result is a golden, gelatinous liquid perfect for sipping solo or elevating soups, stews, and grain dishes. Roasting bones beforehand adds depth, while straining ensures clarity. Store in the refrigerator for up to five days or freeze for months of convenient use.
My slow cooker lived on a high shelf for three years before a particularly brutal January cold convinced me to dust it off and toss in a bag of chicken bones from the freezer. That first batch of broth filled every room with something primal and deeply comforting, and I have not gone a week without a jar in the fridge since. There is almost no active work involved, just patience and trust in time doing what no shortcut can replicate. If you have been buying broth from a carton, this will change the way you think about your kitchen scraps forever.
I started saving bones in a freezer bag after a Sunday roast, and by Thursday I had enough for a full batch. My neighbor walked in while it was simmering and immediately asked what I was making because the smell had drifted down the hallway. We ended up sharing the first mug of it standing in my kitchen, both of us surprised by how something so simple could feel so indulgent.
Ingredients
- Chicken bones (1.5 kg): Carcasses, wings, backs, or a mix work wonderfully, and using leftover roasted bones adds a deeper, richer color and flavor.
- Carrots (2 medium): Rough chopped is all you need, and they bring a gentle sweetness that balances the savory depth of the bones.
- Celery (2 stalks): Adds an earthy base note that you will miss if you leave it out.
- Onion (1 large): Quartered with the skin on gives the broth a beautiful golden hue.
- Garlic (4 cloves): Smashed, not minced, so it infuses gently without turning bitter over the long cook.
- Bay leaves (2): A quiet but essential layer of herbal warmth that ties everything together.
- Whole black peppercorns (10): Whole peppercorns add mild heat without clouding the broth the way cracked pepper would.
- Fresh parsley (1 bunch): Optional, but it brightens the final flavor in a way you will notice when it is missing.
- Fresh thyme (1 to 2 sprigs): Optional, though a little thyme goes a long way toward making the broth taste rounded and complete.
- Apple cider vinegar (1 tablespoon): This is the secret weapon, helping draw minerals from the bones into the broth.
- Cold water (2.5 liters): Start with cold water for the clearest, cleanest extraction.
- Salt (1 teaspoon): Add at the end so you can control the final seasoning precisely.
Instructions
- Load the slow cooker:
- Pile the chicken bones into the slow cooker first so they form an even layer on the bottom, then scatter the chopped carrots, celery, onion quarters, and smashed garlic over and around them.
- Add the aromatics:
- Tuck in the bay leaves, peppercorns, parsley, and thyme sprigs wherever they naturally fall between the bones and vegetables.
- Pour and submerge:
- Drizzle in the apple cider vinegar, then pour the cold water over everything, making sure the bones are fully covered and pressing down gently if needed.
- Let time do the work:
- Set the slow cooker to LOW and walk away for twelve to eighteen hours, skimming off any foam that rises to the top during the first hour or two.
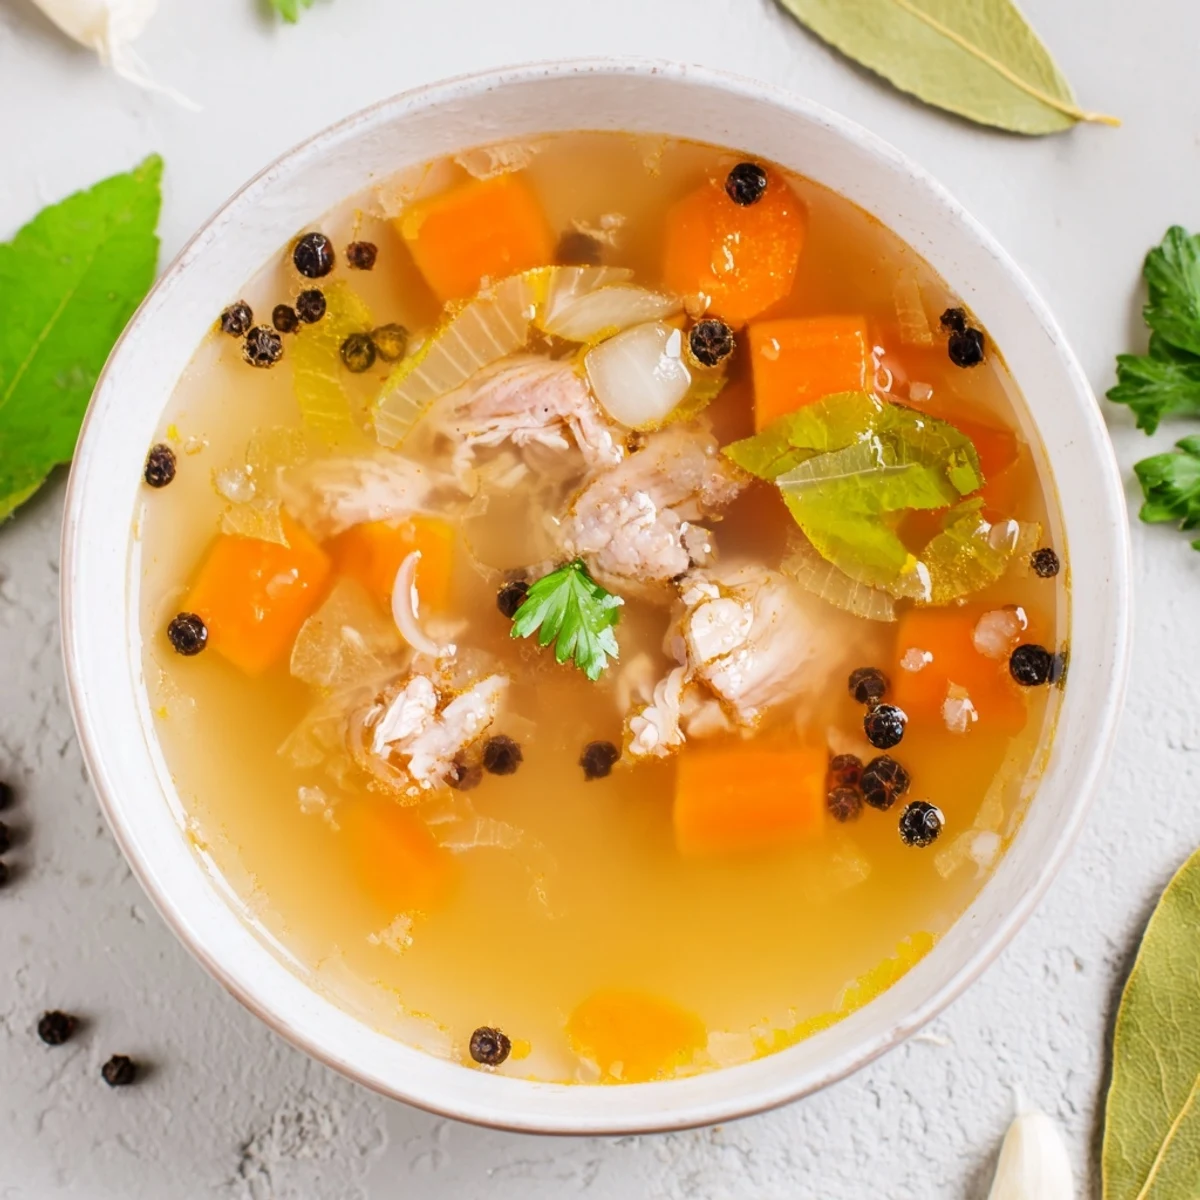
- Strain and season:
- Ladle the broth through a fine mesh sieve into a large bowl, discard all the solids, then stir in salt gradually until it tastes exactly right to you.
- Cool and store:
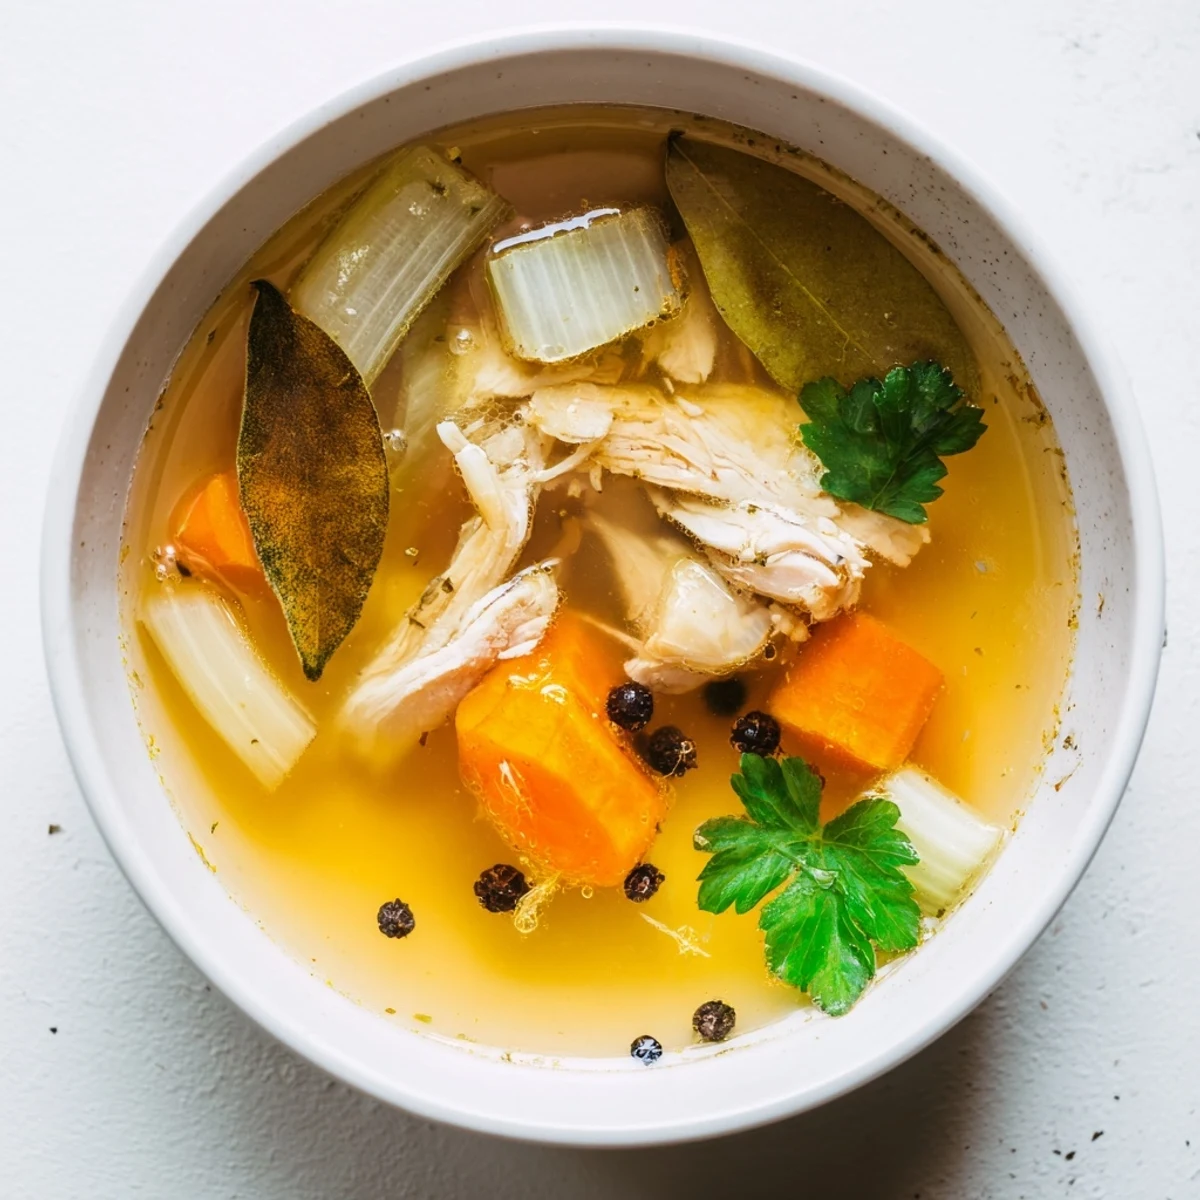
- Let the broth cool completely at room temperature, then transfer to airtight jars and refrigerate for up to five days or freeze for months of ready made nourishment.
 Save to Pinterest
 One winter evening I poured a steaming mug of this broth for a friend who was recovering from a cold, and she called me the next day asking for the recipe because she had never tasted anything so soothing. That single moment turned a humble pot of bones into something I now gift in mason jars to anyone who needs a little warmth. It is the kind of recipe that quietly becomes part of your life without fanfare.
Roasting Bones First
Taking the extra thirty minutes to roast your bones at a high temperature before adding them to the slow cooker creates a layer of caramelized flavor that slow cooking alone simply cannot achieve. I learned this the hard way after making two batches side by side, one with roasted bones and one without, and the roasted version was unmistakably richer. Spread the bones on a baking sheet and let them brown deeply at 220 degrees Celsius until you see golden edges and smell that roasted savory aroma filling the kitchen. It is one extra step that pays for itself ten times over in the final taste.
Choosing the Right Bones
You do not need to buy special bones for this recipe, and in fact the best batches I have ever made came from collecting leftover carcasses and wing tips in a freezer bag over the course of a week or two. Bones with some connective tissue and joints produce more gelatin, which gives the broth that satisfying silky texture that sets it apart from watery store bought versions. If you want a particularly gelatinous batch, ask your butcher for chicken feet or necks, which are inexpensive and packed with collagen. A mix of different bone types always yields a more interesting and nutrient dense broth than using just one kind.
Storing and Using Your Broth
Once cooled, the broth will develop a layer of solidified fat on top, and you can either scoop it off or leave it as a natural seal that helps preserve freshness in the fridge. I keep some in the refrigerator for immediate use and freeze the rest in portion sized jars, leaving an inch of headroom so the liquid can expand without cracking the glass.
- Label each jar with the date so you always use the oldest batch first.
- Freeze some broth in ice cube trays for quick small portions when you just need a splash for deglazing a pan.
- Remember that a jar from the freezer needs a full day in the fridge to thaw safely before you need it.
 Save to Pinterest
 There is something deeply satisfying about transforming what most people throw away into one of the most nourishing things in your kitchen. Once you make this broth your own, you will wonder how you ever cooked without it.
Recipe FAQs
- → Why add apple cider vinegar to the broth?
-
Apple cider vinegar helps extract minerals and collagen from the bones, making your broth more nutrient-dense and potentially improving its gelatinous texture when cooled.
- → Can I use raw bones instead of roasted?
-
Absolutely. Raw bones work perfectly fine, though roasted bones will give you a deeper, richer flavor and darker color. For the best of both worlds, roast them for 30 minutes at 220°C before slow cooking.
- → How long does this broth stay fresh?
-
Properly stored in airtight containers, your broth will keep in the refrigerator for up to 5 days. For longer storage, freeze it for 3-6 months without losing quality or flavor.
- → What's the best way to strain for clear broth?
-
Use a fine-mesh sieve or cheesecloth and pour slowly without disturbing the solids. Avoid stirring during the final cooking hours, which helps keep particles suspended and makes straining easier.
- → Can I add different vegetables or herbs?
-
Certainly. Leeks, parsnips, and fresh ginger make excellent additions. Just keep the ratio of bones to water consistent for proper flavor extraction, and avoid strongly bitter vegetables that might overpower the broth.
- → Why did my broth not gel when refrigerated?
-
This usually means insufficient collagen extraction. Try using more joints and connective tissue (feet, wings, knuckles), cook longer, or add a splash more vinegar to help break down the collagen-rich tissues.
