 Save to Pinterest
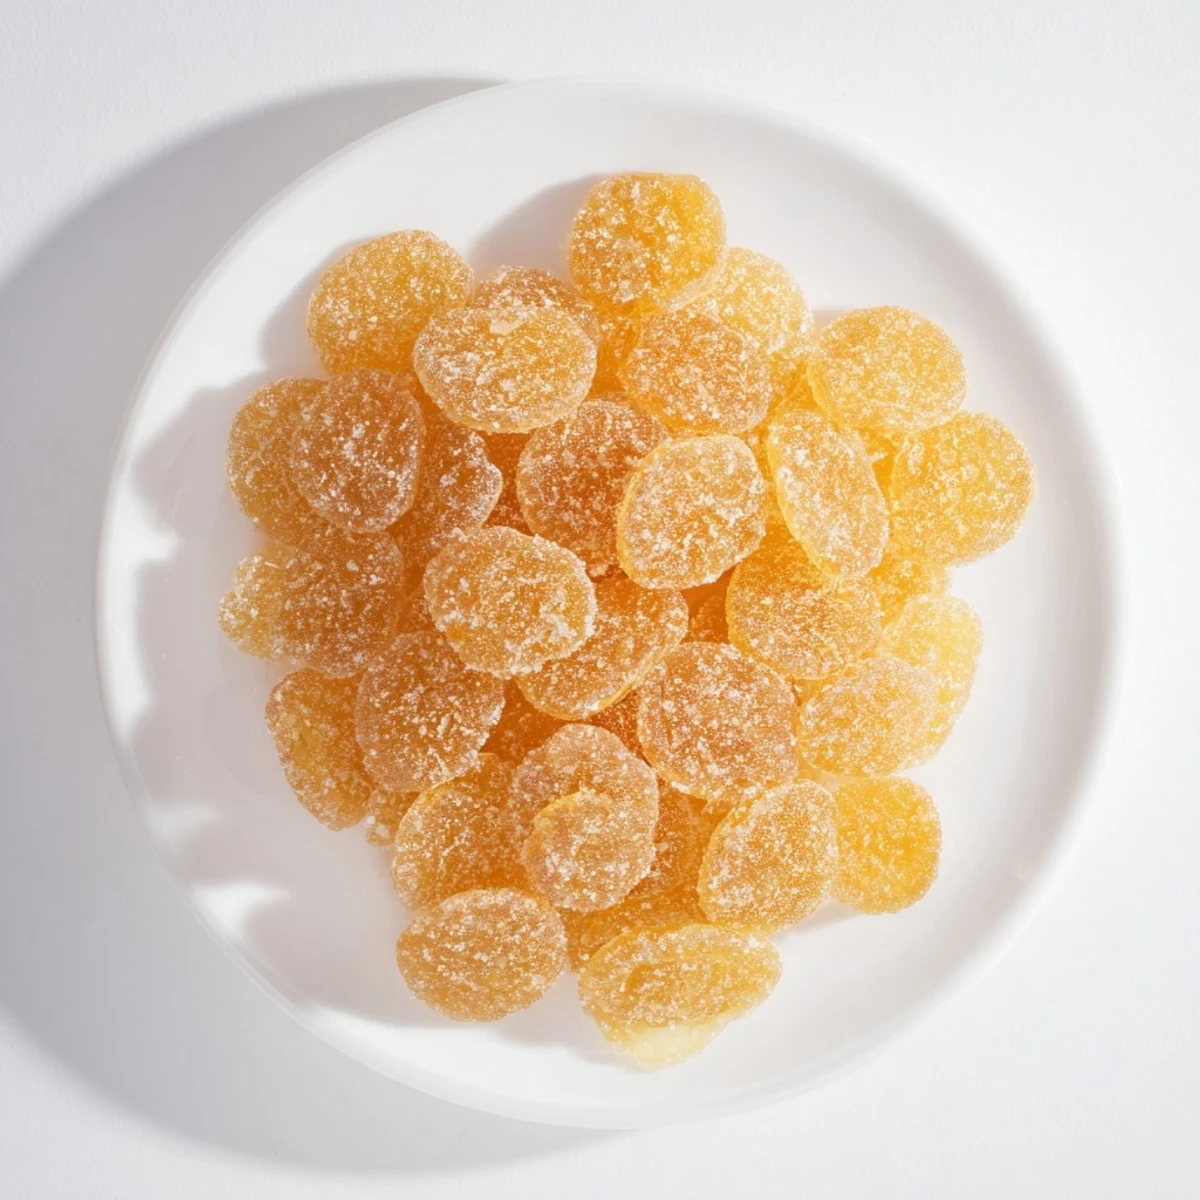
 Create your own crystallized ginger with this simple method. Fresh ginger slices are simmered until tender, then cooked in sugar syrup until translucent and coated in sparkling sugar. The result is a chewy, sweet confection with ginger's natural warming kick.
This versatile treat works beautifully in baked goods like cookies and scones, adds sophistication to cocktails when paired with the reserved syrup, or stands alone as a satisfying snack. The process takes about 90 minutes from start to finish and yields approximately two cups.
Young ginger delivers extra spice while mature root provides a milder experience. Store your finished candied ginger in an airtight container and it will keep for two months at room temperature, though it rarely lasts that long once discovered.
Last winter I found myself nursing a stubborn cold while staring at a knobby piece of ginger root on my counter. Instead of my usual tea remedy, I decided to transform it into something that felt like a treat rather than medicine. The process filled my entire apartment with this warm, spicy aroma that somehow made being sick feel cozy. Now I keep a jar on hand year round, reaching for a piece whenever I need a little pick me up.
My sister visited during testing week and ended up eating half the batch before I could properly package them. She kept sneaking pieces while claiming she was just quality control for gift giving. The next day I found her searching my kitchen for the container she swore she did not finish. Now I double the recipe whenever she comes over.
Ingredients
- Fresh ginger root: Look for pieces with smooth, taut skin and avoid any that look wrinkled or dry. Young ginger will be milder with thinner skin, while mature roots pack more heat and require a bit more patience to peel.
- Granulated sugar: This does double duty creating the syrup and the final sparkly coating. I have tried raw sugars but they darken the ginger and sometimes burn during the candying phase.
- Water: Plain filtered water works best since any mineral taste will concentrate as the syrup reduces.
Instructions
- Slice and prep the ginger:
- Cut the peeled root into rounds as thin as you can manage without sacrificing your sanity. I aim for about the thickness of a quarter, which gives satisfying chew without being tough. Do not worry about perfect uniformity some variation in texture is actually nice.
- Blanch until tender:
- Simmer the slices in plain water first, which removes some of the raw bite and softens them for the sugar bath. You will know they are ready when you can easily pierce them with a paring knife but they still hold their shape. This step takes patience but skipping it leaves you with tough, fibrous candy.
- Candy in syrup:
- Return the ginger to the pot with the reserved liquid and sugar. Watch the bubbles change from rapid to slow as it transforms into thick, glossy syrup. The ginger will start looking translucent and almost jewel like. Stir more frequently toward the end to prevent sticking and burning.
- Coat while tacky:
- Let the pieces cool just until they are no longer piping hot but still feel slightly sticky to the touch. Toss them in sugar while they are in this sweet spot the coating will adhere perfectly without clumping. Shake off the excess and arrange them in a single layer to dry completely.
 Save to Pinterest
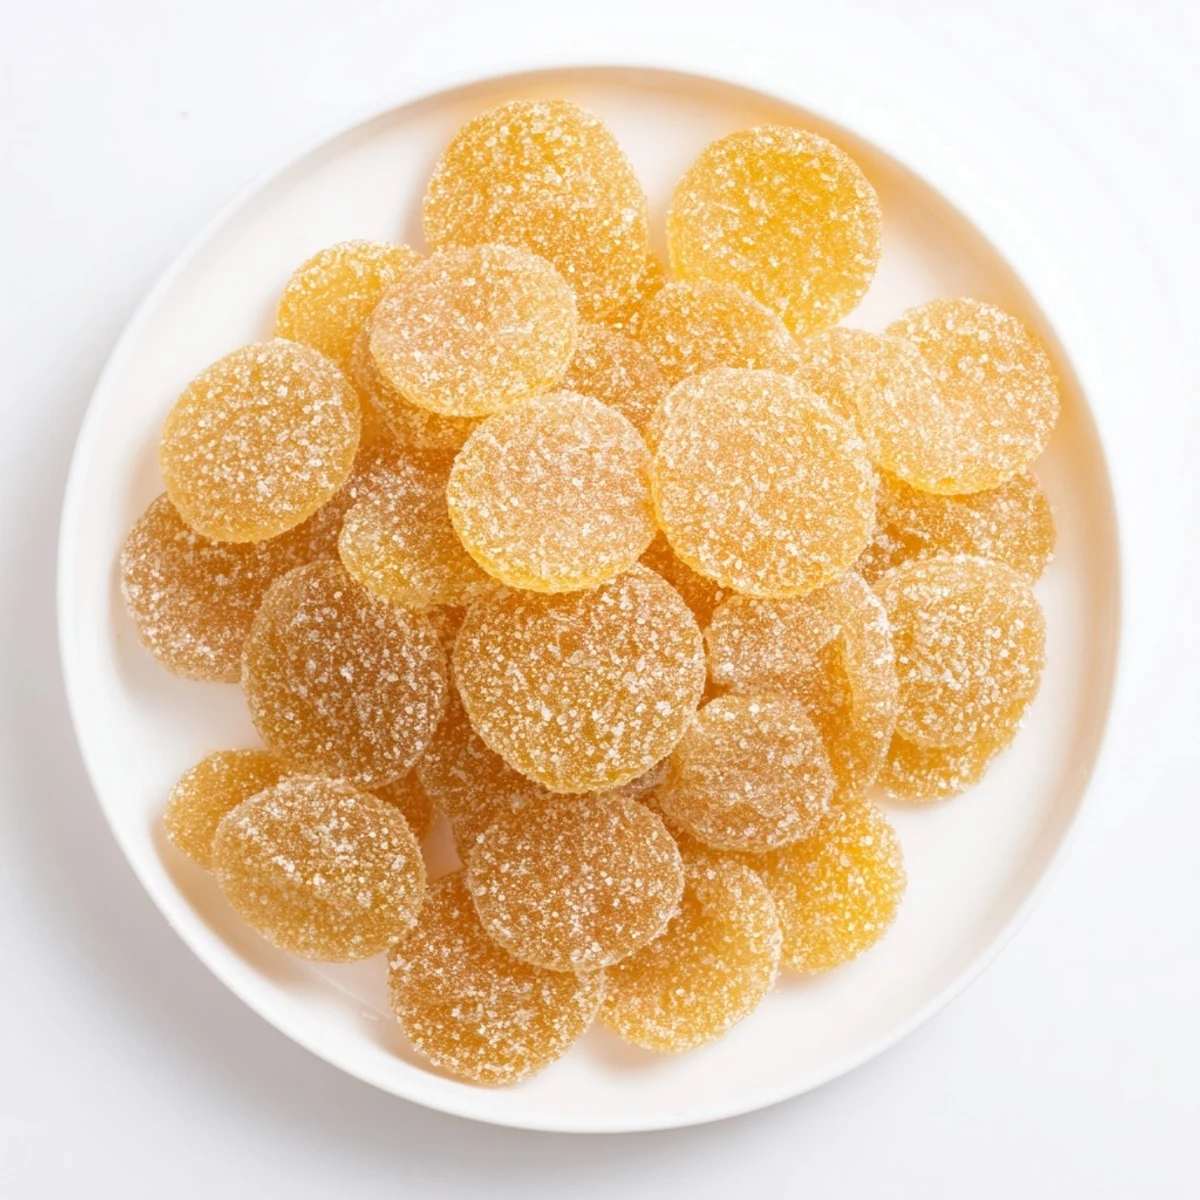
 I once brought a jar to a holiday cookie swap and watched it disappear while the actual cookies sat mostly untouched. People kept asking where I bought such high quality candy. Seeing their expressions when I explained it was just ginger and sugar made all the stirring and monitoring feel completely worth it. Now it is my go to hostess gift because it feels special but requires almost zero presentation effort.
Making The Most of Your Syrup
That leftover liquid in the pan is liquid gold. I pour it into a small jar and keep it in the fridge for stirring into tea, drizzling over vanilla ice cream, or sweetening my morning smoothie. It has an intense gingery heat that store bought syrups never achieve. One batch of candied ginger essentially gives you two ingredients in one.
Storage Secrets
Properly dried candied ginger keeps for months, but only if it is completely cool before you store it. Any trapped moisture creates a sticky mess and invites mold. I let mine sit out overnight before packing it into airtight containers. If you live somewhere humid, you might need to finish the drying in a low oven.
Serving Ideas Beyond Snacking
Chop it finely and fold into shortbread dough or scone batter for bursts of spicy sweetness. A single piece melted into a cup of hot chocolate adds depth that surprises people. The pieces also make beautiful garnish for carrot cake or gingerbread cookies.
- Try dipping pieces in dark chocolate for extra indulgence
- Add chopped ginger to homemade granola for breakfast
- Gift in pretty jars with handmade labels
 Save to Pinterest
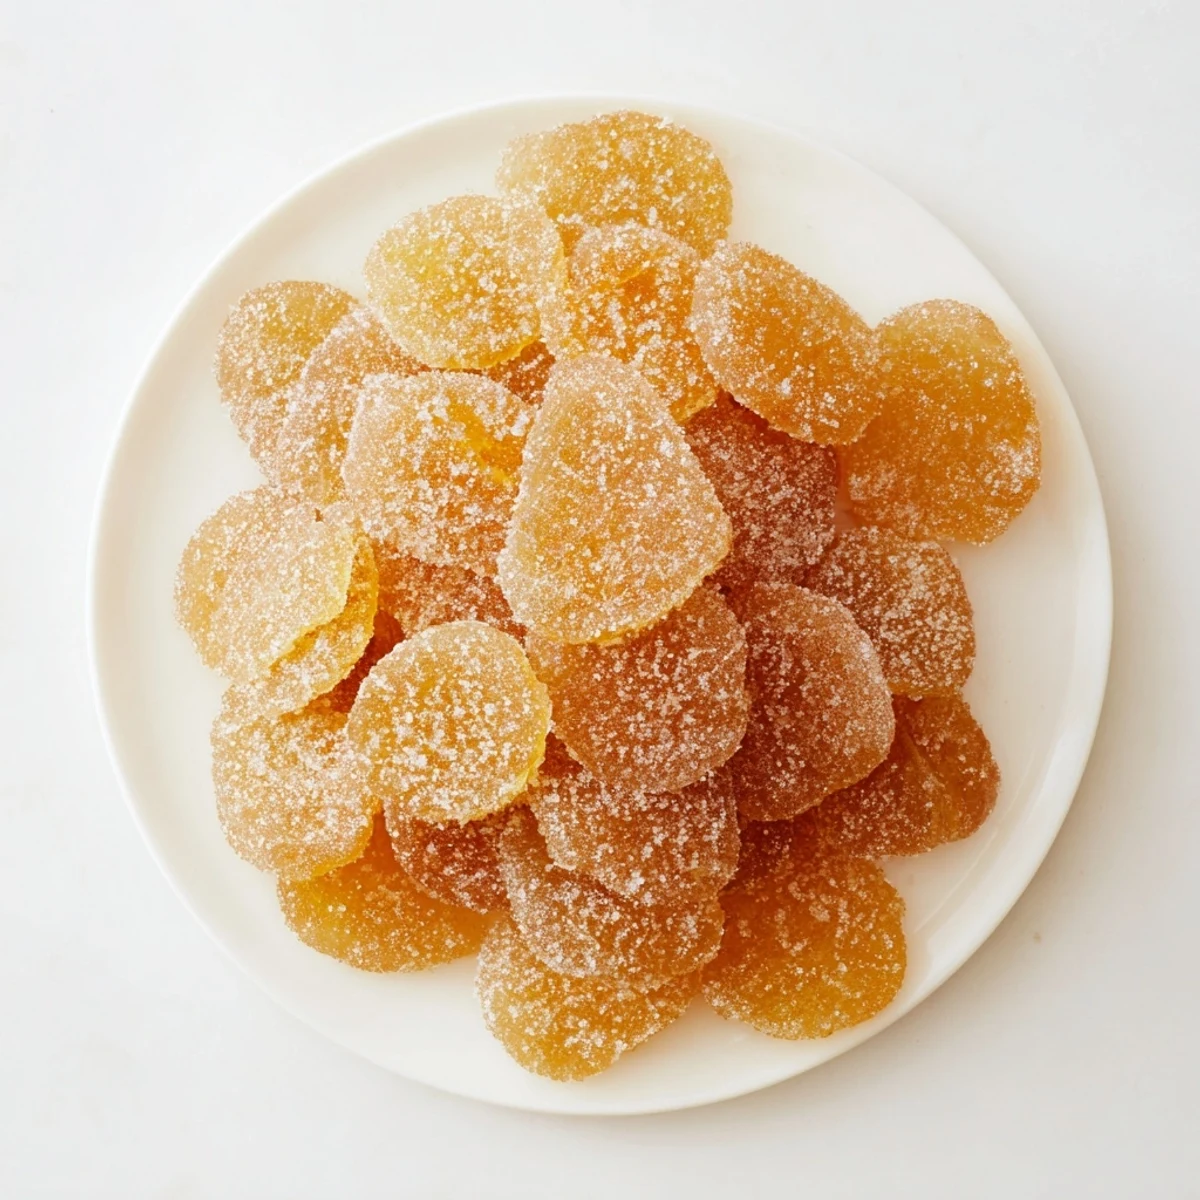
 There is something deeply satisfying about turning such an inexpensive ingredient into something that feels like a luxury. I hope this recipe finds its way into your kitchen and maybe even your gift giving rotation.
Recipe FAQs
- → How long does homemade candied ginger last?
-
Properly stored in an airtight container at room temperature, homemade candied ginger stays fresh for up to two months. Ensure pieces are completely dry before storing to prevent sticking or spoilage.
- → Can I use the leftover ginger syrup?
-
Absolutely. The reserved ginger syrup makes an excellent sweetener for tea, adds zing to cocktails, or can be drizzled over desserts. Store it in the refrigerator for several weeks.
- → What's the difference between young and mature ginger?
-
Young ginger has thinner skin, less fiber, and delivers a more intense spicy kick. Mature ginger is tougher, requires more peeling, and provides a milder, sweeter flavor profile.
- → Why do I need to boil the ginger twice?
-
The first boil tenderizes the fibrous ginger root. The second boil in sugar syrup draws out moisture while infusing sweetness, creating the signature chewy texture and translucent appearance.
- → How thin should I slice the ginger?
-
Aim for uniform slices about 3 mm or ⅛-inch thick. This ensures even cooking and consistent texture. Too thick and the center remains tough; too thin and pieces may fall apart during coating.
- → Can I reduce the sugar amount?
-
Sugar acts as both sweetener and preservative. Reducing sugar affects texture and shelf life. For a lower-sugar alternative, try dehydrating ginger slices without the sugar coating.
