 Save to Pinterest
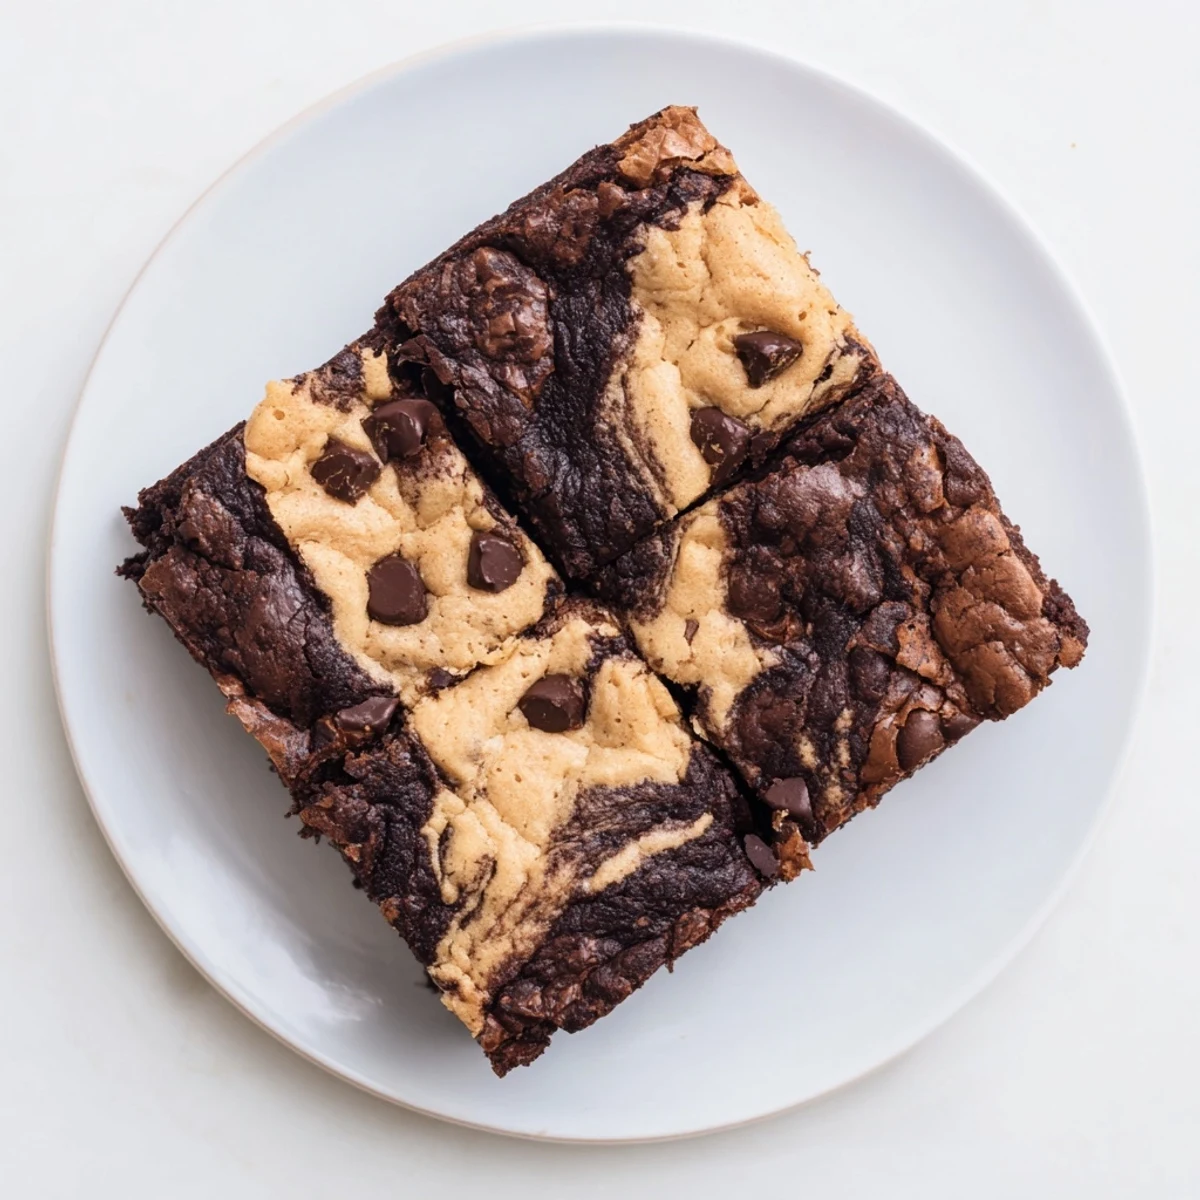
 These brookies deliver the best of both worlds with a fudgy, dense brownie base topped with chewy chocolate chip cookie dough. The contrasting textures create the perfect bite—gooey and rich from the brownie layer, while the cookie topping adds sweetness and pockets of melted chocolate chips. Ready in about an hour, this mashup yields 16 squares that satisfy any dessert craving.
My kitchen scale was broken the afternoon I first attempted brookies, so I measured everything by volume and crossed my fingers. The result was a glorious, slightly messy slab that tasted like someone had smashed the best parts of two bakeries into one pan. My roommate walked in, took one bite, and immediately declared these superior to either a brownie or a cookie on its own.
I brought a tray of these to a friend's birthday picnic last spring and watched three people argue over the last corner piece. The brownie layer had sunk slightly in the center, creating this perfect gooey pocket that nobody could resist. I have since stopped trying to fix that sunk center because it might be the best accident I ever made in a baking pan.
Ingredients
- Unsalted butter (115 g for brownies, 115 g for cookies): Melted butter gives the brownie layer its signature fudgy density, while softened butter creamed with sugar builds structure in the cookie layer. Use good quality butter if you can, because you will taste the difference.
- Granulated sugar (200 g for brownies, 50 g for cookies): A generous amount in the brownie batter keeps things gooey and sweet. The smaller portion in the cookie layer balances the brown sugar.
- Brown sugar, packed (90 g): This is what makes the cookie layer chewy and gives it that caramel undertone. Pack it firmly into your measuring cup for the right consistency.
- Eggs (3 large total): Two eggs in the brownie layer create richness, while one egg binds the cookie dough together. Use room temperature eggs for smoother mixing.
- Vanilla extract (2 tsp total): Split between both layers, it deepens the chocolate flavor more than you might expect. Pure extract is worth the splurge here.
- Unsweetened cocoa powder (65 g): This is the backbone of the brownie layer, so use a quality Dutch processed or natural cocoa. Sift it if it looks lumpy to avoid bitter pockets.
- All purpose flour (80 g for brownies, 130 g for cookies): Less flour in the brownie layer keeps it dense and fudgy. The cookie layer needs a bit more to hold its shape on top.
- Baking soda (1/2 tsp): Only in the cookie layer, giving it a slight lift so it does not turn into a dense brick on top of the brownie.
- Salt (1/4 tsp per layer): Do not skip this in either layer. Salt makes chocolate taste more like itself.
- Semi sweet chocolate chips (150 g): Folded into the cookie dough, they create pockets of melted chocolate throughout the top layer. Chunks work beautifully too if you prefer irregular melty bits.
Instructions
- Get your pan ready:
- Preheat your oven to 175 degrees C (350 degrees F) and line a 22x22 cm (9x9 inch) square baking pan with parchment paper, leaving an overhang on two sides so you can lift the whole thing out later. Press the paper into the corners firmly so the batter does not sneak underneath.
- Build the brownie layer:
- In a medium bowl, whisk the melted butter and granulated sugar until they look glossy and well combined. Beat in the eggs one at a time followed by the vanilla, then stir in the cocoa powder, flour, and salt until just mixed. Spread this thick, dark batter evenly across the bottom of your prepared pan.
- Make the cookie dough:
- In a separate bowl, cream the softened butter with both sugars until the mixture looks pale and fluffy, about two minutes of enthusiastic stirring. Beat in the egg and vanilla, then add the flour, baking soda, and salt, mixing until everything just comes together before folding in the chocolate chips by hand.
- Combine the two layers:
- Drop spoonfuls of the cookie dough over the brownie batter, then gently flatten and spread them with slightly damp fingers or a spatula. It is perfectly fine if some brownie peeks through because those spots become the most delicious little surprises.
- Bake with patience:
- Slide the pan into the center of your oven and bake for 30 to 35 minutes until the edges turn golden and the center looks just barely set. Pull it out a touch early if you like things extra fudgy because these continue to set as they cool.
- Cool completely before slicing:
- Let the brookies cool entirely in the pan, which takes serious willpower, before using the parchment overhang to lift the whole slab out. Cut into 16 squares with a sharp knife, wiping the blade between cuts for the neatest edges.
 Save to Pinterest
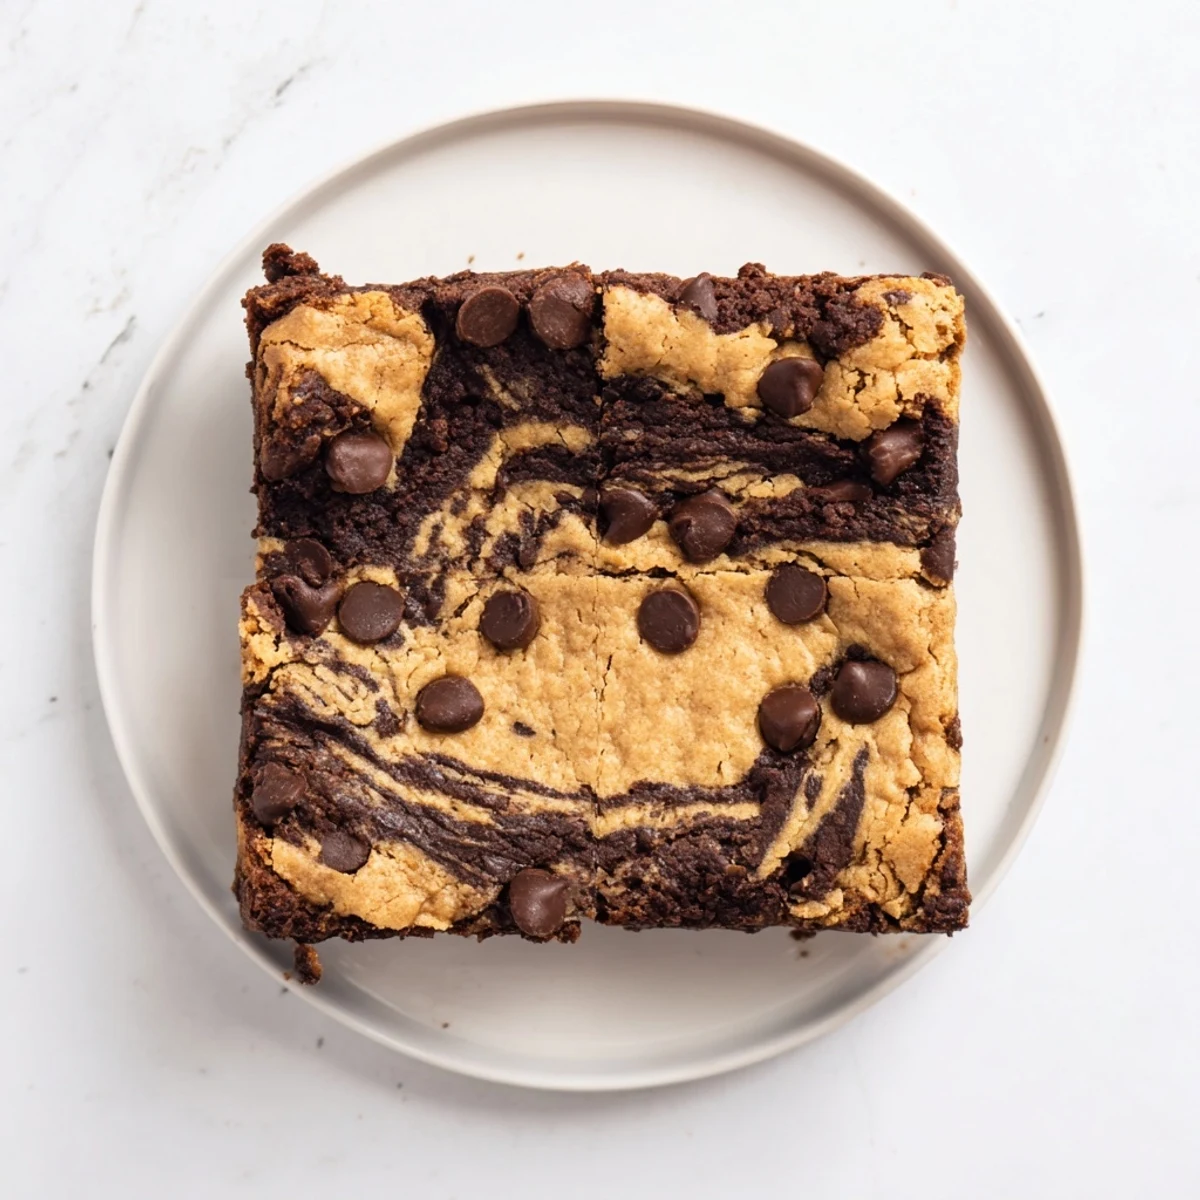
 The moment these became more than just a recipe was when my niece asked if we could make them together every time she visits. Now there is a small collection of photos on my phone showing her flour dusted hands pressing cookie dough onto brownie batter, each year a little more confident than the last.
Mixing by Hand versus Mixer
You absolutely do not need a stand mixer for brookies, and honestly I prefer mixing by hand with a whisk and a spatula. There is something satisfying about feeling the brownie batter transform from greasy to glossy as you beat the eggs in. The cookie layer benefits from a good arm workout when creaming the butter and sugars, and you get better control over not overmixing once the flour goes in.
Customizing Your Brookies
Once you have the basic technique down, the variations are almost endless and half the fun is experimenting. Try adding a handful of toasted pecans or walnuts to the cookie dough for crunch, or swap the semi sweet chips for dark chocolate chunks if you prefer a more intense bar. A sprinkle of flaky sea salt across the top the moment they come out of the oven elevates everything beautifully.
Storing and Serving
Brookies stay wonderfully moist for several days when stored properly, which makes them a great make ahead dessert for gatherings. Keep them in an airtight container at room temperature and they will be at their best for up to four days, though they rarely last that long in my house.
- A brief ten second warm in the microwave makes leftover brookies taste freshly baked.
- Freeze individual squares wrapped tightly in plastic wrap for up to two months.
- Always cut with a clean knife and wipe the blade between slices for bakery worthy edges.
 Save to Pinterest
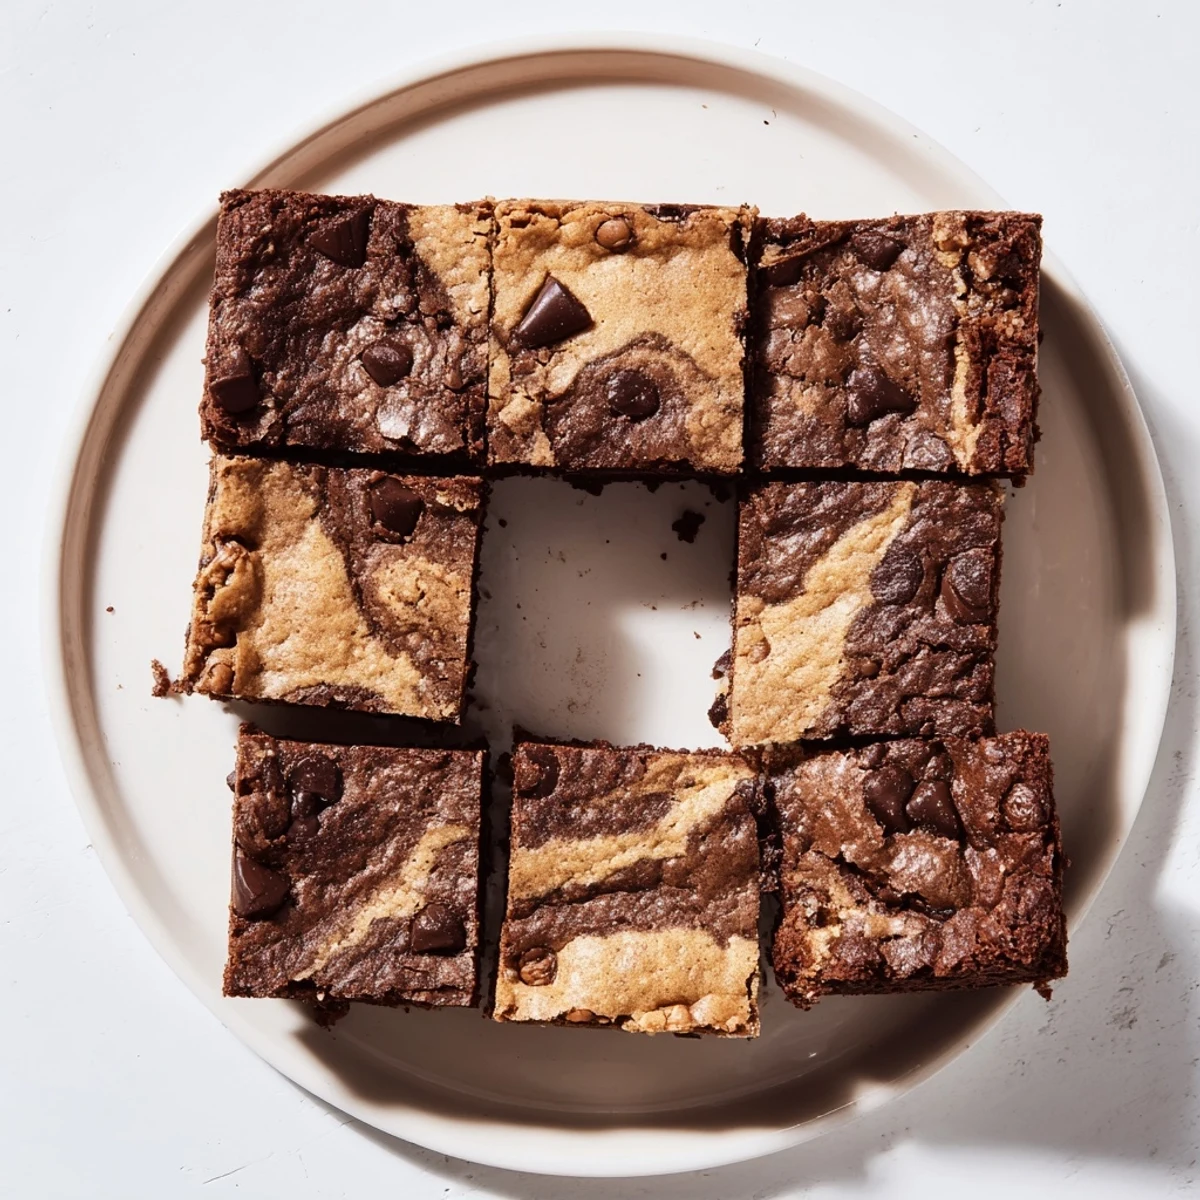
 Every batch of brookies I make reminds me that some of the best things in baking happen when you refuse to choose just one thing. Go ahead, make a mess, and share them with someone who appreciates the beauty of two desserts in one.
Recipe FAQs
- → What are brookies?
-
Brookies are a hybrid dessert combining brownies and chocolate chip cookies into one treat. The name blends 'brownie' and 'cookie,' featuring layers of both batters baked together.
- → Can I make brookies ahead of time?
-
Yes, brookies keep well in an airtight container at room temperature for up to 4 days. The flavors often develop and improve after sitting for a day.
- → How do I know when brookies are done?
-
The edges should be golden and the center just set with a slight wiggle. Avoid overbaking—insert a toothpick and it should come out with moist crumbs, not completely clean.
- → Can I freeze brookies?
-
Absolutely. Wrap individual squares tightly in plastic wrap and freeze for up to 3 months. Thaw at room temperature for 30 minutes before serving.
- → What's the best way to cut brookies?
-
Let them cool completely in the pan before removing. Use a sharp knife and wipe it clean between cuts for clean edges. For extra neat squares, chill briefly before slicing.
