 Save to Pinterest
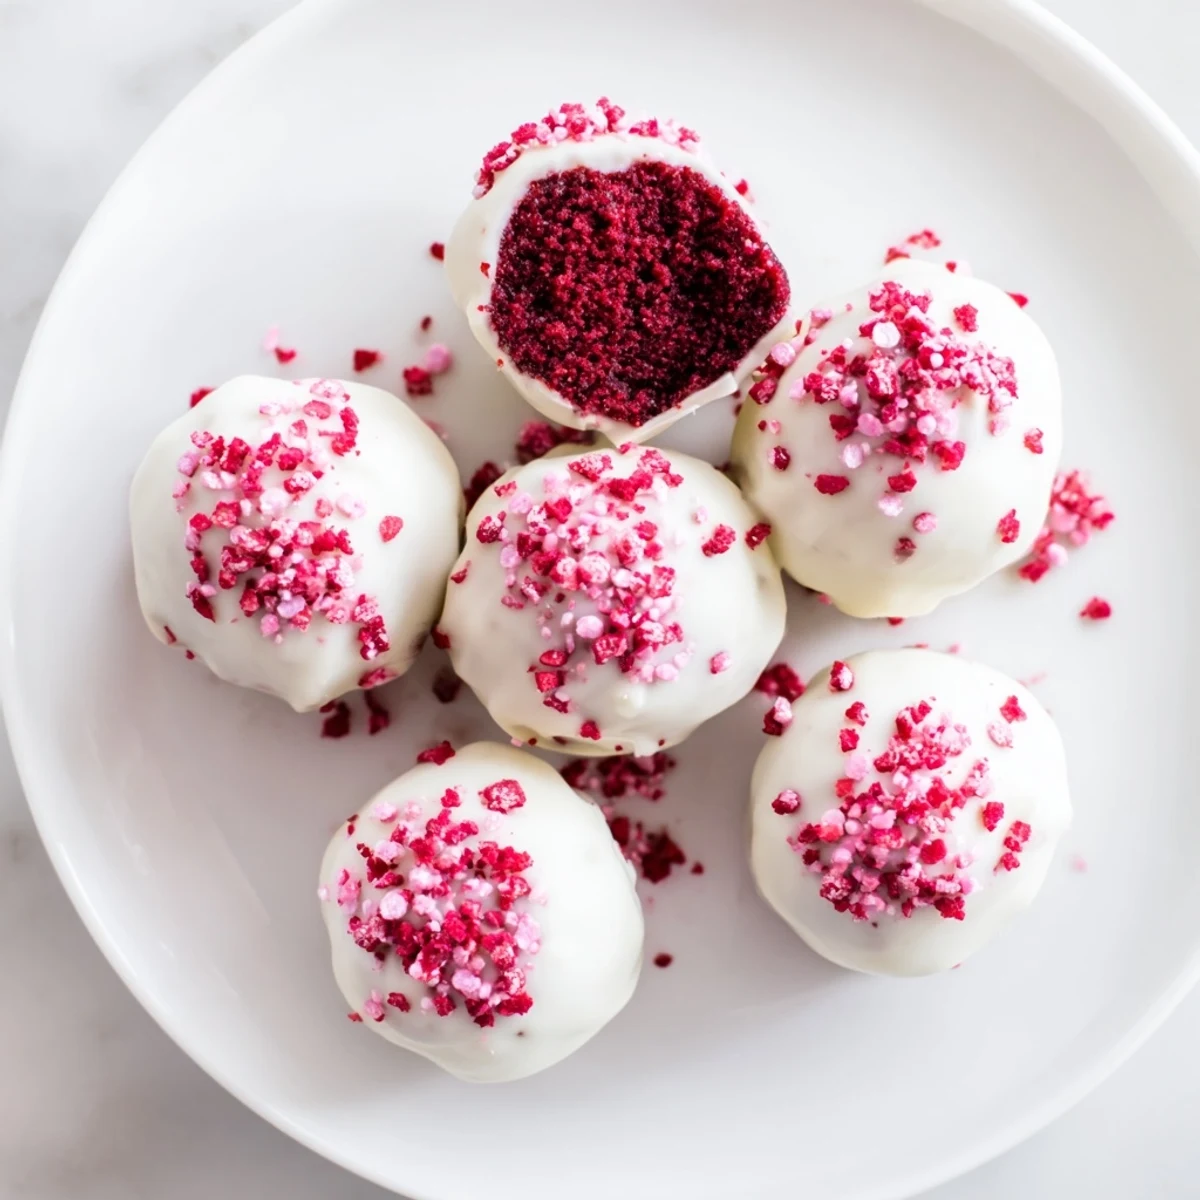
 These indulgent red velvet cake truffles transform classic cake into bite-sized treats. The combination of moist red velvet cake crumbs blended with creamy cheese filling creates a rich, dough-like base. Each ball is dipped in smooth white chocolate for an elegant finish that sets beautifully in the refrigerator.
The process begins with baking a simple red velvet cake, which is then crumbled and mixed with softened cream cheese. After chilling, the mixture forms perfect spheres that hold their shape during coating. The white chocolate dipping creates a stunning contrast against the vibrant red interior, while optional sprinkles add festive flair.
These truffles store exceptionally well, making them ideal for advance preparation. The white chocolate coating can be customized with dark or milk chocolate variations, while the filling can be enhanced with vanilla extract for extra depth. Professional-looking results are achievable even for beginning bakers.
The first time I made these truffles, I was trying to use up a red velvet cake that had turned out slightly too dense for a proper layer cake. My kitchen smelled like vanilla and chocolate, and I remember standing there wondering what to do with this beautiful but disappointingly heavy cake when it hit me that cake balls might be the perfect rescue mission.
Last Christmas, I made three dozen of these for a cookie exchange and watched them disappear faster than anything else on the table. My neighbor asked for the recipe before she even finished her first one, explaining that she needed to know how something so elegant could taste so much like childhood birthday parties.
Ingredients
- Red velvet cake mix: Box mix works perfectly here since we are crumbling it anyway, though homemade cake adds that personal touch
- Cream cheese: Make sure this is completely softened or you will end up with frustrating lumps in your mixture
- White chocolate: High-quality melting wafers coat smoother than chips, which sometimes seize unexpectedly
Instructions
- Bake your foundation:
- Cook the red velvet cake according to package directions and let it cool completely, then crumble it into fine crumbs using your hands or a food processor
- Make the dough:
- Beat softened cream cheese until smooth and fold it into those cake crumbs, mixing until everything holds together when squeezed
- Roll and chill:
- Scoop tablespoon portions and roll them into smooth balls, then freeze for 20 minutes so they hold their shape during dipping
- Coat with chocolate:
- Melt white chocolate with coconut oil in 20-second bursts, then dip each ball using a fork and let excess chocolate drip away
- Set and serve:
- Place dipped truffles on fresh parchment and chill until the coating hardens completely, about 30 minutes
 Save to Pinterest
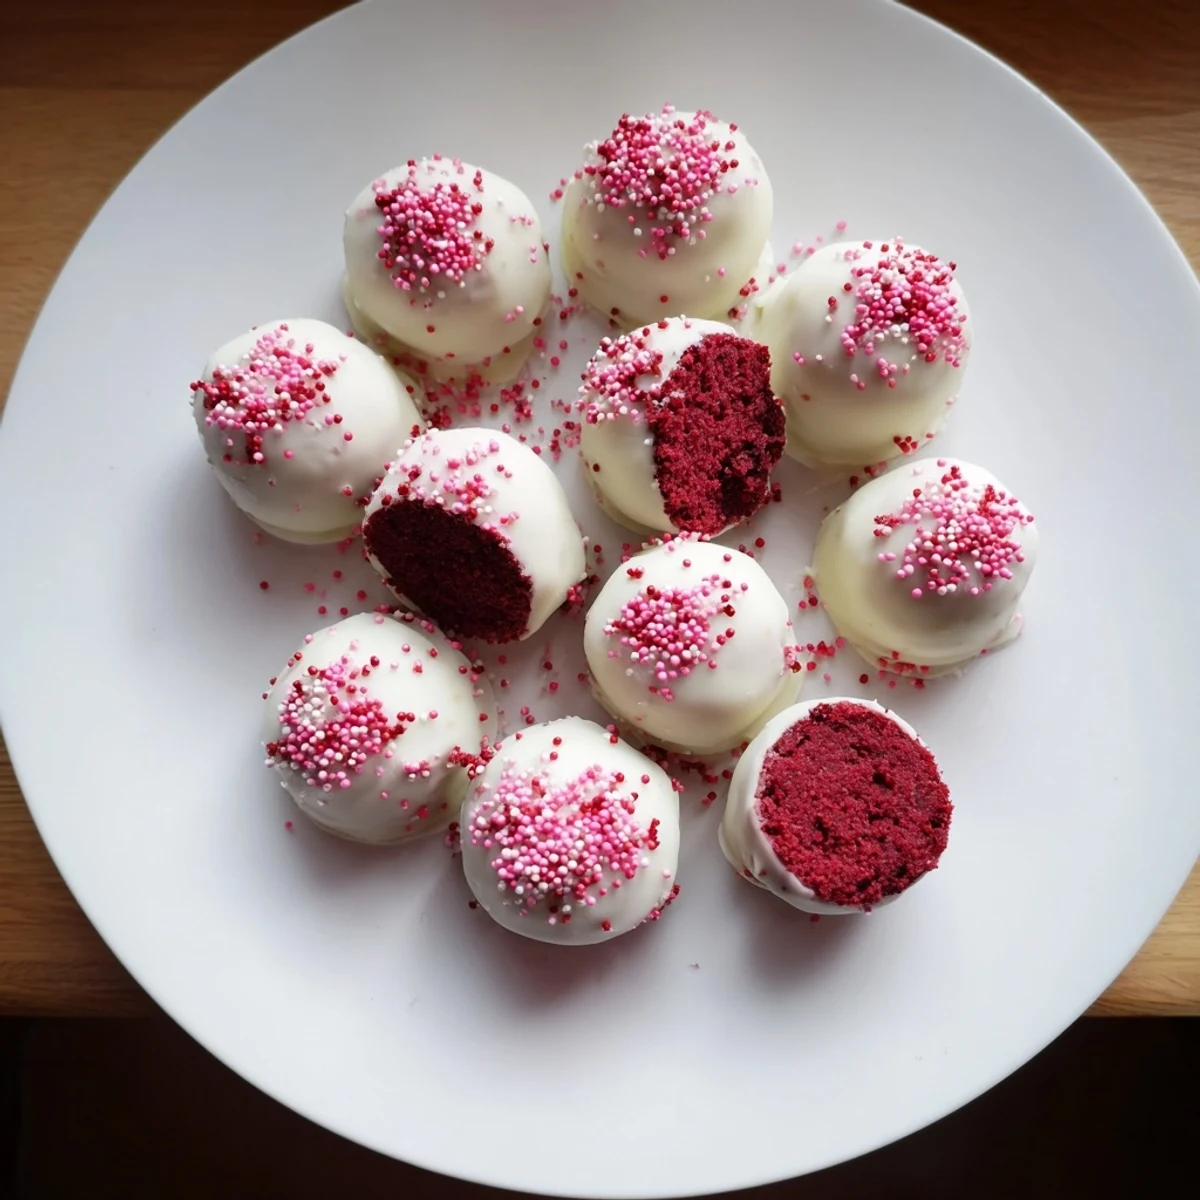
 My daughter started helping me with the sprinkles when she was five, and even now that she is a teenager, she still insists that is her job. There is something about those tiny colorful flakes that makes these feel festive no matter the occasion.
Making Them Your Own
Sometimes I swap the white chocolate for dark chocolate coating when I want something less sweet, and the contrast against that red velvet center is absolutely stunning. I have also experimented with adding crushed peppermint candies to the coating during winter holidays, which turns them into something that feels completely new.
The Storage Secret
These actually taste better after a day in the refrigerator because the flavors have time to meld together and the coating firms up beautifully. I keep a small container in the back of my fridge for those moments when I need something sweet but do not want to bake an entire dessert.
Common Questions
Can I make these ahead of time? Absolutely, they keep perfectly in the freezer for up to a month if you store them in an airtight container with parchment paper between the layers. What if my coating is too thick? A little more coconut oil thins it out without affecting the final texture or taste. Do I need to use a box mix? Not at all, any red velvet cake recipe works, and sometimes the homemade version gives you even more flavor depth.
- Work quickly when dipping since the cold cake balls will cause the chocolate to set fast
- Keep a bowl of warm water nearby to warm your fork if the chocolate starts building up
- Decorate immediately after dipping before the coating hardens
 Save to Pinterest
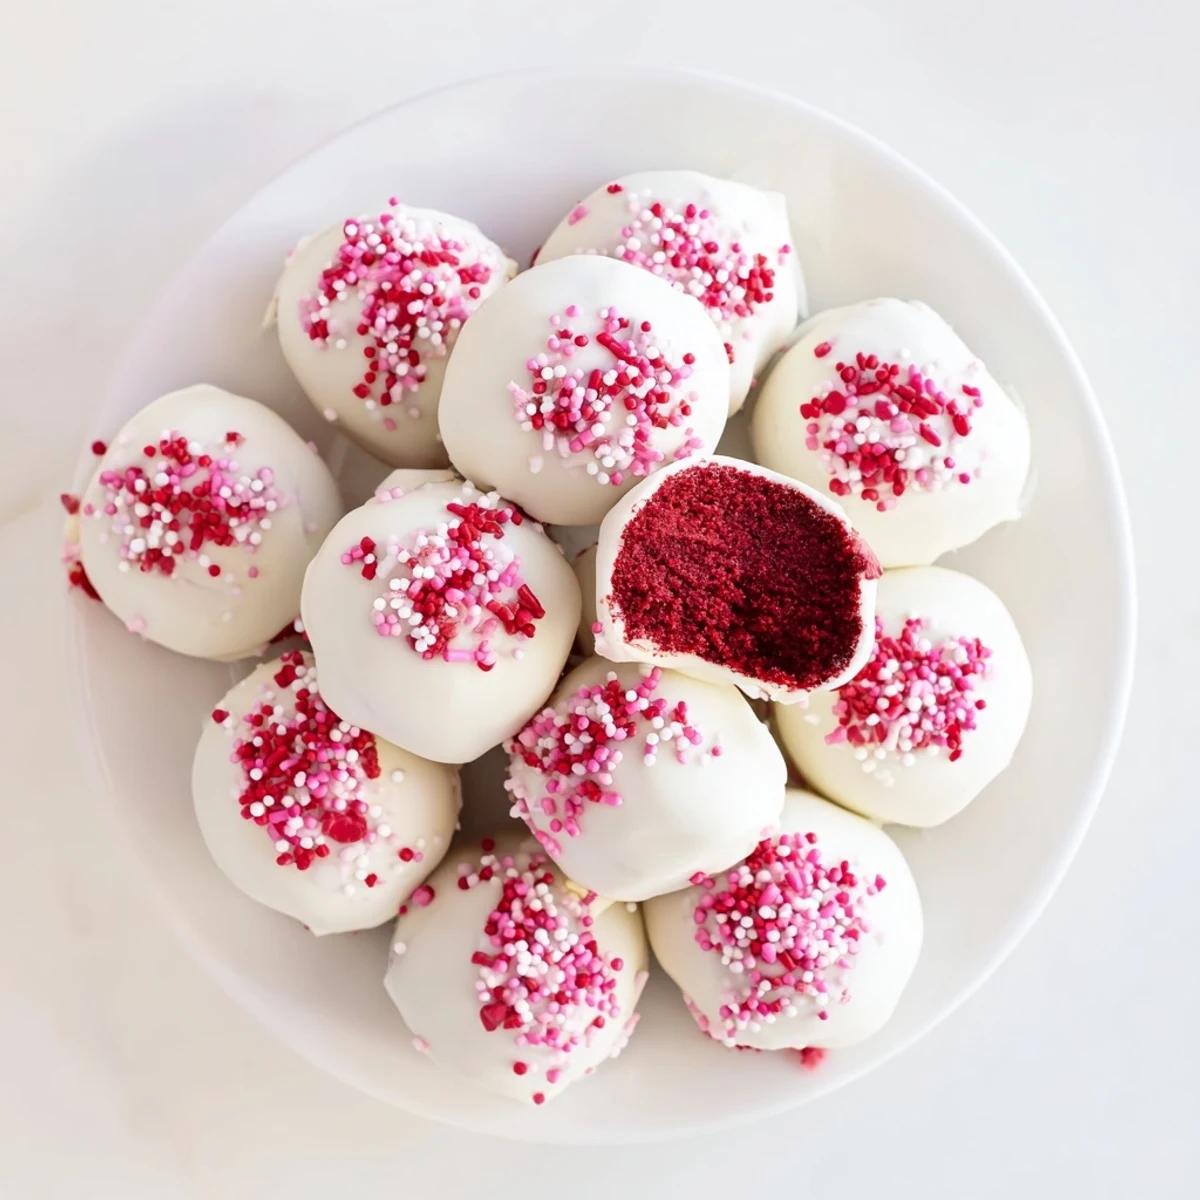
 These red velvet truffles have become my go-to for bringing to gatherings because they look like something from a fancy chocolate shop but come together with hardly any fuss at all.
Recipe FAQs
- → How long do red velvet truffles stay fresh?
-
These truffles maintain optimal quality for up to 5 days when stored in an airtight container in the refrigerator. The cream cheese filling requires cool temperatures to prevent softening.
- → Can I make these truffles ahead of time?
-
Absolutely. You can prepare the cake balls and freeze them for up to a month before dipping. Coat with white chocolate 1-2 days before serving, then keep refrigerated until ready to serve.
- → What's the purpose of chilling the cake balls?
-
Chilling firms the mixture, preventing the balls from losing shape during the chocolate dipping process. Twenty to thirty minutes in the freezer provides sufficient stability for clean coating.
- → Why add coconut oil to the white chocolate?
-
Coconut oil or vegetable shortening thins the melted chocolate, creating a smoother consistency for dipping. This helps achieve an even, professional-looking coating without clumps or drips.
- → Can I use homemade cake instead of a mix?
-
Yes, a from-scratch red velvet cake works perfectly. Use approximately one 9x13-inch cake, cooled completely, then crumbled into fine crumbs for the truffle base.
- → How do I prevent the chocolate from seizing?
-
Melt white chocolate in 20-second intervals, stirring thoroughly between each. Avoid overheating, and ensure no water comes into contact with the chocolate during the melting process.
