 Save to Pinterest
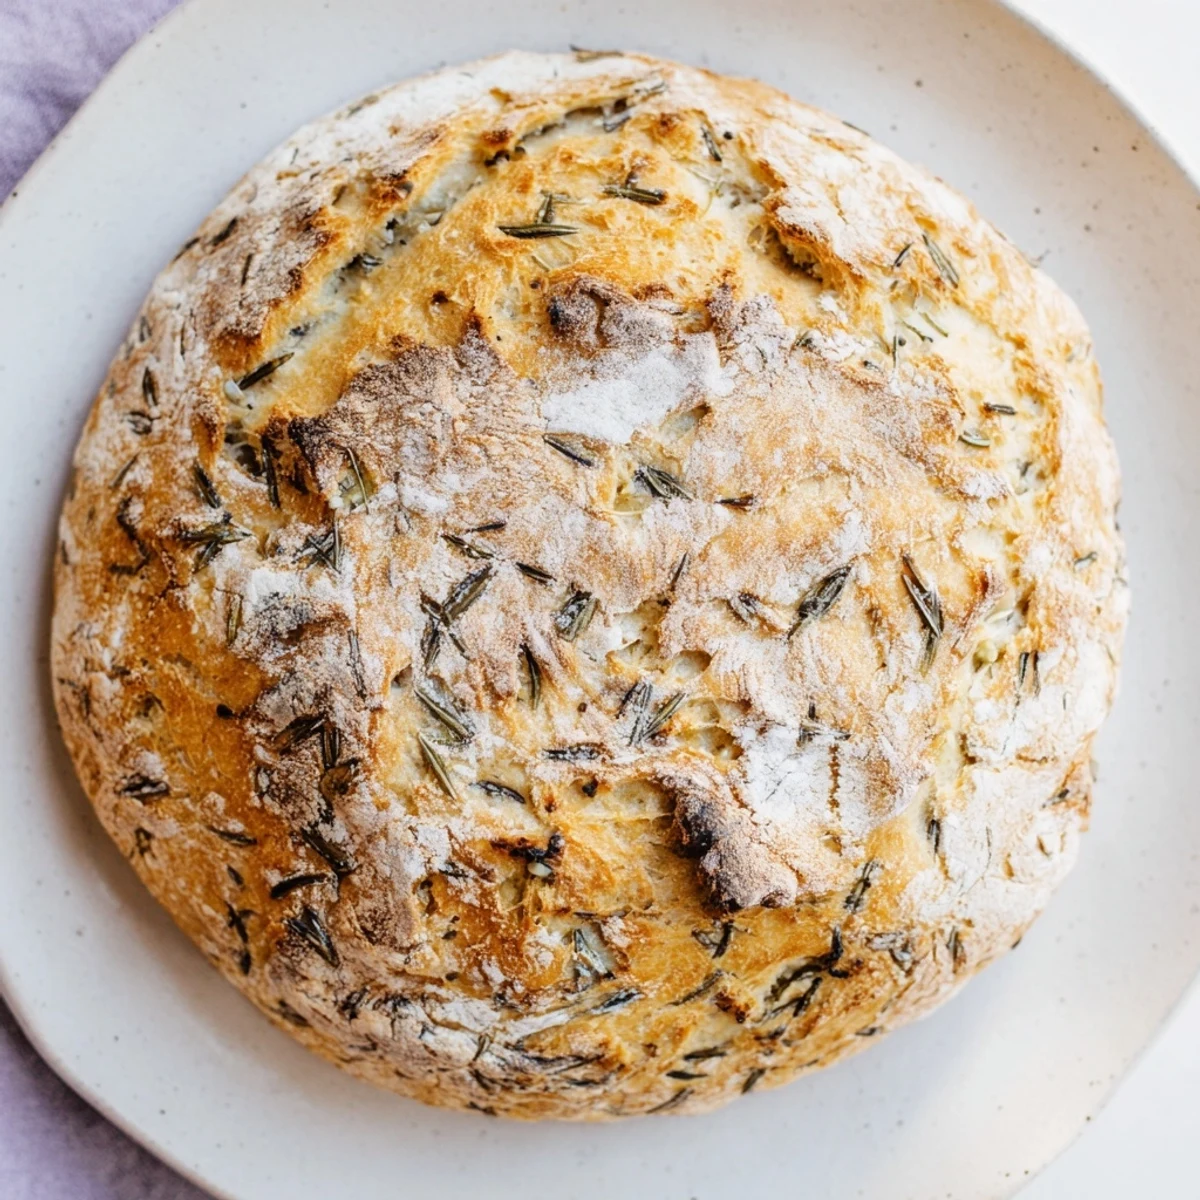
 This artisan-style bread combines the earthy aroma of fresh rosemary with savory garlic, creating a loaf that's both rustic and elegant. The Dutch oven method creates professional bakery results at home, producing a dramatically crispy crust while maintaining a tender, flavorful crumb inside.
The dough requires just minutes of hands-on preparation, with most of the time dedicated to natural fermentation. This slow rise develops complex flavors and that coveted open crumb structure. The result is a fragrant, golden-brown loaf perfect for sopping up soups, serving alongside pasta, or enjoying simply with good butter.
The first time I made this bread, my entire apartment smelled like an Italian bakery and my neighbor actually knocked on my door to ask what was happening in my kitchen. That aromatic combination of garlic and rosemary does something magical to people, it pulls them in like nothing else.
I brought this loaf to a friend dinner last winter and watched it disappear within minutes. My friend Sarah, who claims she doesnt even like bread that much, went back for third slice and asked me to teach her the recipe right there at the table.
Ingredients
- Bread flour: The higher protein content creates better gluten development, giving you that satisfying chewy texture and impressive oven spring
- Sea salt: Fine sea salt distributes more evenly than coarse salt, ensuring every bite is perfectly seasoned without salty pockets
- Active dry yeast: This reliable workhorse gives you consistent results, and the long fermentation time develops incredible flavor depth
- Lukewarm water: Water around 100°F activates the yeast without killing it, and hydration is crucial for that open, airy crumb structure
- Olive oil: Adds subtle richness and helps keep the bread tender longer, plus it creates a beautiful golden color as it bakes
- Fresh garlic: Minced fresh garlic disperses throughout the dough, creating mellow roasted notes rather than harsh raw garlic flavor
- Fresh rosemary: Woody herbs like rosemary hold up beautifully to baking time, infusing every bite with piney fragrance
Instructions
- Mix your foundation:
- Whisk flour, salt, and yeast in a large bowl until combined, then stir in warm water and olive oil until a shaggy, sticky dough forms
- Infuse the aromatics:
- Fold in minced garlic and chopped rosemary, mixing just until distributed throughout the dough
- Let it work its magic:
- Cover the bowl and let rise at room temperature for 2 to 3 hours until the dough has doubled in size and shows bubbles on the surface
- Shape with confidence:
- Turn dough onto a floured surface, shape gently into a round ball with floured hands, then place seam side down on parchment paper
- Second rise patience:
- Cover loosely and let rest for 30 to 45 minutes while you preheat your Dutch oven at 450°F for at least 30 minutes
- The bake that transforms:
- Carefully transfer dough with parchment into the hot Dutch oven, cover with lid, bake for 30 minutes, then uncover and bake another 12 to 15 minutes until deeply golden
- The hardest part:
- Let the bread cool on a rack for at least 20 minutes before slicing, or you will regret the gummy texture that results from cutting too soon
 Save to Pinterest
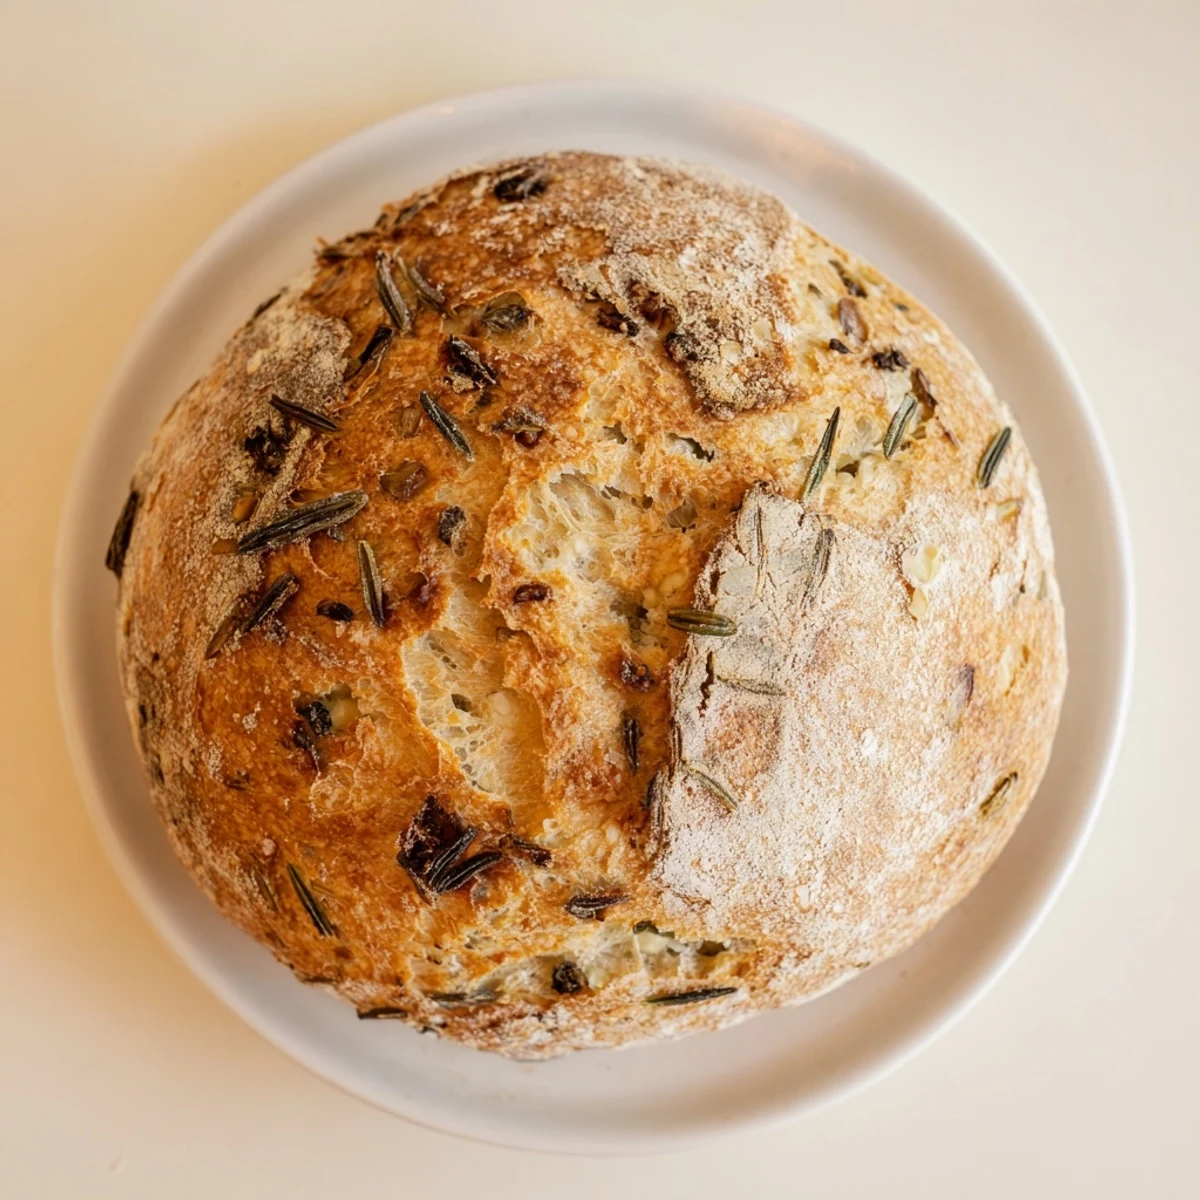
 This bread became my go to housewarming gift after I watched my newlywed friend cry over how good it tasted with the soup I made. Food does that sometimes, it becomes a memory vessel all on its own.
Making It Your Own
The beauty of this dough is how adaptable it is. I have added kalamata olives for a Mediterranean twist, sun dried tomatoes for sweetness, and even sharp cheddar when I wanted something more indulgent. The base recipe remains the same, but the personality shifts completely.
The Science Behind the Dutch Oven
Using a Dutch oven mimics professional steam injected ovens by trapping moisture from the dough itself. This keeps the crust soft initially, allowing maximum oven spring, then creates that shattered crispy exterior as the steam escapes during the final uncovered bake.
Timing Your Bake
The long rise time might feel inconvenient, but it is absolutely worth the wait. The slow fermentation develops complex flavors that quick-rise breads simply cannot achieve. I usually start this in the morning, go about my day, then shape and bake in time for dinner. It works beautifully with my schedule and the results speak for themselves.
- Set a timer for the preheating stage, because a cold Dutch oven will not give you the same dramatic crust
- The parchment paper transfer is the safest way to handle the dough without deflating it or burning yourself
- Leftovers make incredible toast, especially topped with a poached egg or smashed avocado
 Save to Pinterest
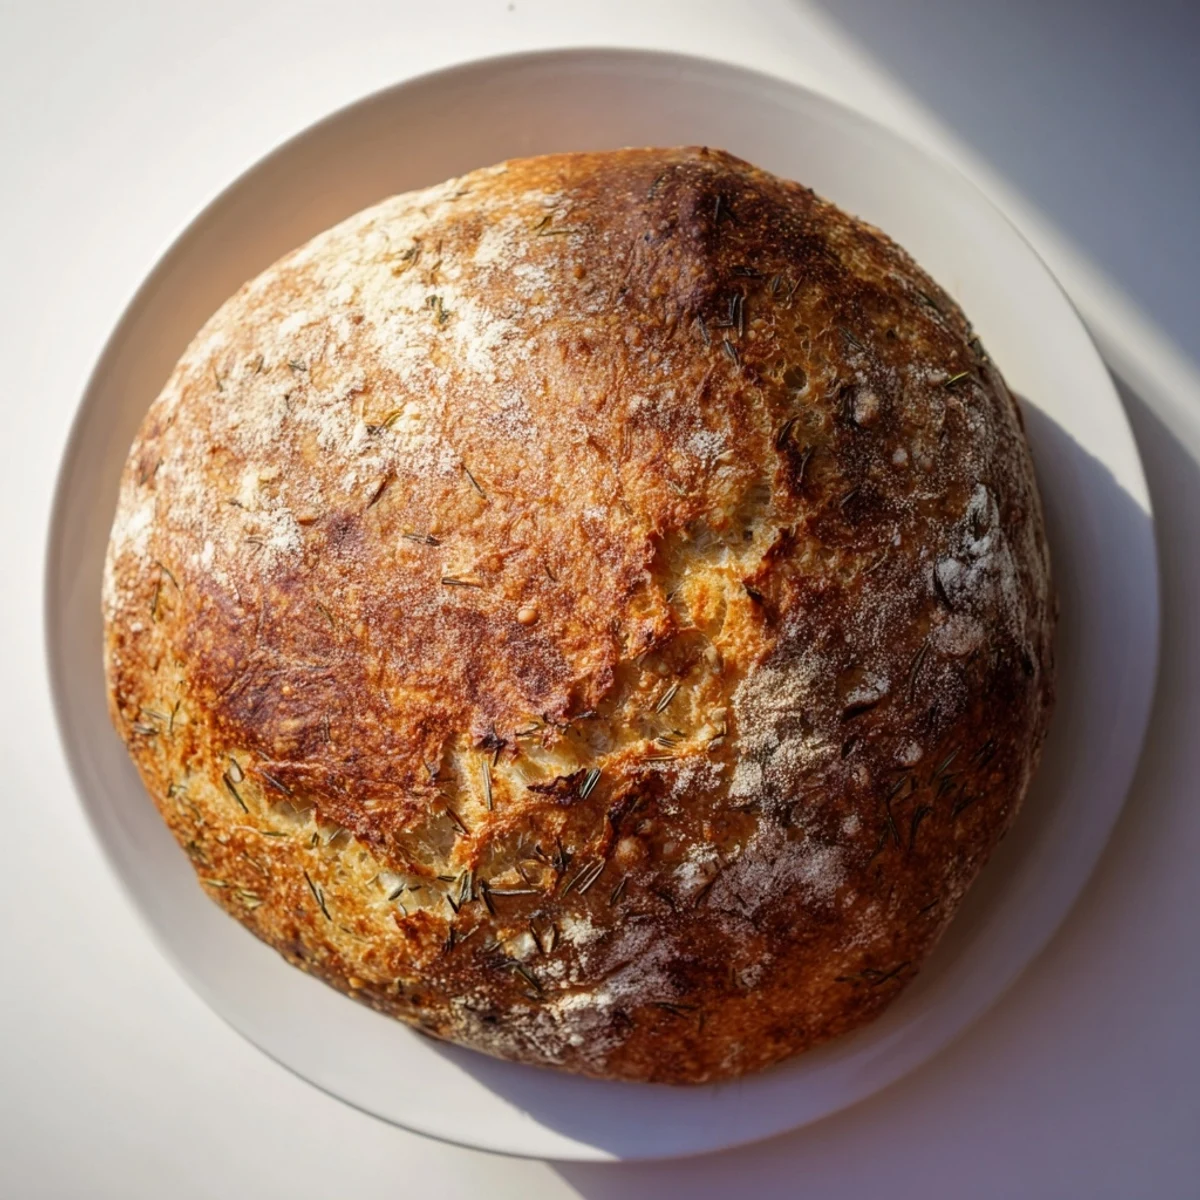
 There is something profoundly satisfying about pulling a golden, steaming loaf from your own oven. The smell alone will make your house feel like home.
Recipe FAQs
- → Why use a Dutch oven for bread?
-
A Dutch oven creates a steamy environment that mimics professional deck ovens. The trapped moisture allows the bread to expand fully before the crust sets, resulting in superior oven spring and a crispy, crackly crust that's difficult to achieve with regular baking sheets.
- → Can I use dried rosemary instead of fresh?
-
Yes, though fresh rosemary provides a more vibrant flavor. If using dried, reduce the amount to 1 tablespoon and rehydrate it in warm water for 10 minutes before adding to the dough. This prevents the dried herbs from absorbing too much moisture from your bread.
- → How do I know when the bread is done baking?
-
The bread is ready when the crust is deep golden brown and sounds hollow when tapped on the bottom. An instant-read thermometer inserted into the center should read between 200-205°F (93-96°C). The crust should be firm and crackly to the touch.
- → Can I add other mix-ins to this dough?
-
Absolutely. Kalamata olives, sun-dried tomatoes, caramelized onions, or shredded parmesan all work beautifully. Keep total additions to about 1 cup to maintain proper dough structure. Fold them in gently after the first rise to preserve the gluten network.
- → Why must I let the bread cool before slicing?
-
Cutting into hot bread releases steam too quickly, making the interior gummy and dense. Letting it cool for at least 20 minutes allows the starches to set and the internal moisture to redistribute evenly. This ensures each slice has the perfect texture and flavor.
- → Can I freeze this bread?
-
Yes, freeze the completely cooled loaf wrapped tightly in plastic and foil for up to 3 months. Thaw overnight at room temperature, then refresh in a 350°F oven for 10 minutes to restore the crisp crust. Individual slices can be toasted directly from frozen.
