 Save to Pinterest
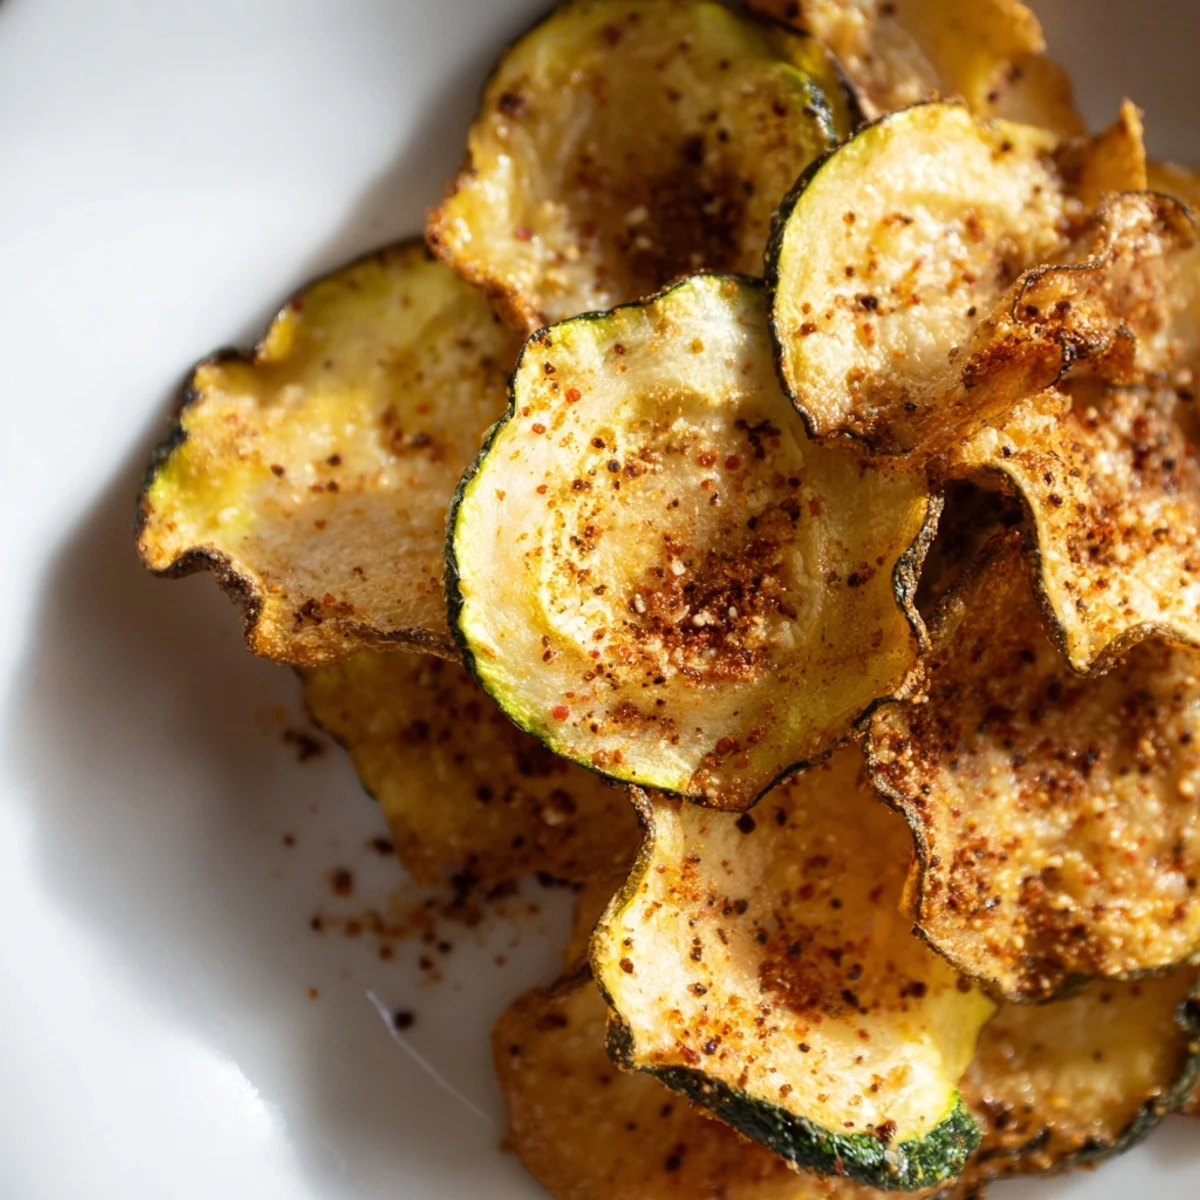
 Enjoy thin zucchini slices transformed into golden, crispy bites through slow baking at low heat. Tossed lightly in olive oil, sea salt, and spices, these chips deliver a satisfying crunch without heavy oils. Ideal for a nutritious snack, they require patience in the oven but reward with natural flavors and crisp texture. Optional additions like Parmesan or chili powder can elevate the savory profile.
My sister called one afternoon asking for snack ideas, and I remembered the crispy zucchini chips I'd made weeks before by accident—I'd been experimenting with low temperatures and thin slices, and the result was this addictive, golden snack that tasted nothing like the mushy zucchini I'd feared. Now it's become the one thing I can always pull together when someone stops by hungry, with barely any advance planning.
I made these for a work potluck once, skeptical that anyone would actually eat them, and I watched someone finish half the container while telling me they tasted like fancy restaurant food—that's when I realized how easy it is to impress people with something this simple.
Ingredients
- 2 medium zucchini, washed and thinly sliced (about 1/8 inch thick): The thickness is everything here; too thick and they stay chewy, too thin and they burn in seconds, so patience with the knife or a mandoline really pays off.
- 1/2 teaspoon sea salt: Sea salt brings out the zucchini's natural sweetness better than table salt ever could.
- 1/4 teaspoon freshly ground black pepper: Fresh peppercorns make a real difference in how sharp and alive the chips taste.
- 1/2 teaspoon garlic powder and 1/2 teaspoon smoked paprika: These are optional but they're the reason people ask you for the recipe—the smokiness becomes almost addictive.
- 1 tablespoon olive oil: Just enough to help everything crisp up without making them greasy.
Instructions
- Dry your zucchini like you mean it:
- Pat each slice with paper towels until they feel almost leather-like; moisture is the enemy of crispiness, and this single step determines whether you get chips or chips that stayed a little soft inside.
- Season and toss with intention:
- Combine everything in a large bowl and use your hands to coat each slice, making sure the seasonings actually stick instead of pooling at the bottom.
- Arrange them like they're not touching:
- Lay them out in single layers on parchment paper with a little space between each one; overlapping slices will steam instead of crisping.
- Low and slow is the secret:
- Bake at 225°F for 50 to 60 minutes, rotating the trays halfway through—this gentle heat is what turns them golden instead of dark.
- Watch the final 10 minutes like a hawk:
- The difference between perfectly crispy and burnt happens in what feels like seconds, so stay nearby and check on them.
- Let them rest and crisp further:
- Remove them from the oven and let them sit on the baking sheets for 5 to 10 minutes; they'll continue firming up as they cool and actually taste even better.
 Save to Pinterest
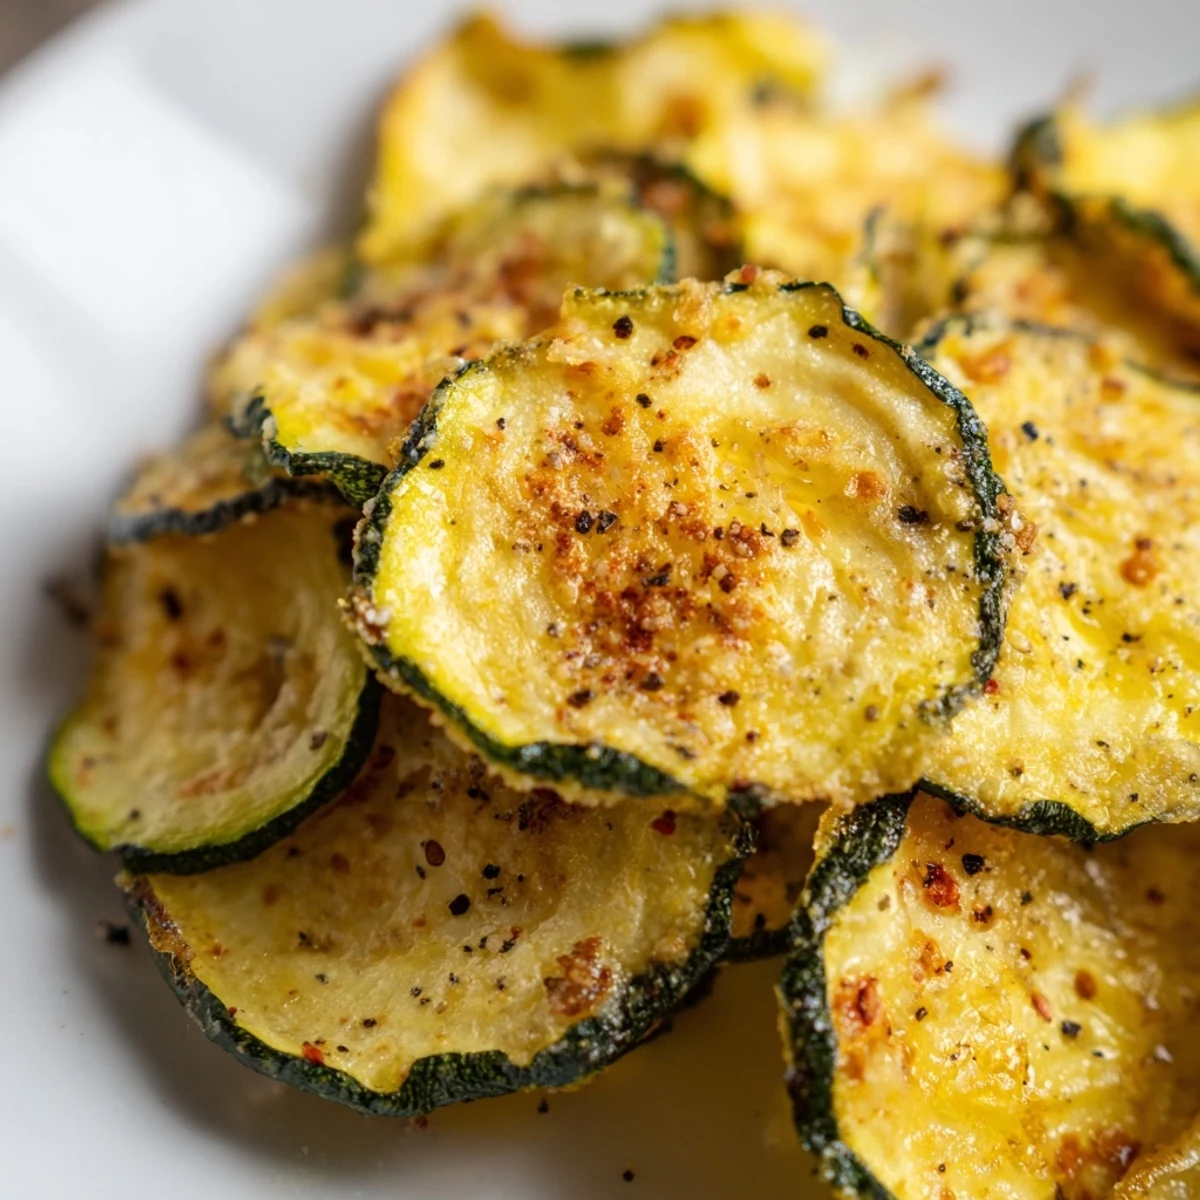
 One evening, my nephew grabbed a handful and said they tasted like potato chips but better, and I realized this simple snack had somehow become the thing people remember about visiting, more than any complicated dessert ever could.
Flavor Variations That Actually Work
Once you've nailed the basic version, the fun begins—chili powder gives them a subtle heat, everything bagel seasoning makes them taste savory and complex, and even a light dusting of grated Parmesan before baking transforms them into something different. I've found that less is usually more with additions; a single extra seasoning tends to shine brighter than throwing three things at them.
Storage and Keeping Them Crispy
They'll stay crispy in an airtight container for about two days, though honestly they're almost never around that long. If they do sit for a bit and lose their crunch, toss them back in a 275°F oven for 5 to 10 minutes and they'll come back to life almost perfectly.
Why This Snack Keeps Winning
There's something satisfying about turning one of the simplest vegetables into something that feels like an indulgence, and the low oven temperature means you can make them while doing other things without hovering constantly. The fact that they're vegetarian, gluten-free, and naturally light makes it easy to share them without worrying about dietary needs.
- Make them on a weekend and you'll have a ready-to-grab snack all week.
- Double the batch because one tray somehow never feels like enough.
- Remember that thinner is actually better, even if it feels risky the first time.
 Save to Pinterest
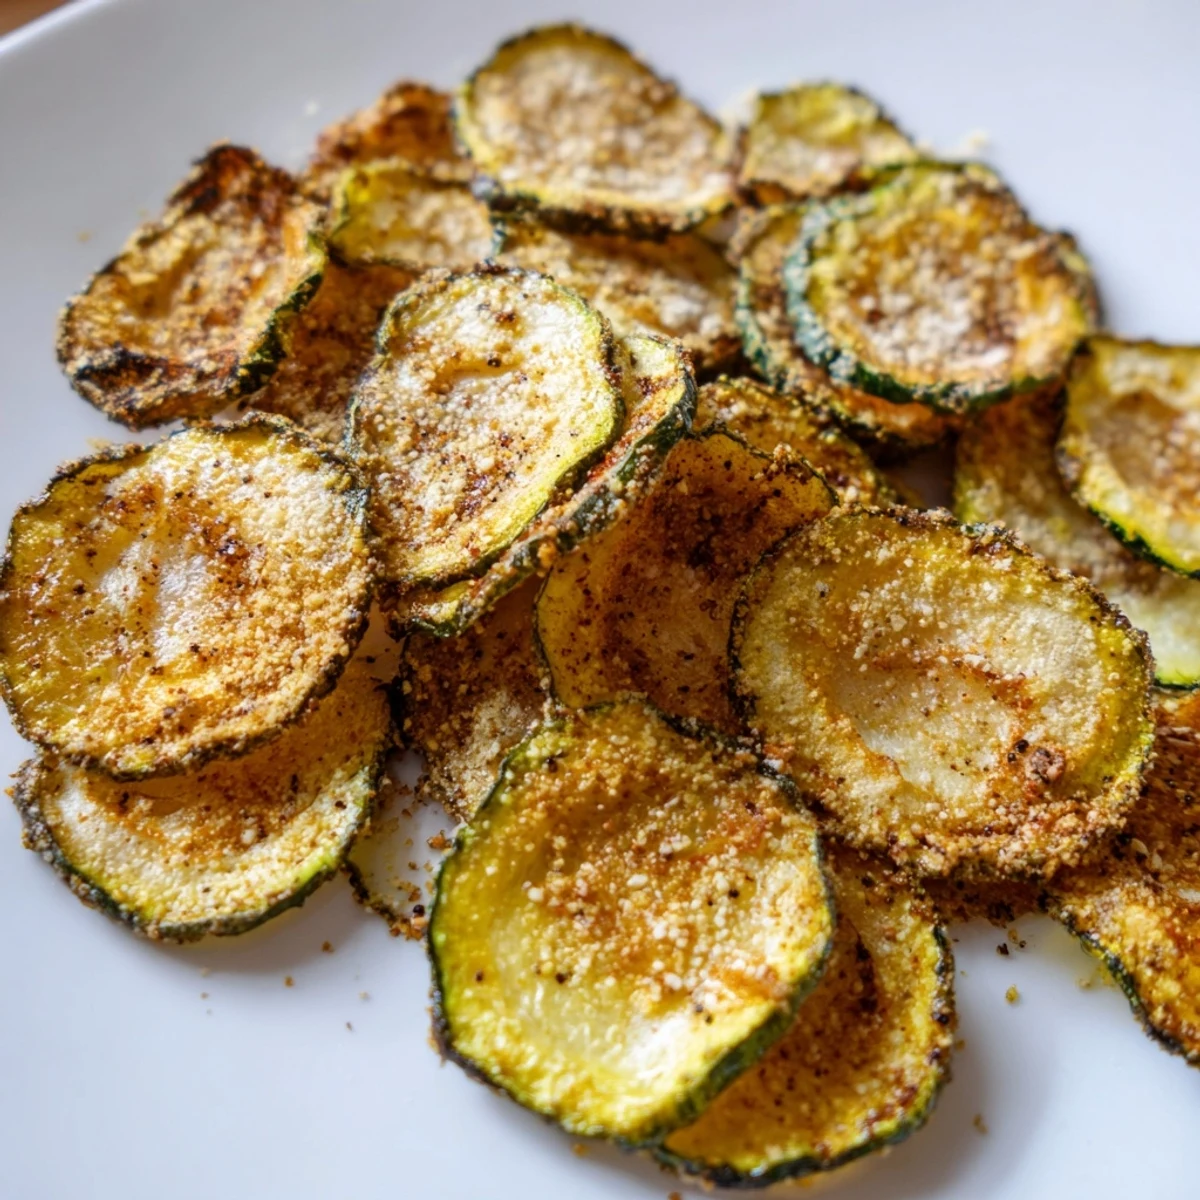
 These chips have become my go-to snack for when I want something satisfying that doesn't feel like a compromise, and they remind me that sometimes the best things are the ones that look deceptively simple.
Recipe FAQs
- → How do you ensure zucchini chips turn crispy?
-
Pat zucchini slices dry to remove moisture before coating them lightly with olive oil, then bake low and slow to evaporate water content while achieving a golden crunch.
- → What thickness should zucchini slices be for best results?
-
Slices about 1/8 inch thick balance crispiness and baking time well without burning or remaining soggy.
- → Can I add different seasonings to the chips?
-
Yes, besides sea salt and pepper, smoked paprika, garlic powder, chili powder, or ranch seasoning work great to vary flavors.
- → How long is the ideal baking time?
-
Baking for 50–60 minutes at 225°F with rotation halfway ensures even drying and crisping of the zucchini slices.
- → What is the best way to store leftover chips?
-
Keep cooled chips in an airtight container for up to two days and reheat briefly in a low oven to restore crispness.
