 Save to Pinterest
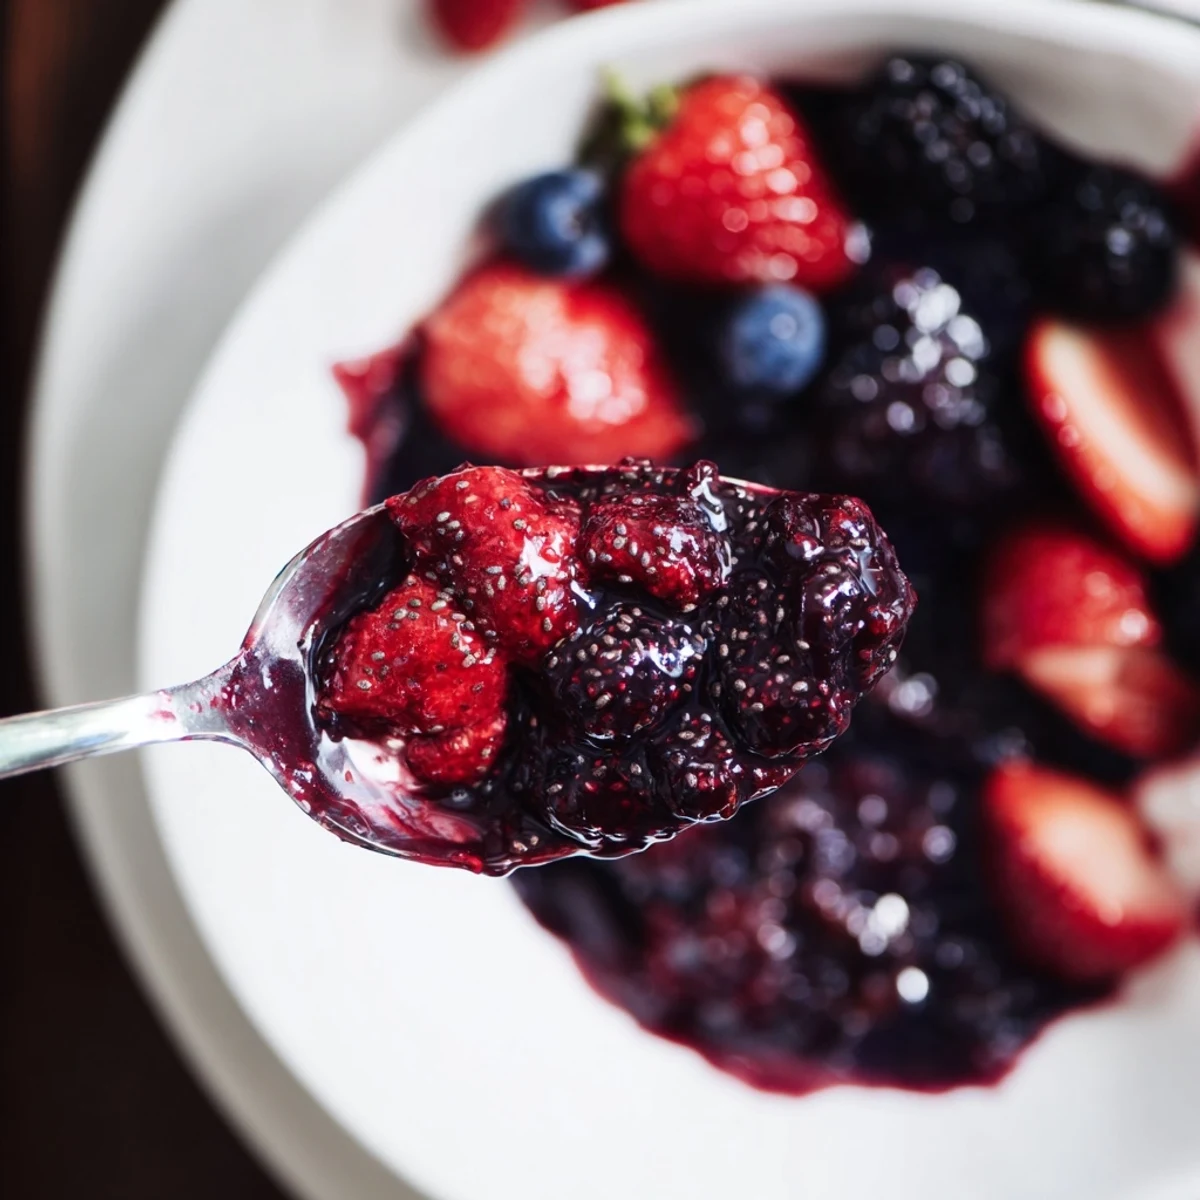
 Create a vibrant, wholesome spread using fresh or frozen berries and nutrient-dense chia seeds. This simple preparation comes together in just 15 minutes, thickening naturally as the seeds absorb liquid. Sweeten with pure maple syrup or honey to your preference, then store in the refrigerator for up to a week. The result is a luscious, fruit-forward topping perfect for morning toast, swirling into yogurt, or adding a fresh finish to desserts.
The first time I made chia jam, I stood there watching the bubbles burst through the berries like little volcanoes, completely mesmerized. My kitchen smelled like summer in a jar, and I couldn't believe something this good took fifteen minutes flat. Now I keep a small batch in my fridge constantly, ready for those mornings when toast needs to feel special.
Last summer, my niece visited and we made three different versions using whatever berries looked best at the farmers market. She kept sneaking spoonfuls straight from the saucepan, claiming quality control was essential. We ended up giving tiny jars to all the neighbors, and suddenly I was the chia jam person on the block.
Ingredients
- 2 cups mixed berries: Frozen works beautifully here, so don't stress about fresh fruit availability or season
- 2 to 3 tablespoons maple syrup or honey: Start with less and add more as the berries cook down since sweetness concentrates
- 2 tablespoons chia seeds: These tiny seeds are the magic that transforms fruit juices into jam consistency
- 1/2 teaspoon vanilla extract: Pure vanilla adds this warmth that makes the jam taste professionally crafted
- 1/2 teaspoon lemon juice: Just enough bright acid to make the berry flavors sing without tasting sour
Instructions
- Cook down the berries:
- Place your berries in a medium saucepan over medium heat and let them bubble away, stirring occasionally until they start breaking down and releasing their juices, about 5 minutes. Your kitchen will start smelling incredible right about now.
- Mash to your liking:
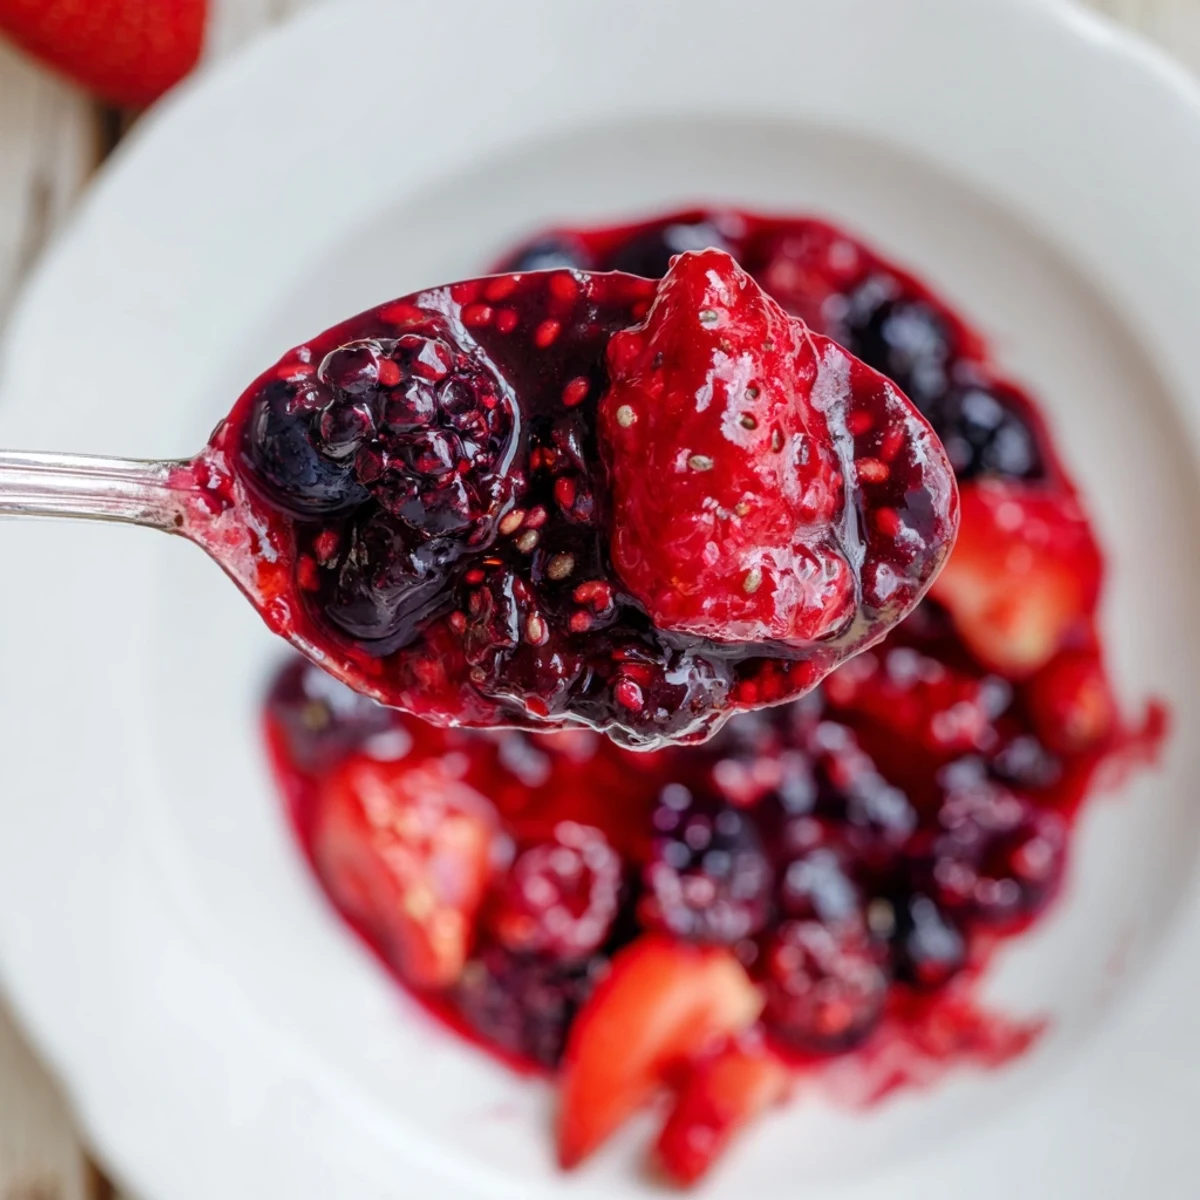
- Use a fork or potato masher to break down the berries to your preferred texture. I like leaving some chunks for character, but go smoother if you prefer that classic jam consistency.
- Add the magic ingredients:
- Stir in your sweetener, chia seeds, vanilla, and lemon juice. The mixture will look loose at first, but trust the process.
- Let it thicken:
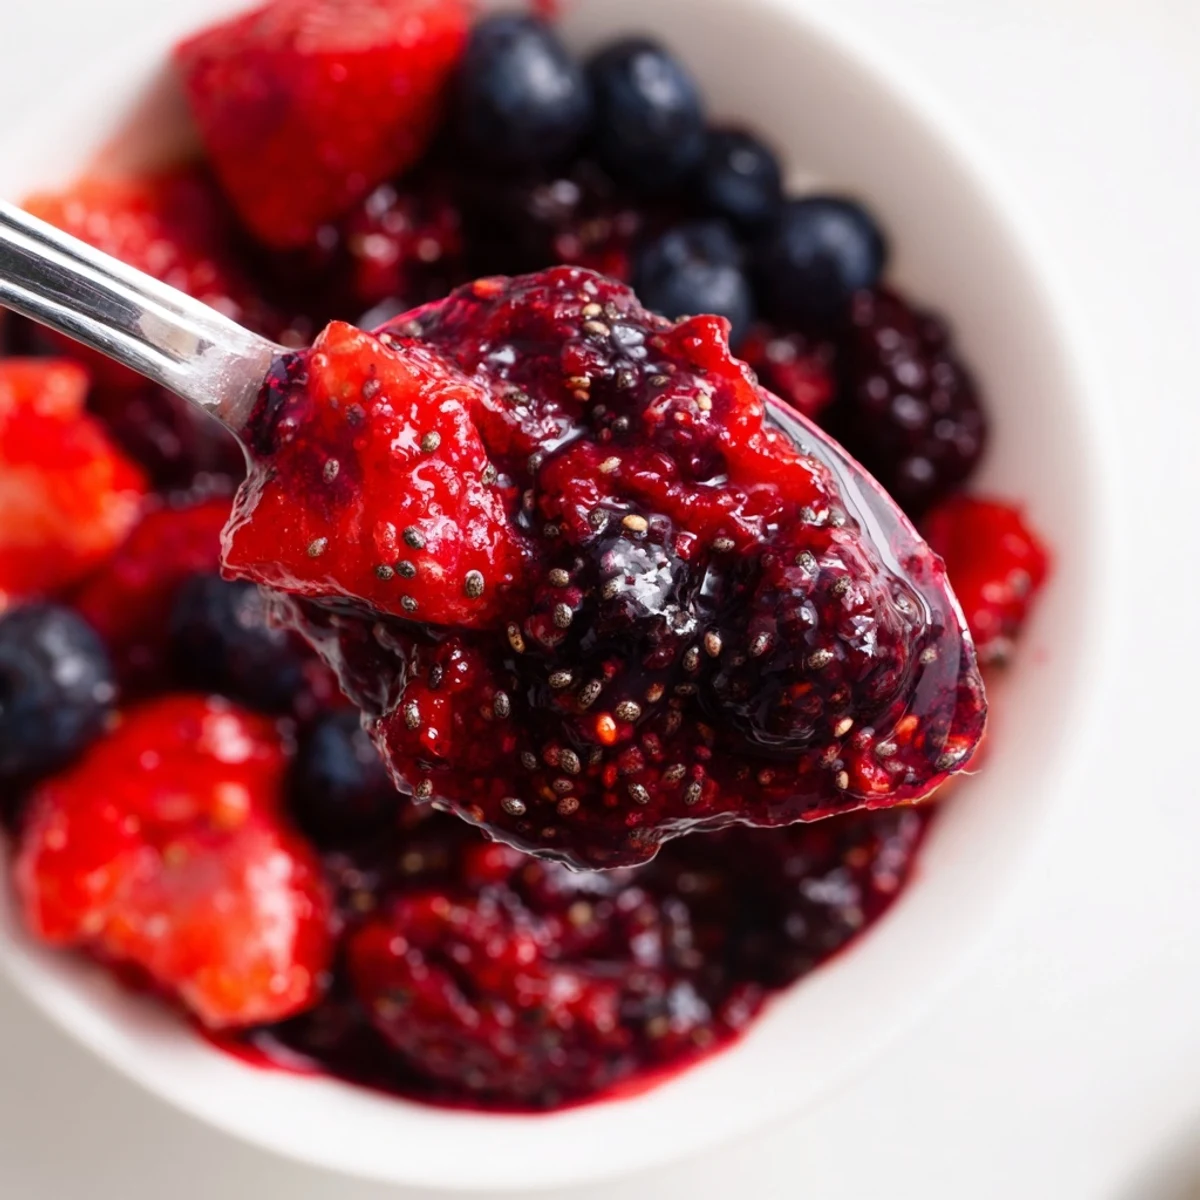
- Remove from heat and let it sit for at least 5 minutes, stirring occasionally as the chia seeds work their gelatinous magic.
- Taste and adjust:
- This is your moment to add more sweetener if needed, though remember the flavors will intensify slightly as it cools.
- Jar and store:
- Transfer to a clean jar and let it cool completely before refrigerating. Use within a week, though its rarely around that long in my house.
 Save to Pinterest
 My friend who owns a bakery laughed when I told her about this recipe, then proceeded to text me three days later asking for the exact proportions. Theres something deeply satisfying about transforming simple ingredients into something that feels like a small luxury.
Perfect Pairings
This jam lives its best life swirled into Greek yogurt or dolloped on ricotta toast with a sprinkle of pistachios. I also love it as a filling for overnight oats or folded into cottage cheese with a drizzle of honey.
Berry Combinations to Try
While mixed berries are foolproof, single-fruit versions let you really understand each berries personality. Strawberries need slightly more sweetener, while blackberries can stand on their own with just a touch of honey. Blueberries make an incredibly vibrant jam that turns the most gorgeous purple color.
Making It Your Own
Once you have the basic technique down, the variations become endless. Add a cinnamon stick while cooking, stir in some fresh herbs at the end, or experiment with different liquid sweeteners.
- Try orange juice instead of lemon for a citrusy twist
- A pinch of sea salt enhances the natural fruit flavors
- Double the recipe if you want to share or just want more jam in your life
 Save to Pinterest
 Theres something profoundly satisfying about making your own jam, even if its the quick and easy version. Every time I open my fridge and see that little jar, I feel like I've done something good for myself.
Recipe FAQs
- → How long does homemade chia jam last?
-
When stored in a sealed container in the refrigerator, this jam will stay fresh for up to one week. The natural ingredients lack preservatives found in commercial varieties, so enjoy within that timeframe.
- → Can I use frozen berries?
-
Absolutely. Frozen berries work beautifully and are often picked at peak ripeness. Simply cook them directly from frozen—they'll release plenty of liquid as they thaw and break down during heating.
- → What makes chia jam different from traditional jam?
-
Instead of requiring pectin and lengthy canning processes, chia seeds naturally thicken the mixture as they absorb liquid. This creates a nutrient-dense spread with fiber and omega-3s, all without refined sugar or complex techniques.
- → Can I make this without sweetener?
-
Yes, the berries provide natural sweetness. Taste after cooking and add maple syrup or honey only if desired. Very ripe summer berries often need none at all.
- → Why does the jam need to sit after cooking?
-
The resting period allows chia seeds to fully absorb the liquid and gel, creating that characteristic jam texture. Five minutes is the minimum, but letting it cool longer yields an even thicker consistency.
